Scenario 3: Instrument Calibration Management#
Estimated time to read: 3 minutes
Use this scenario to follow the calibration lifecycle of Caliper-002. The scenario starts with a not-calibrated Instrument, moves through In Calibration, and ends with a valid calibrated state.
Calibration States#
| Calibration Status | Meaning | Available for Use? |
|---|---|---|
Not Calibrated | The Instrument has never been calibrated or has reached the calibration interval. | No. |
In Calibration | The Instrument is currently being calibrated and is out of service. | No. |
Calibrated | The Instrument is ready for production use. | Yes, when Last Calibration Date is filled. |
Table: Calibration states used in the scenario
- Go to Business Data > Resource >
Caliper-002. -
In the main Resource view or using the Edit Resource wizard, confirm that Calibration Status is
Not Calibratedand Last Calibration Date is empty.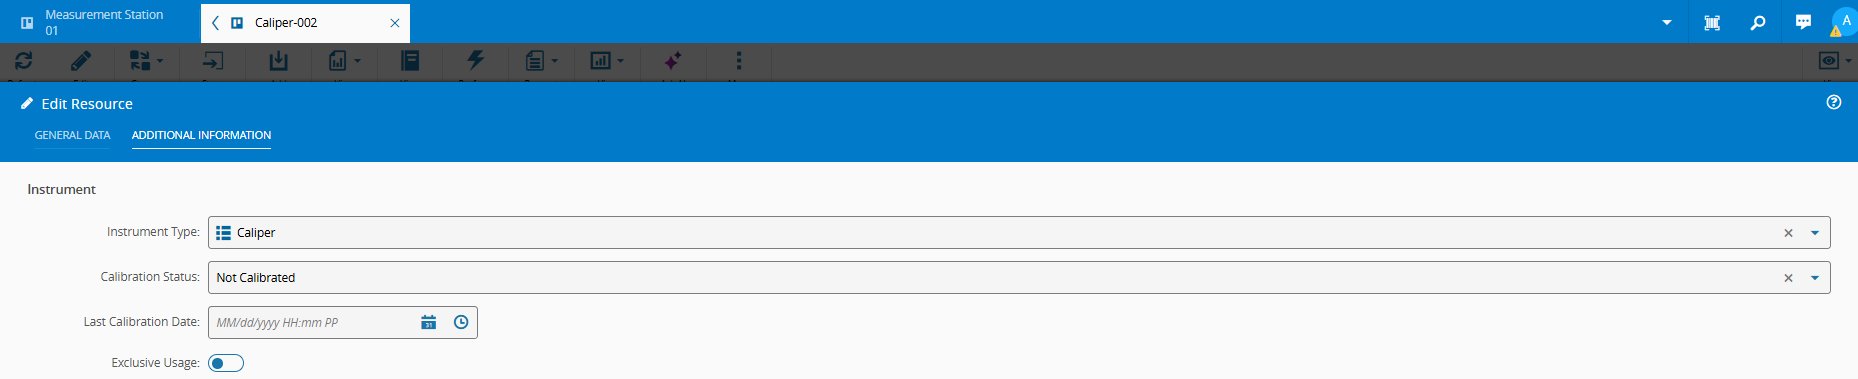
-
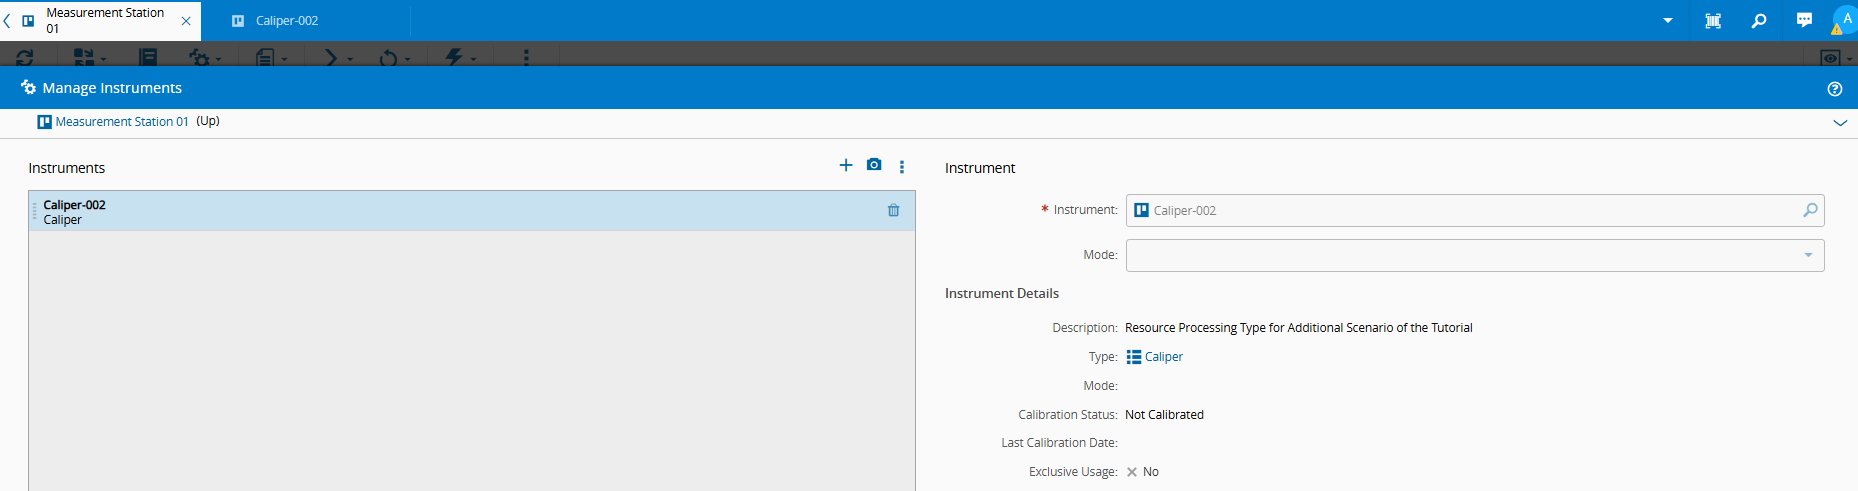
Associate
Caliper-002withMeasurement Station 01through Manage Instruments. For more information, see Manage Resource Instruments. - Start Dispatch and Track-In for
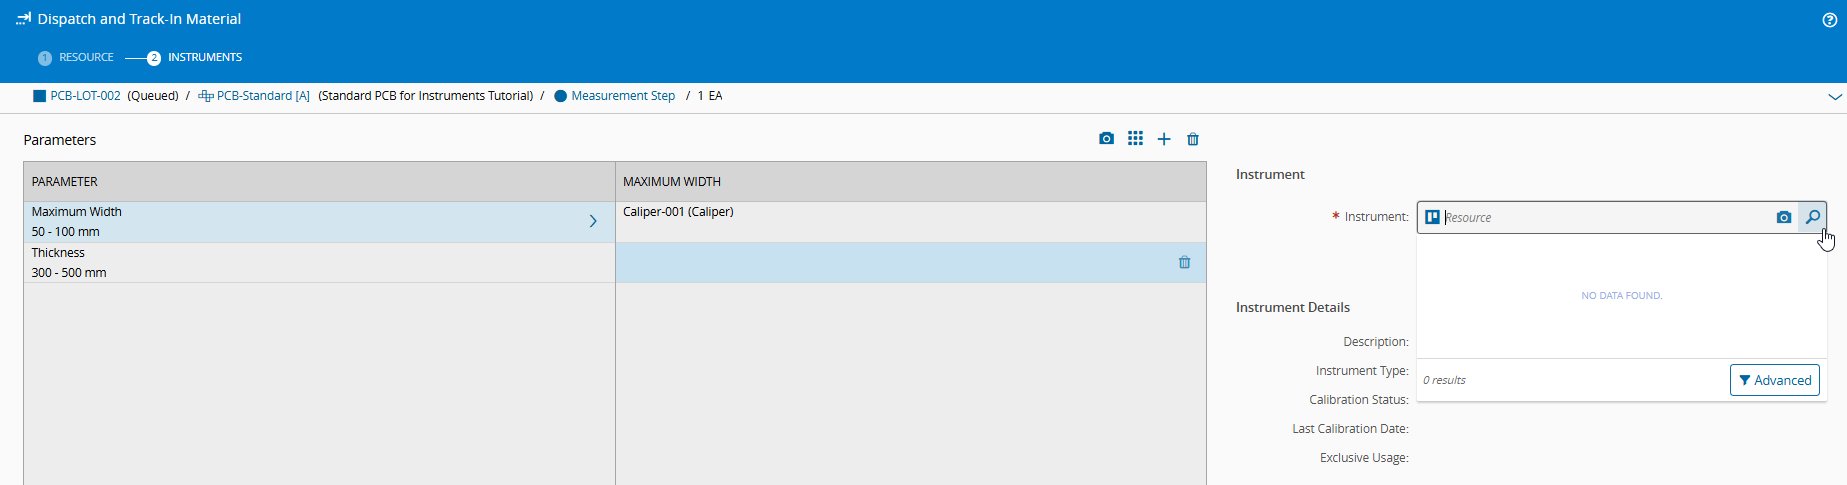
PCB-LOT-002. - On the Instruments step, try to select
Caliper-002for Maximum Width. -
Verify that the lookup does not show
Caliper-002as a valid option.Note
The system allows you to associate a not-calibrated instrument with a resource. The calibration check is enforced at Track-In time.
-
Cancel Track-In.
- Edit
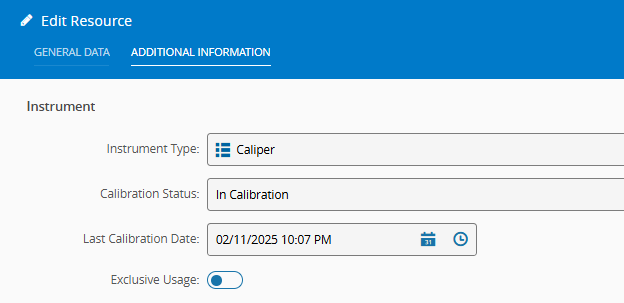
Caliper-002and change Calibration Status toIn Calibration. -
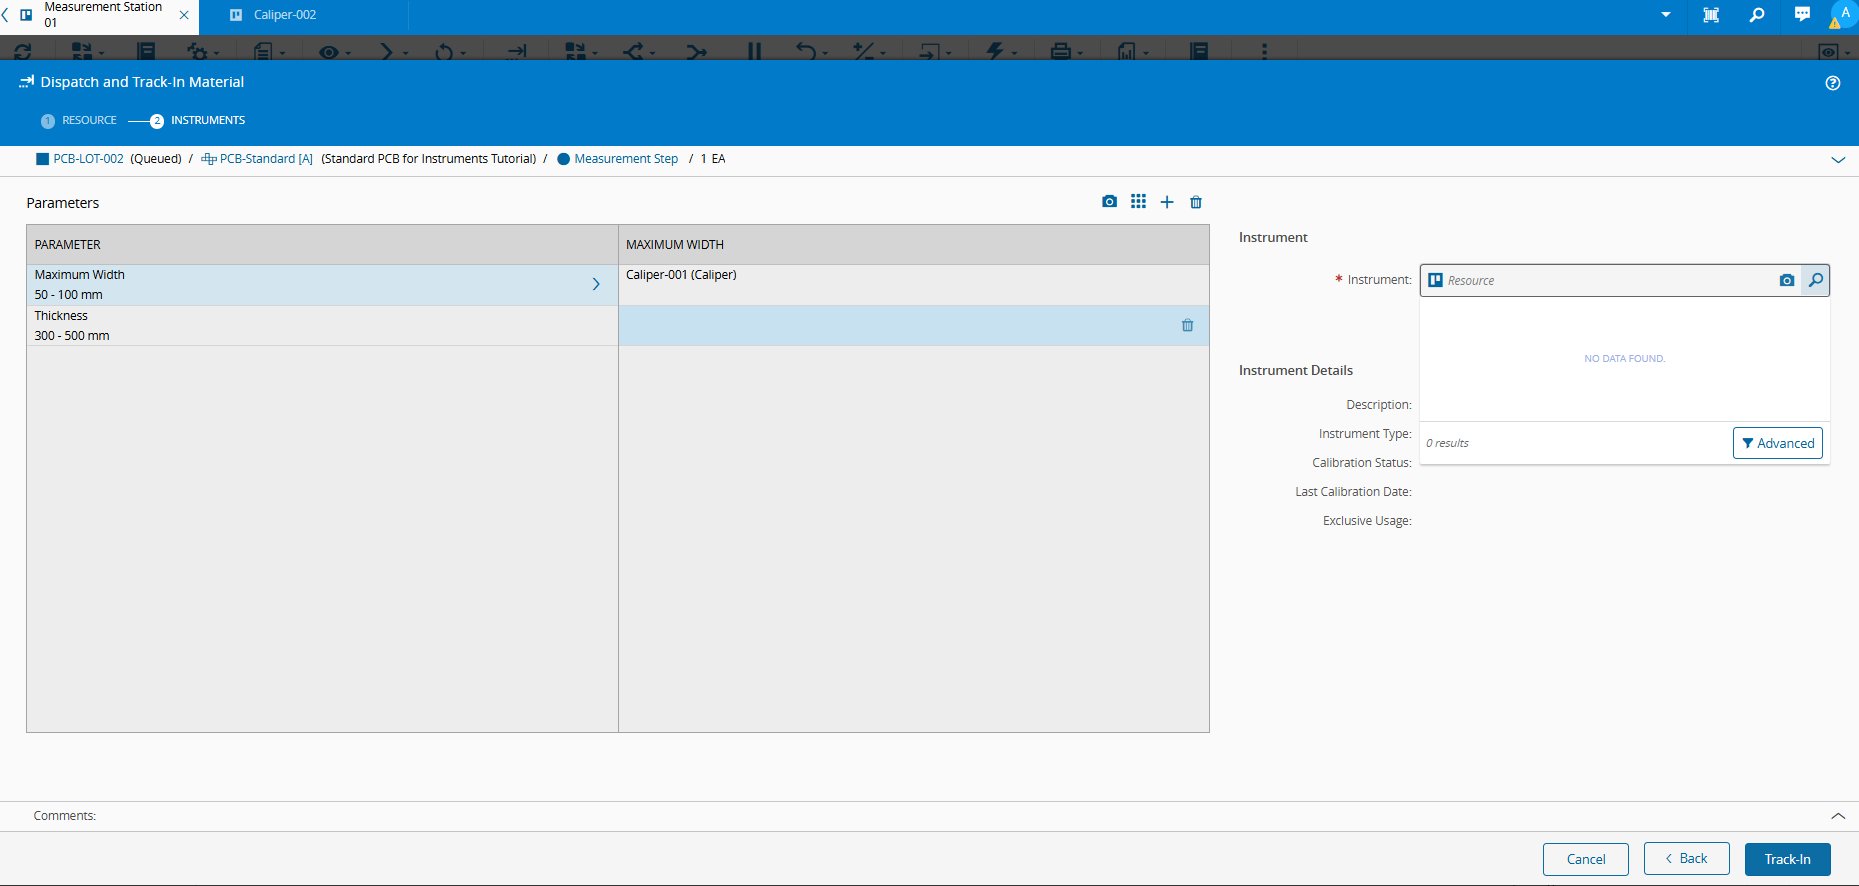
Repeat the Track-In attempt and confirm that the lookup still shows no data.
-
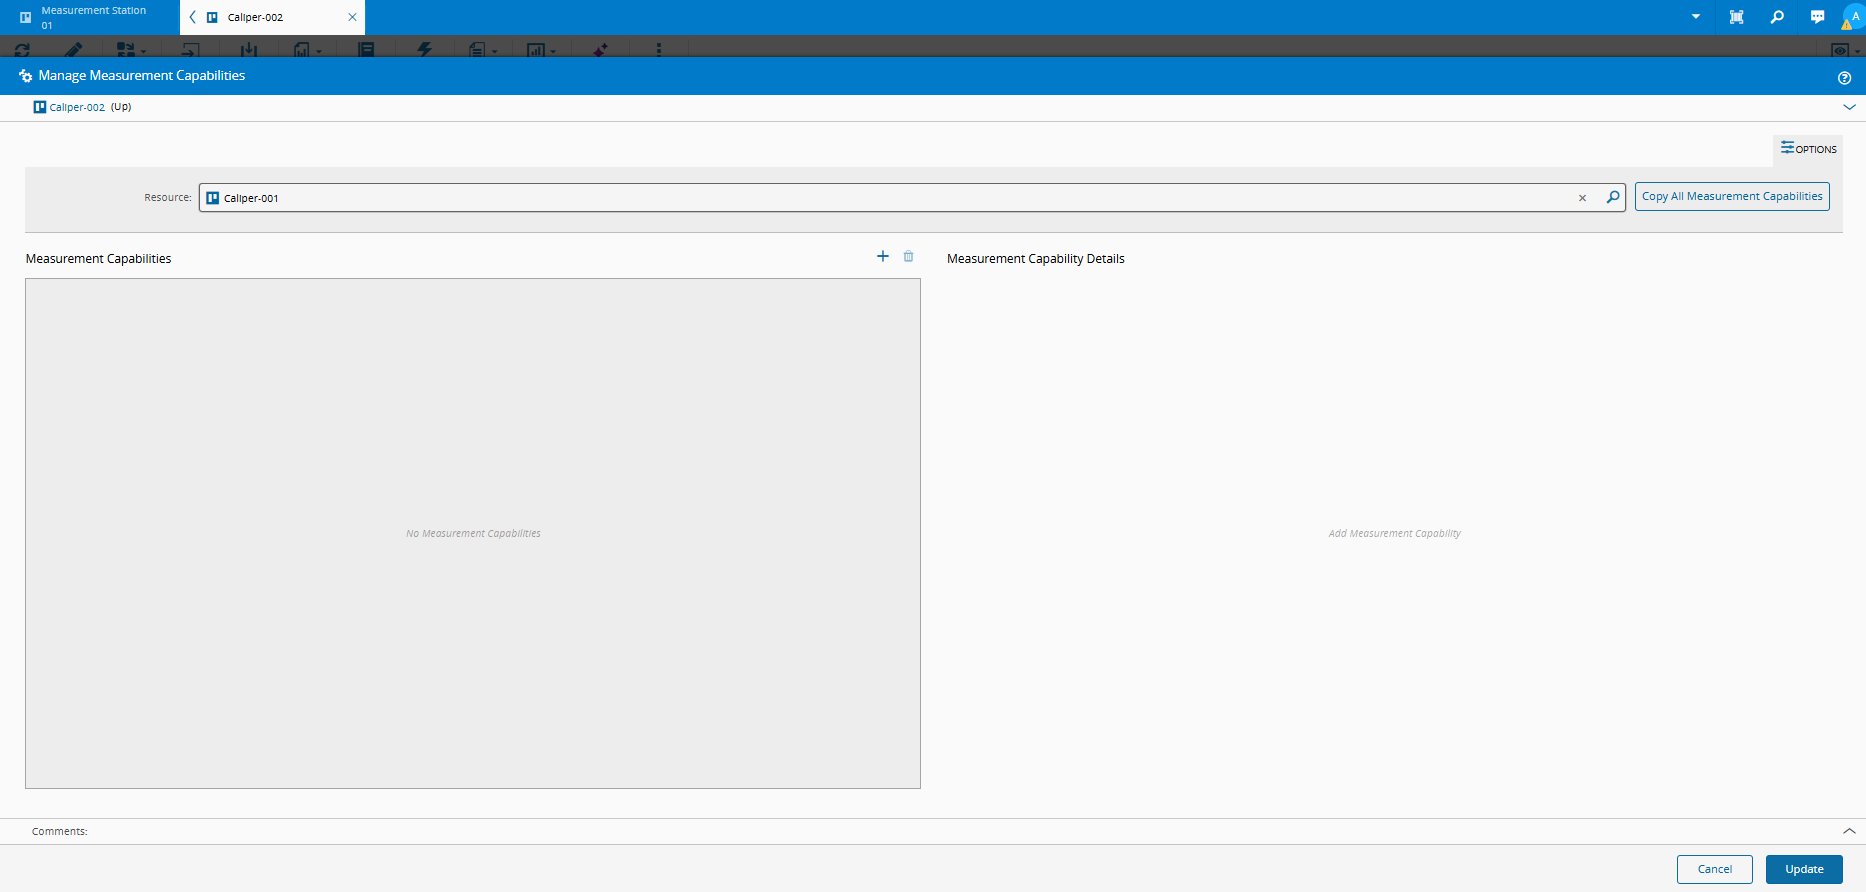
In the main Resource page, go to Measurement Capabilities > Manage for
Caliper-002. - In the Resource field, select
Caliper-001and use Copy All Measurement Capabilities. -
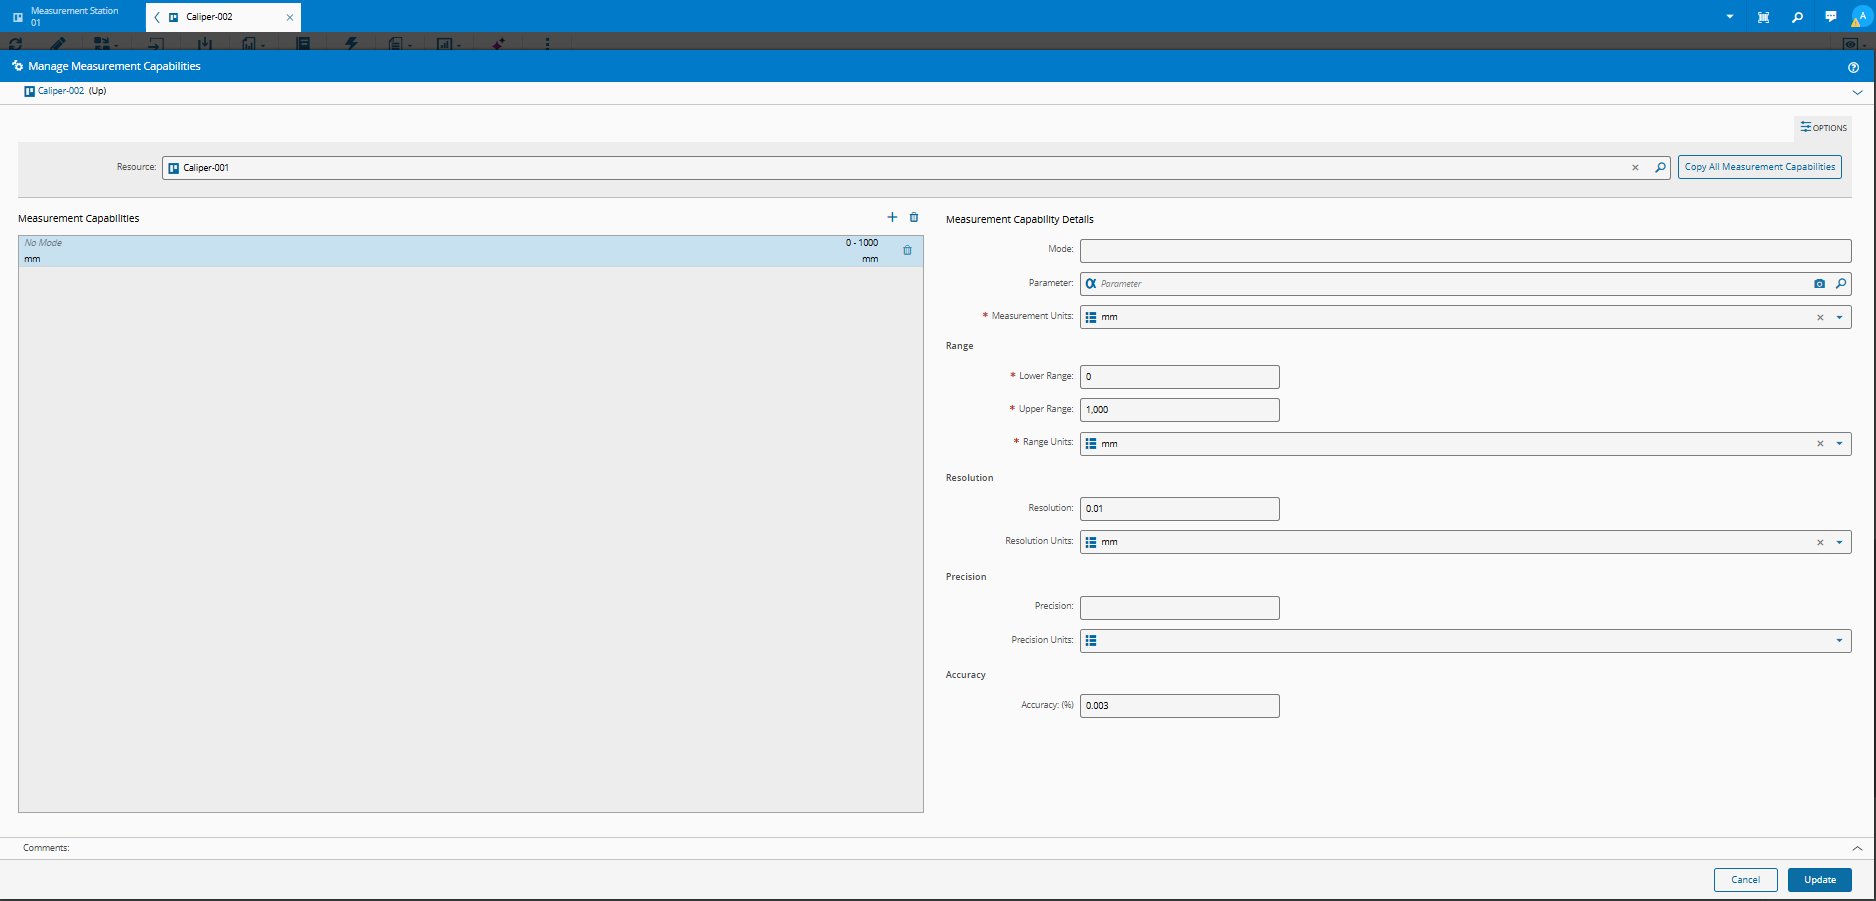
Confirm that the copied values include
mmunits, range0to1000,0.01resolution, and0.003%accuracy.Note
Copy All Measurement Capabilities is useful when instruments of the same type share the same specifications.
-
Edit
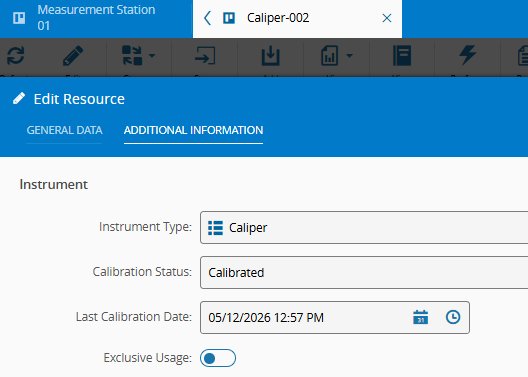
Caliper-002again. - Change Calibration Status to
Calibrated. -
Set Last Calibration Date to today and save the changes.
Note
In production, the Maintenance module normally manages the calibration status and last calibration date. This manual update is used here only to demonstrate the point-of-use validation.
-
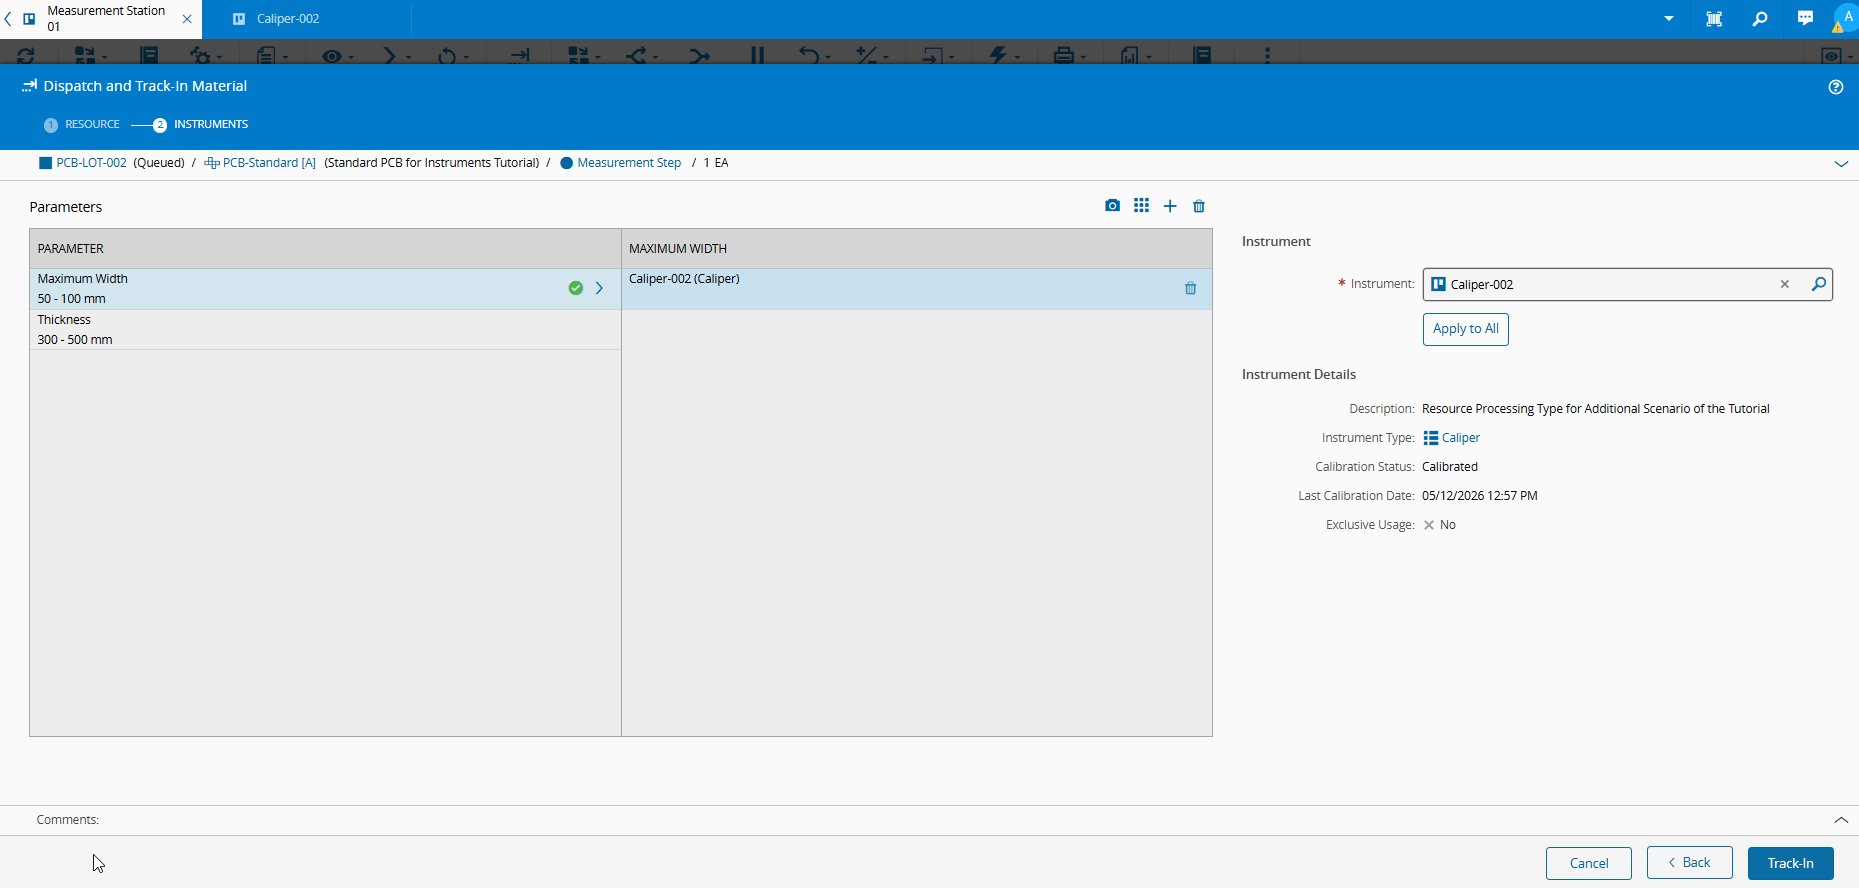
Start Dispatch and Track-In for
PCB-LOT-002again. - On the Instruments step, open the search field for Maximum Width.
- Verify that
Caliper-002is now available.
Video Example#
Next page: Scenario 4: Perform Setup: Instruments Step.