Scenario 1: Instrument Selection at Track-In#
Estimated time to read: 2 minutes
Use this scenario to validate the standard execution flow. A calibrated Instrument is associated with a process Resource, confirmed during Track-In, and then recorded in the Data Collection Instance.
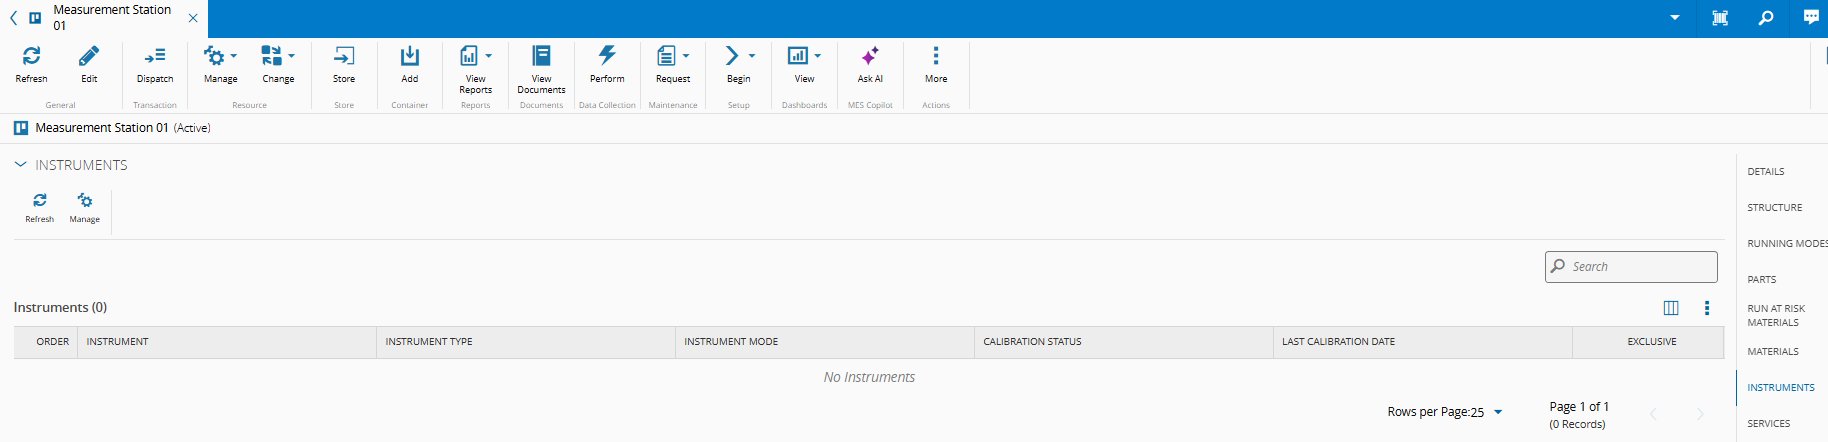
- Go to the Resource view of
Measurement Station 01, the Material page forPCB-LOT-001, or the Step view ofMeasurement Step. - Execute Dispatch and Track-In.
-
On step 2 of the wizard, confirm
Caliper-001for both Parameters.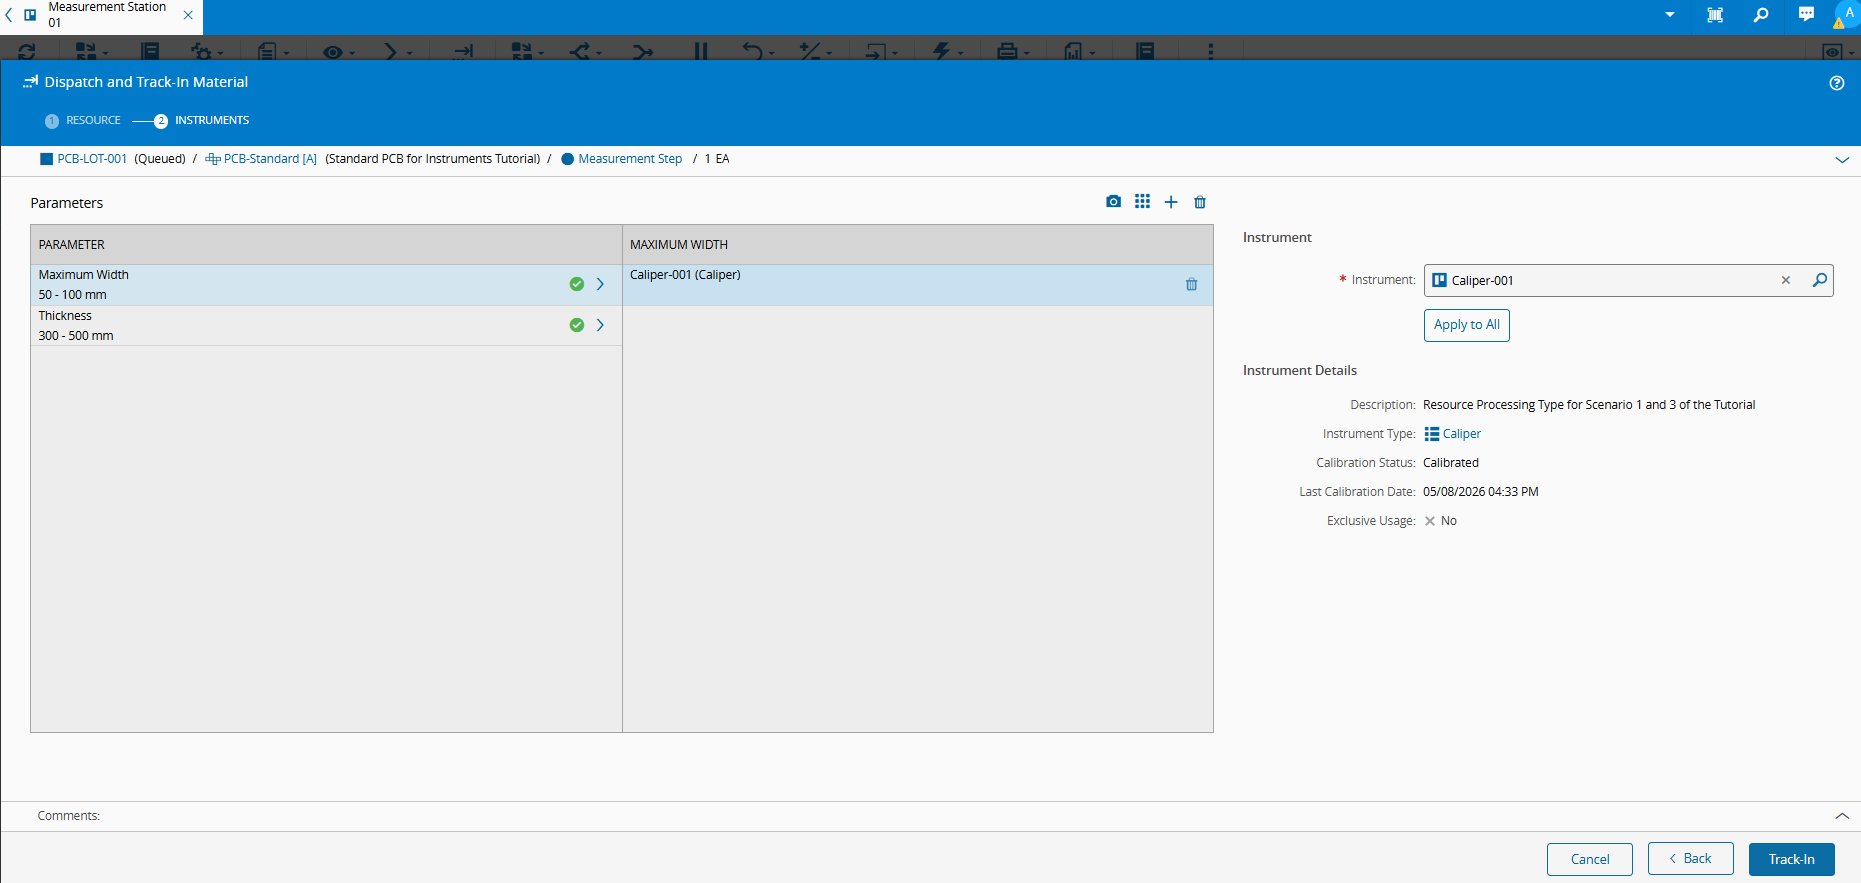
-
Select Track-In to complete the operation.
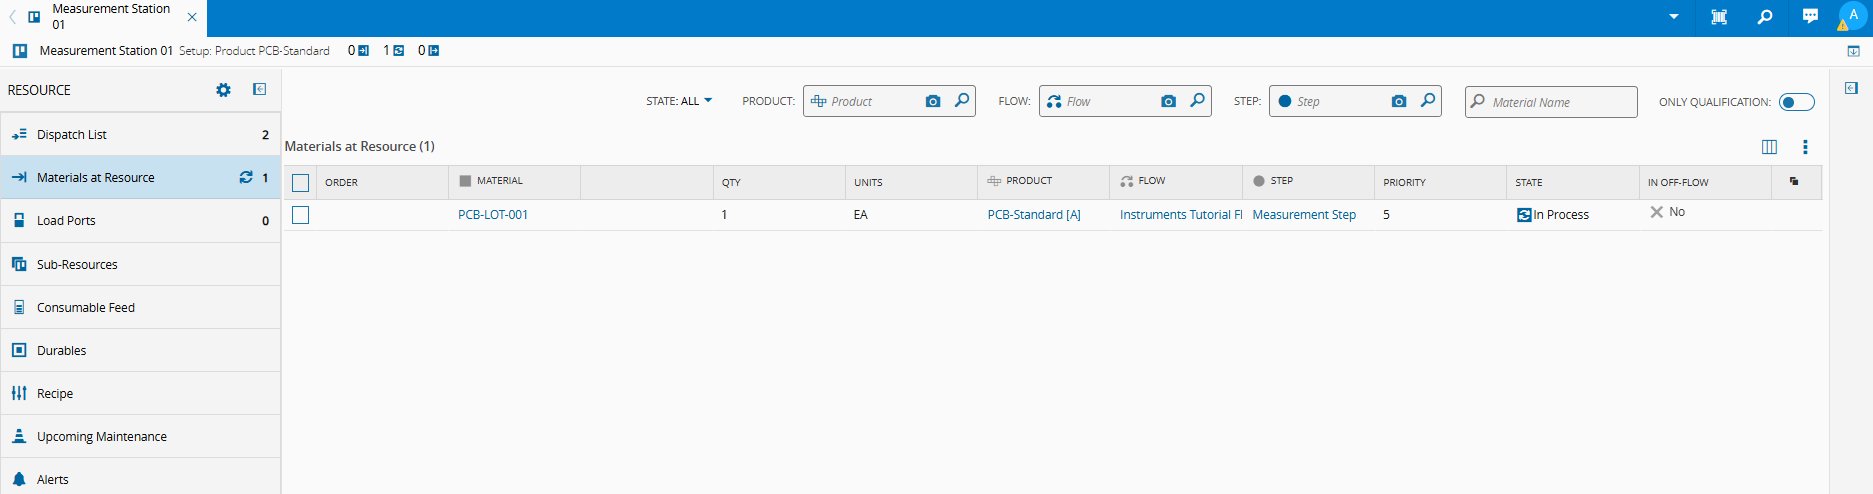
-
Execute Track-Out for
PCB-LOT-001. - On the Data Collection step, select
Caliper-001for Maximum Width and enter a value between50and100. - Repeat the same selection for Thickness and enter a value between
300and500. -
Select Track-Out.
Note
Even though
Caliper-001is confirmed during the Track-In Instruments step, the system does not preselect it during data entry. The operator must select the instrument for each parameter.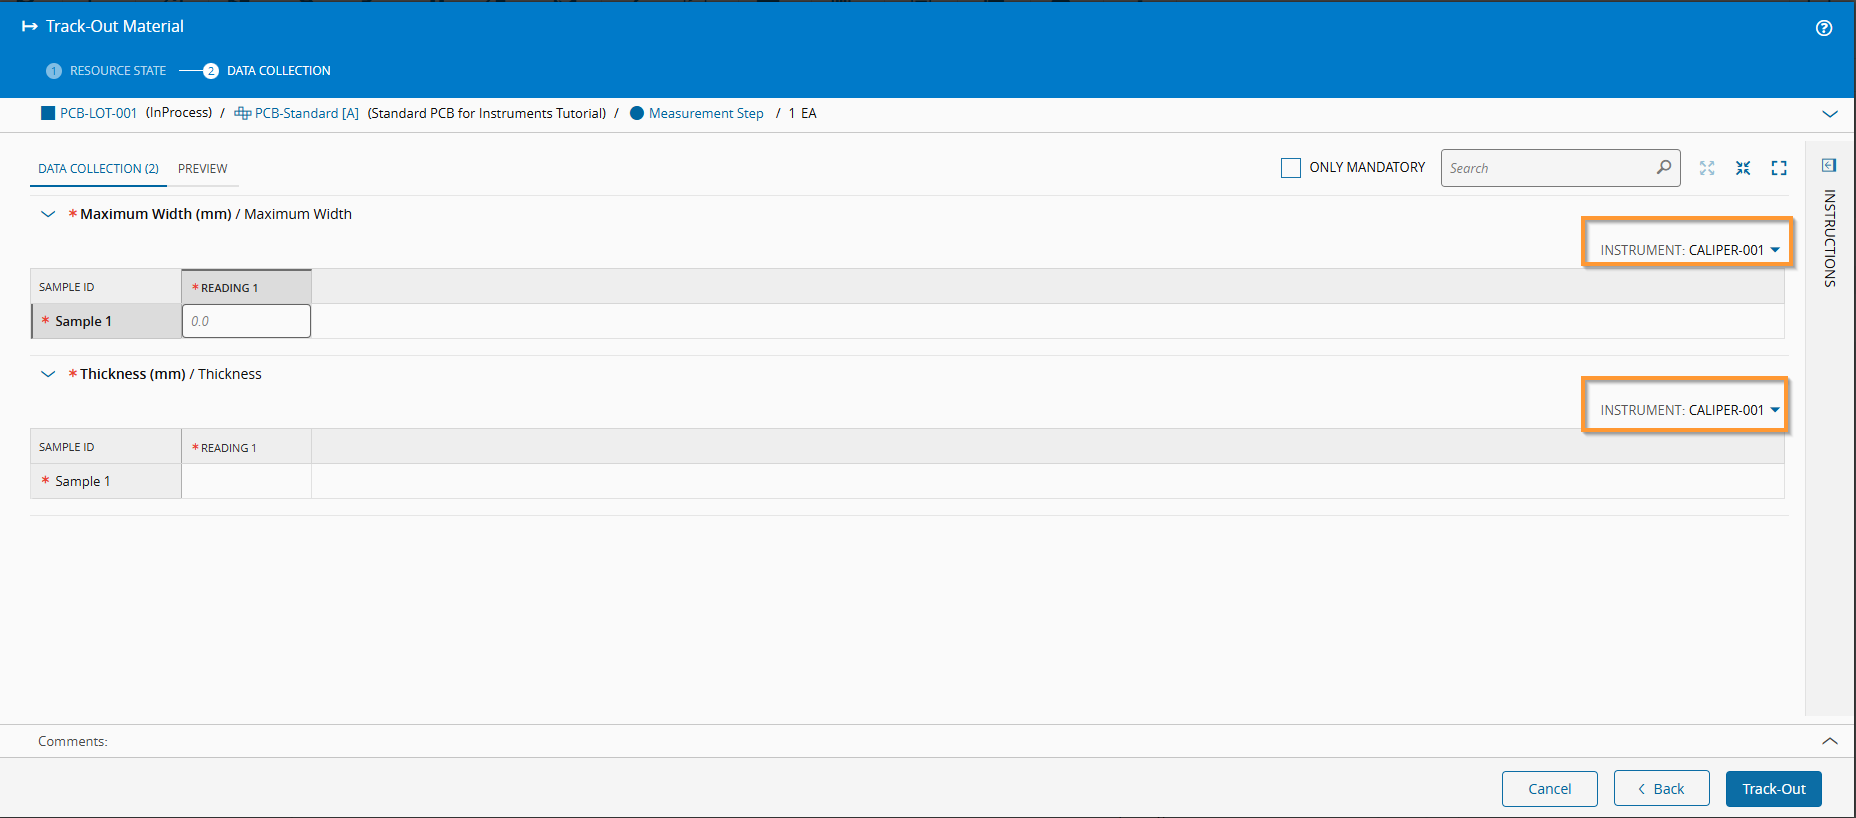
-
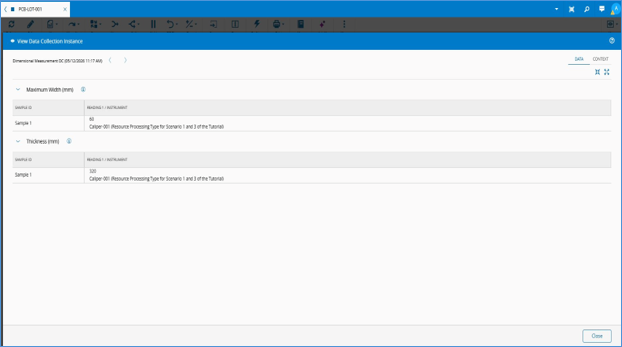
Go to Business Data > Material >
PCB-LOT-001. - Open Collected Data, select the
Dimensional Measurementinstance, and open the DATA tab. - Verify that each reading shows the entered value and
Caliper-001as the Instrument used.
Note
This is the location where you can verify the instrument used for each measurement. The information does not appear directly in the Material History Report or Material Traceability View.
Video Example#
Next page: Scenario 2: Exclusive Usage.