Timeline#
![]()
Overview#
The Timeline widget provides a mechanism to visualize a sequence of events over a specified period of time.
To use the Timeline Widget in an UIPage, follow the steps below.
- In any UIPage in Build mode, select the Timeline Widget from the Widgets list located in the right side of the page, and then drag and drop to the correct place in the UIPage.
- Enter the Settings section of the Widget.
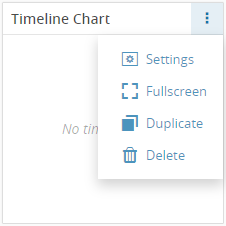
- In the General tab, provide a name for the Widget, a description, specify whether it should display the header and also if the user can activate the full screen mode.
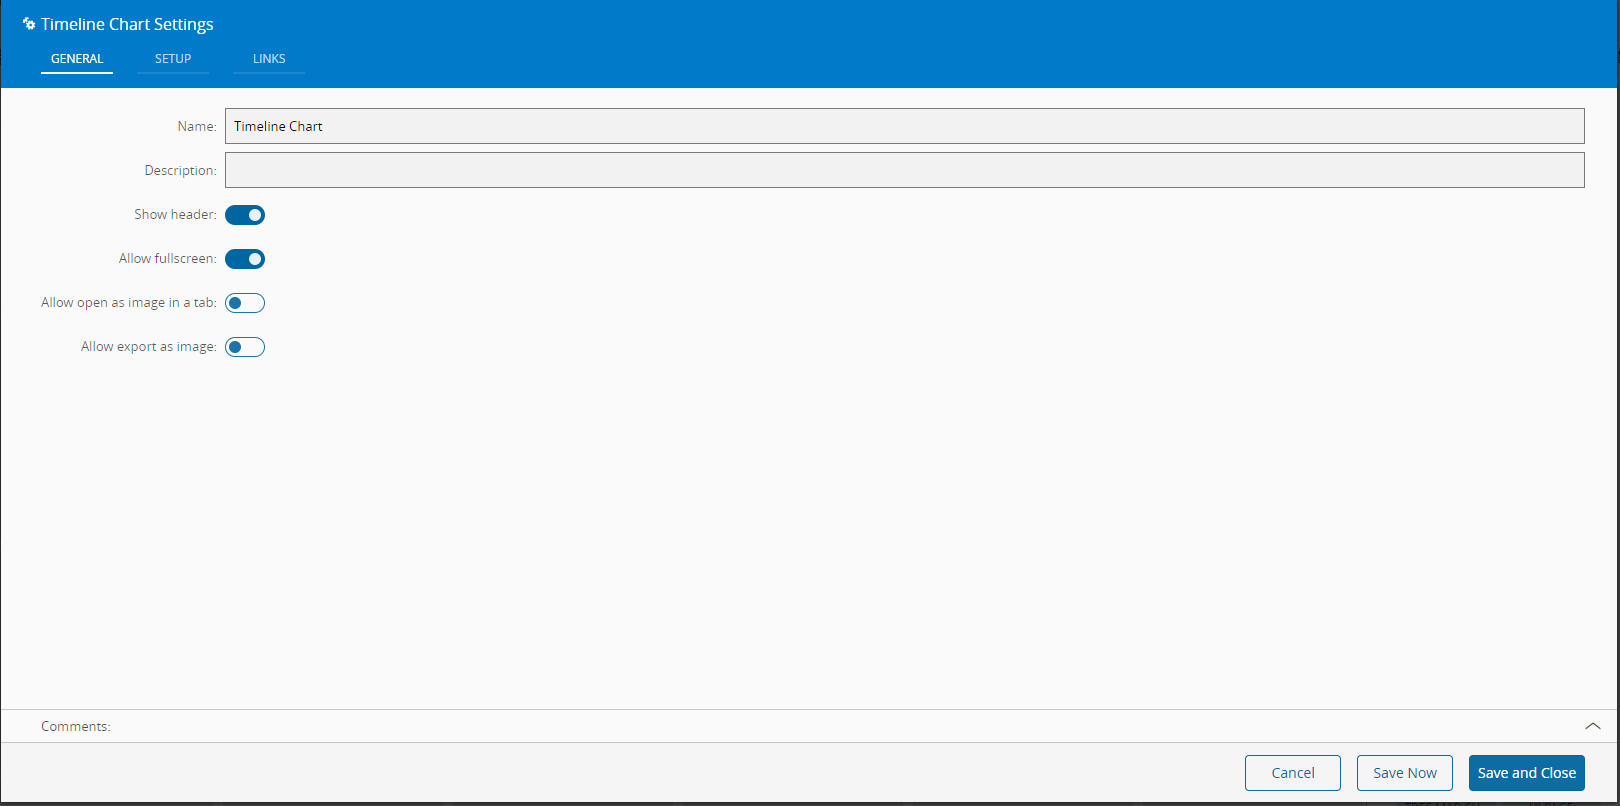
- In the setup tab, the visual properties and the field names of the Widget are configured.
- Title - Title of the Timeline
- Sub-Title - Sub-title of the Timeline
- Auto generated colors - Specifies whether the colors of the range should be auto-generated.
- Category field - Name of the field that contains the values that will appear on the tooltip of the range.
- Color field - Name of the field that contains the color of the range.
- Range begin field - Name of the field that contains either a numeric value or a time value marking the beginning of the range.
- Range end field - Name of the field that contains either a numeric value or a time value marking the end of the range. ![timelineSetup][timelineSetup]
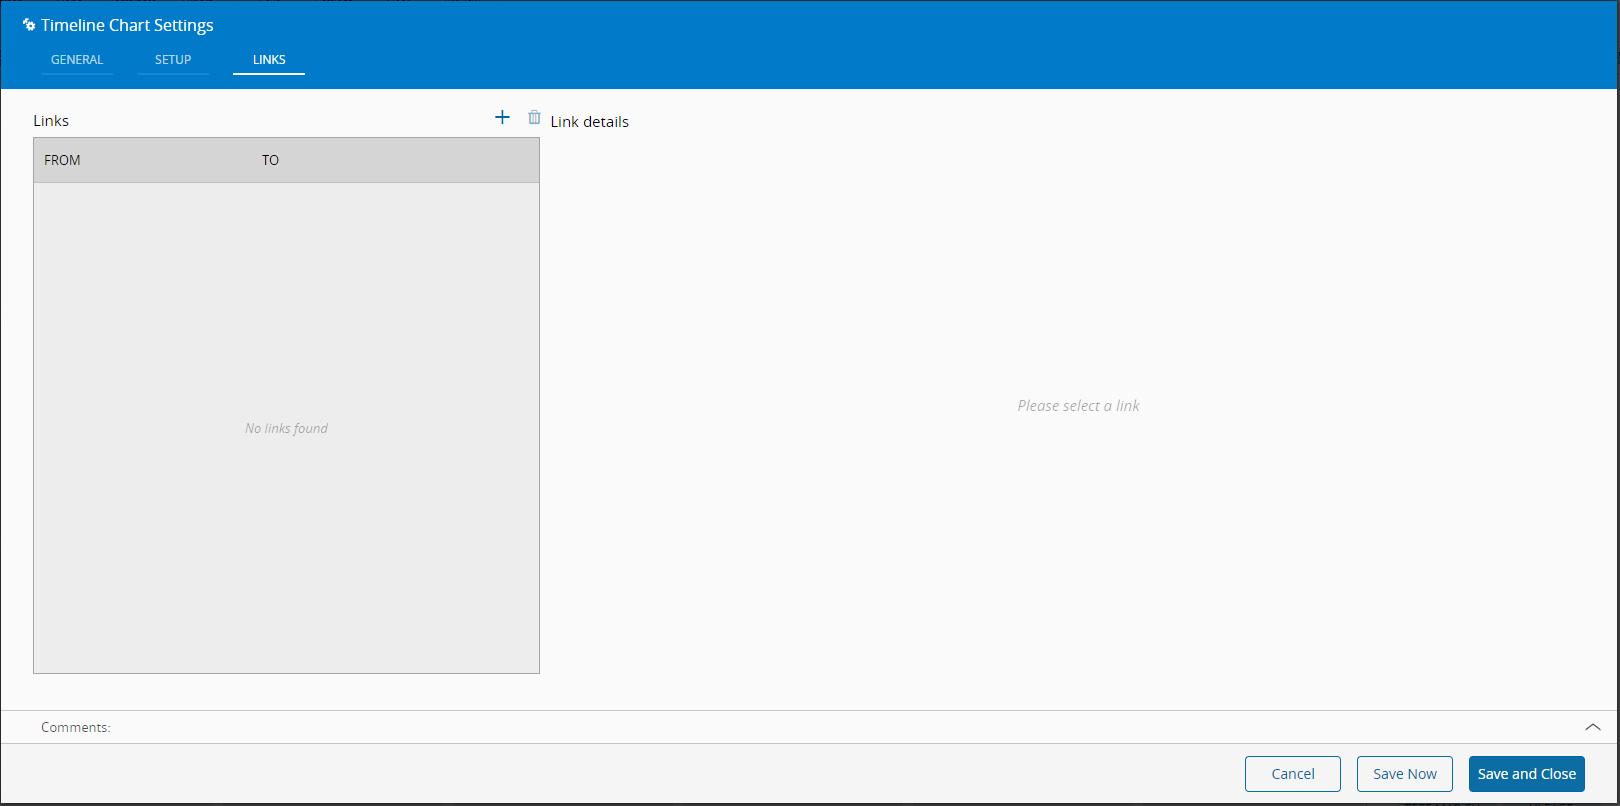
- Optionally, define the links between this Widget and other elements of the UIPage.
- By saving and closing the settings, the widget will be changed accordingly.