Create Flow#
 Flow.Create
Overview#
This operation is used to create a Flow.
Setup#
No specific setup is required other than to meet the preconditions of the transaction.
Preconditions#
- The Flow does not currently exist in the system.
Sequence of Steps#
There are several ways to create a new versioned object. Depending on the level, follow these steps to get started:
- Entity - In the landing page of this entity type in the Business Data menu or in the details page of an existing entity of the same type, select New on the top ribbon. For more information see Creating Entity Objects.
- Revision - If you want to create a new revision, go to the New dropdown button on the top ribbon and select Revision. For more information, see Revisions.
- Version - If you want to create a version associated to an existing revision, go to the New dropdown button on the top ribbon and select Version. For more information, see Versions.
Step 1: Change Set#
- Select an existing Change Set or select Create to create a new Change Set. If configured to support implicit Change Sets, it is also possible to check the option Use Automatic Change Set.
- Optionally, select an Approval Role.
Step 2: General Data#
-
Provide a name for the Flow.
Warning
A Flow name may not contain the following characters:
:and/. -
If you are creating a new version, the revision that was selected when you started the process will be the revision to which this version will be associated. If you are creating a new entity or revision (with a new version associated to it), provide a name for the revision or it will be automatically generated for you. For more information on revision naming, see Revision Naming.
- Optionally, provide a description of the Flow.
- Select the Flow type. The list of possible values is taken from the lookup table
FlowType. - Select the type of Flow:
- Sequential
- Non-Sequential Block
- Alternate Flow
- Line
-
For Sequential or Alternate Flows, select the type of the child nodes of the Flow:
- Step
- Flow
Warning
Non-Sequential Block Flows or Line Flows can only contain Steps.
-
Set the Flow as enabled or disabled.
Info
A disabled Flow prevents any Material from being assigned to that Flow, whether from traditional creation or through rework, adjustment or any other reason. However, if the Material already exists in a Flow that is disabled, processing can continue normally.
-
Select Create to complete the transaction and a new object will be created.

Step 3: Flow Steps#
At this point the Flow is created but there are no Steps or Flows defined for it.
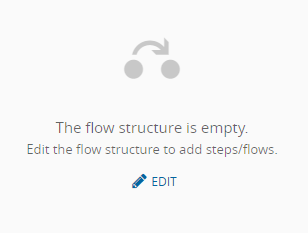
To build the Flow structure, start with the button in the center of the window. This will show a new central panel where you can add the Steps or Flows. The details for each entity are listed on the central panel.
Compose the structure of the Flow, bearing in mind the following restrictions:
- A Flow cannot be empty - it must have at least one SubFlow or one Step.
- When a Flow has Steps, the last Step cannot be an optional Step (even in the case of a Non-Sequential block, although it can be performed at any time).
- A Flow which is Alternate cannot have Optional Steps.
- A Flow which is Non-Sequential Block cannot be Alternate.
- A Flow which is Non-Sequential Block cannot have duplicated Steps.
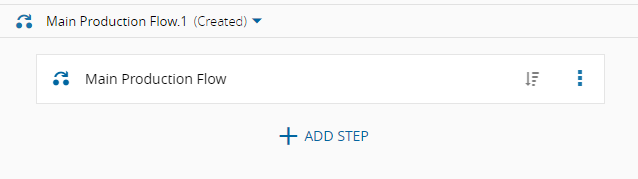
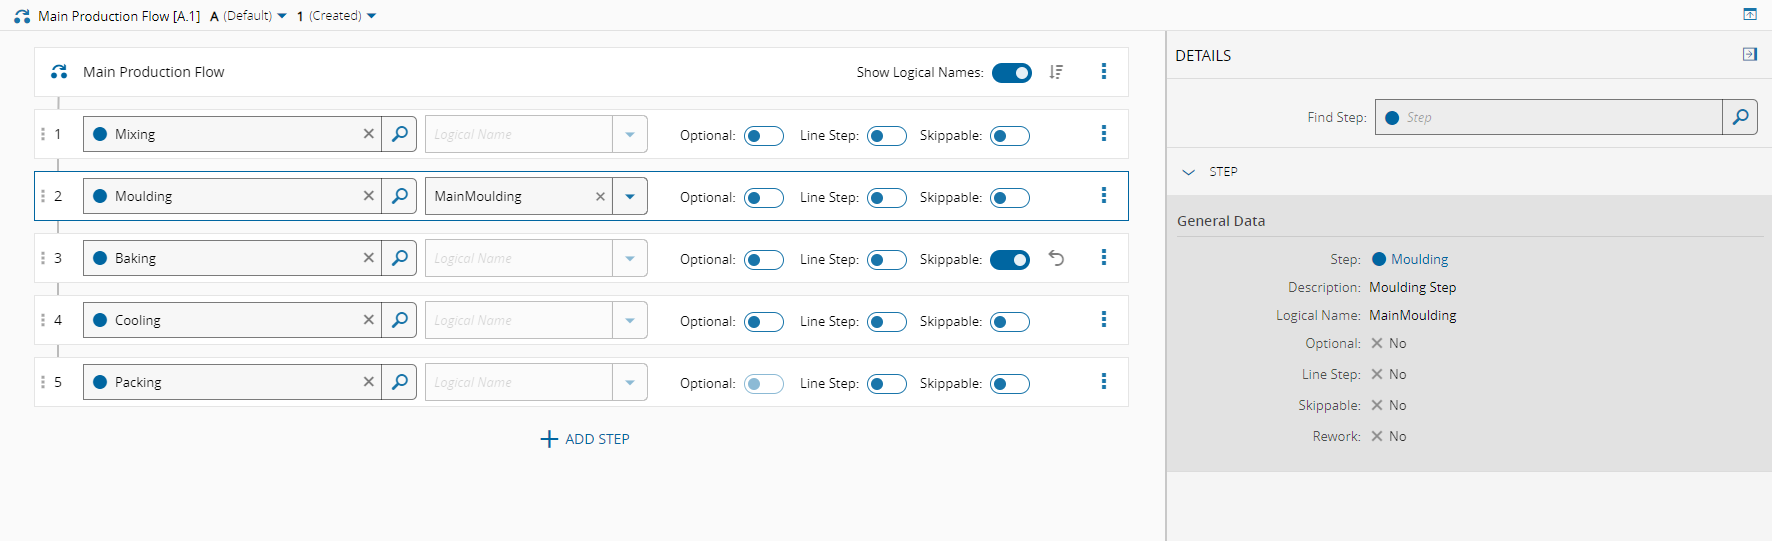
To build the Flow structure, select Add Step and a new row will be inserted in the structure. You can define several options for each Step added to the Flow, as follows:
| Flow Type | Optional | Line Step | Skippable |
|---|---|---|---|
| Sequential | X | X | X |
| Non-Sequential Block | X | X | X |
| Alternate Flow | X | X | |
| Line | X |
Table: Flow Types and Step Options
Note
The Skippable option is only used in the context of Experiments. For more information, see Create Experiment Definition.
You can add any desired Step to the structure and move it within the structure while you are editing it.
Info
If a Step has defined any Logical Names, the same Logical Names can be selected for the Flow, in order to represent a specific logical Step.
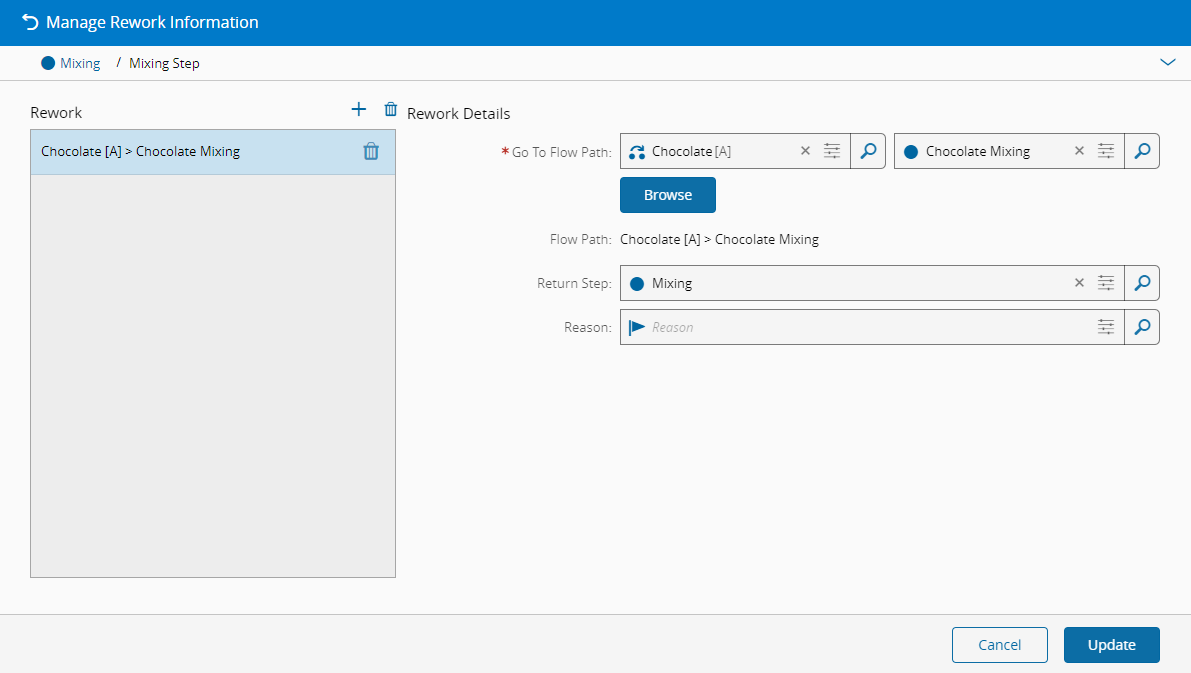
If Rework Paths need to be configured, select the Step for which Rework Information will be added, go to the right side of the Step section, select the three vertical dots and select Manage Rework Information from the context menu to display the Manage Rework Information wizard.
Select and to add and remove Rework Paths to the Step, specifying for each Rework Path:
-
Go To Flow Path, where the Material should be sent for rework.
-
Return Step, where the Material will return after the Material reaches the last Step of the Flow of the Goto Flow Path (Material will return automatically after the Move Next from the last Step of the Goto Flow Path Flow).
-
Reason that is applicable for Rework at that Step, which will be used to indicate that the Rework Path is the default one for that Rework Reason.
Warning
If the structure of the Flow is changed, the Rework Information will be lost.
When you have finished editing, select Save in the button located on the top ribbon to complete the transaction and update the Flow.