Create ML Model#
 MLModel.Create
MLModel.CreateTemplate
MLModel.CreateFromTemplate
Overview#
This Business Data entity is used to create an ML Model. You can also create a template using a similar procedure and use a template to create a new object. This selection is done in the main entity menu.
Setup#
No specific setup is required other than to meet the preconditions of the transaction.
Preconditions#
- The ML Model name must be unique.
Sequence of Steps#
There are several ways to create a new versioned object. Depending on the level, follow these steps to get started:
- Entity - In the landing page of this entity type in the Business Data menu or in the details page of an existing entity of the same type, select New on the top ribbon. For more information see Creating Entity Objects.
- Revision - If you want to create a new revision, go to the New dropdown button on the top ribbon and select Revision. For more information, see Revisions.
- Version - If you want to create a version associated to an existing revision, go to the New dropdown button on the top ribbon and select Version. For more information, see Versions.
Step 1: Change Set#
- Select an existing Change Set or click Create to create a new Change Set. If configured to support implicit Change Sets, it is also possible to check the option Automatic Change Set.
- Optionally, select an Approval Role.
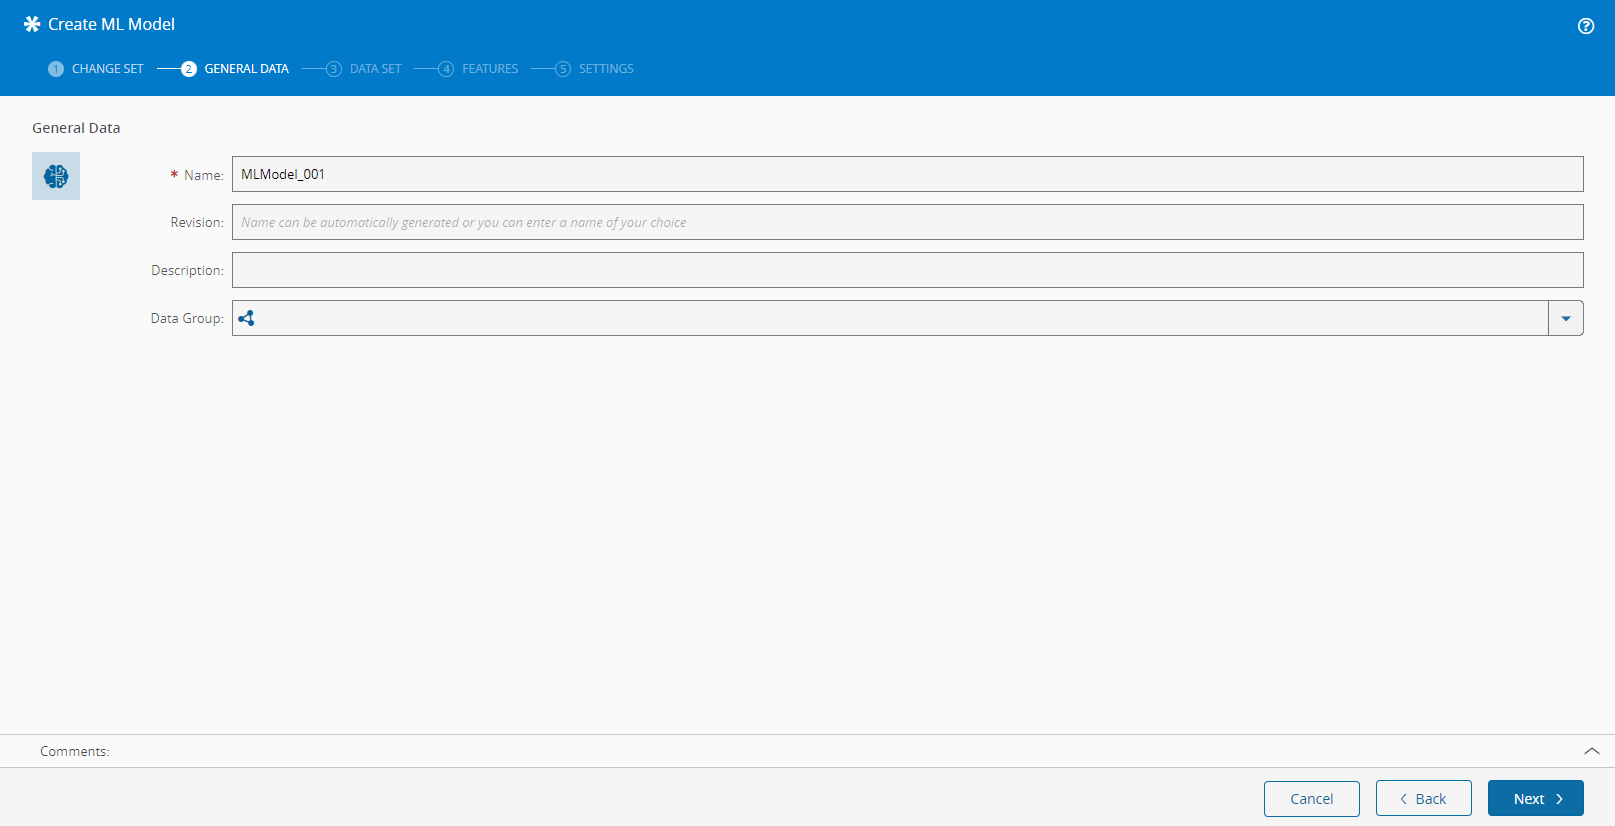
Step 2: General Data#
- Enter the Name of the ML Model (must be unique).
- Enter the Description.
- Select Next to continue.
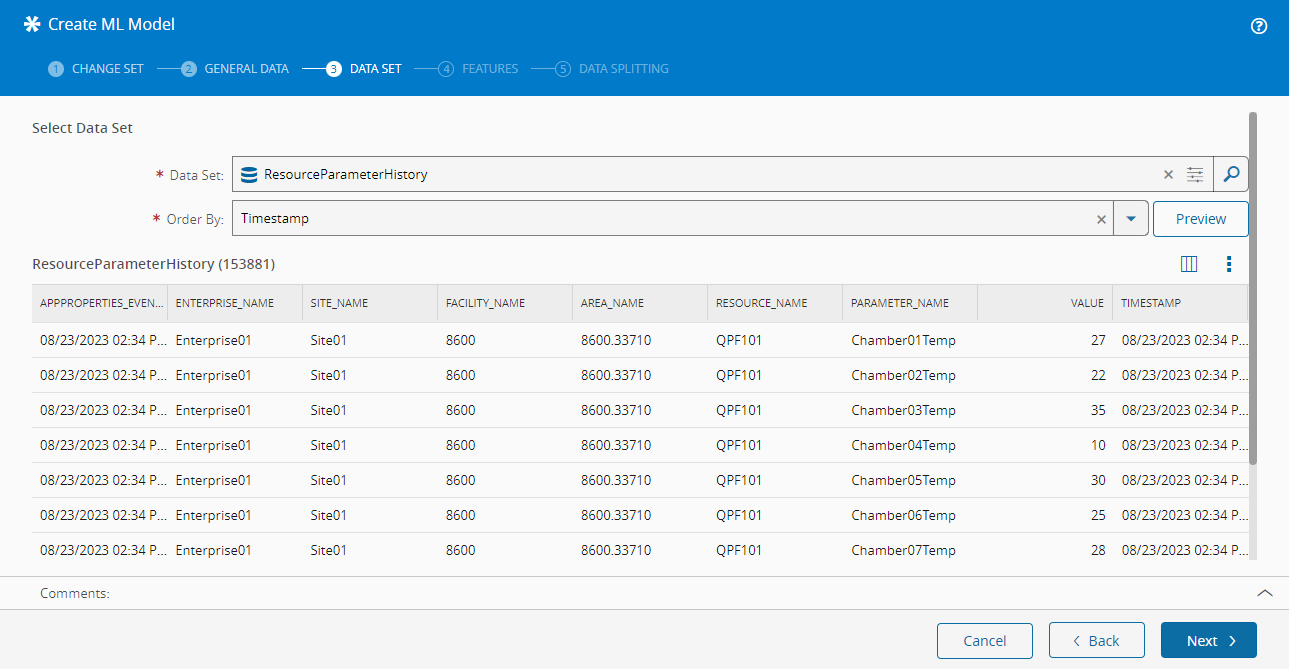
Step 3: Data Set#
In this tab, select the Data Set to be used as a source of data.
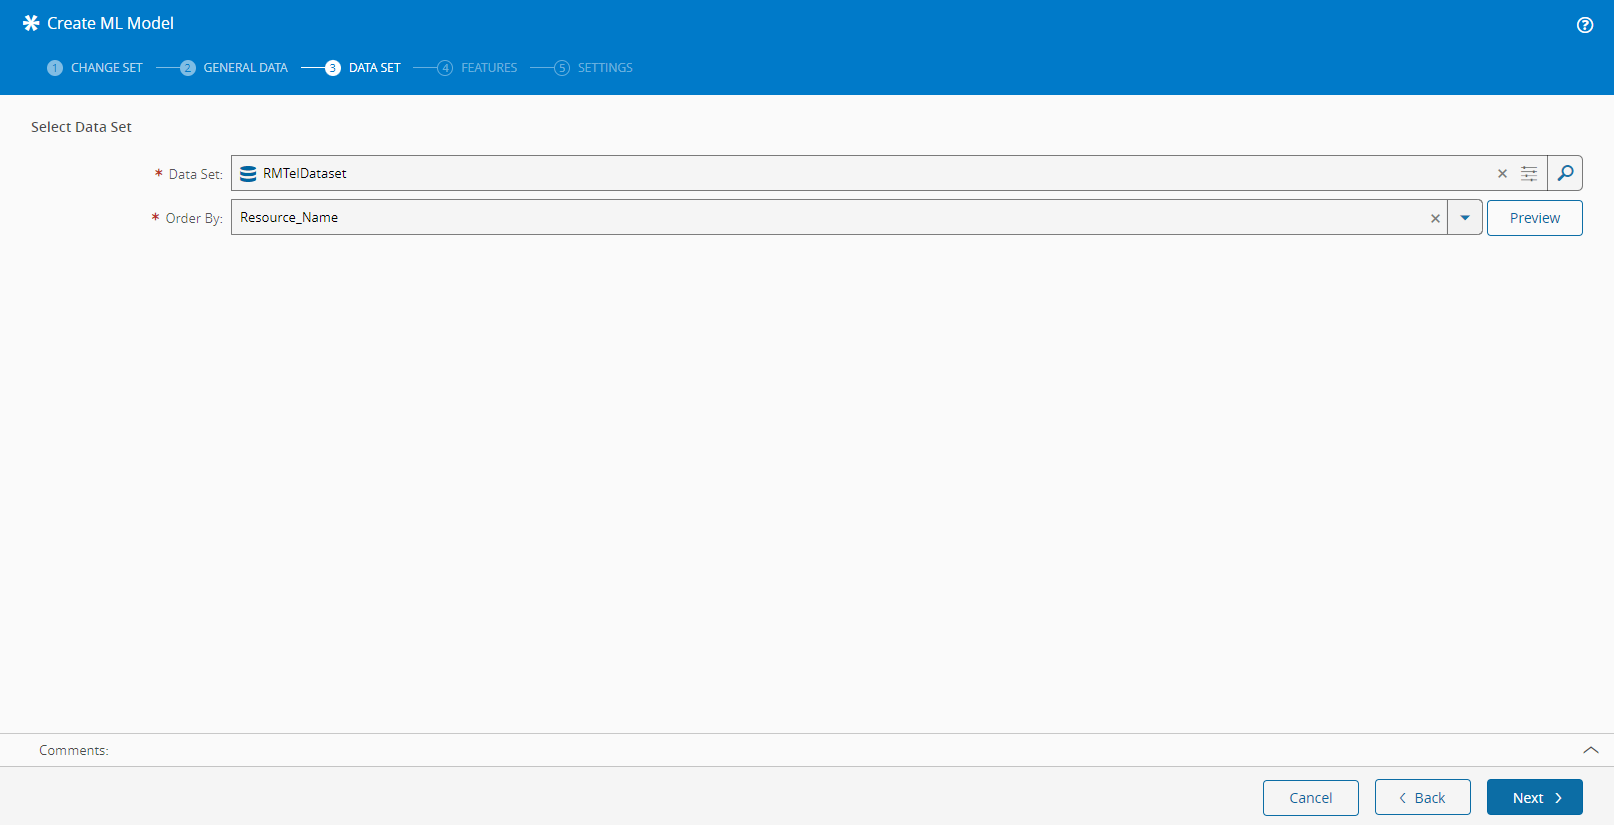
- Choose a Data Set that will be used as the source of data for this ML Model.
- Choose a specific field to use when sorting the Data Set. You can preview the data retrieved through the Data Set by selecting the Preview button on the right side of the Order By selection field and reviewing the information displayed in the grid below.
- Select Next to continue.
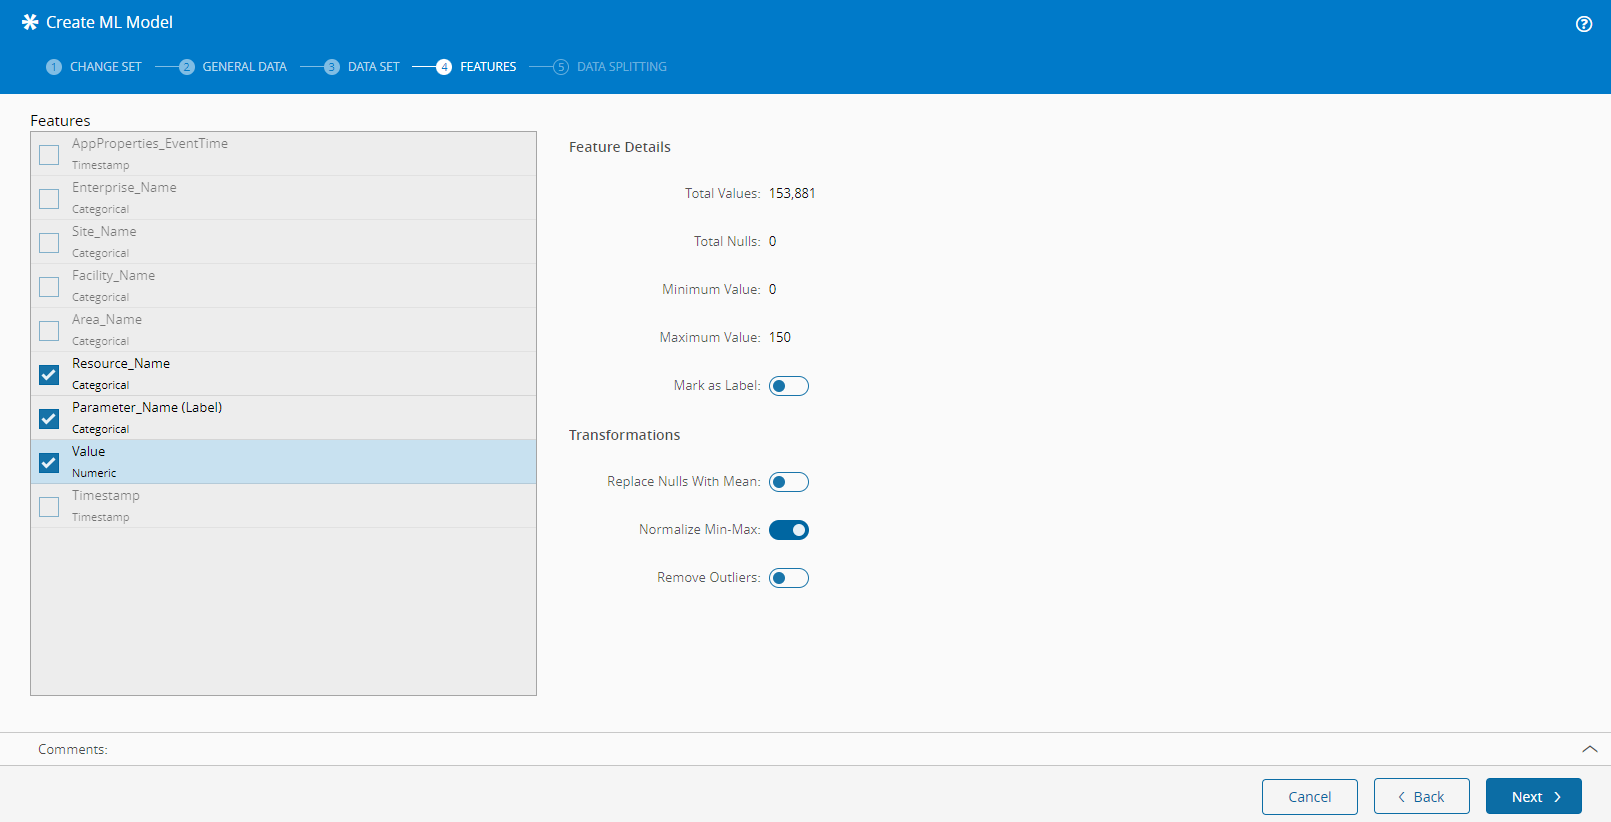
Step 4: Features#
In this tab, you will be able to view a summary of the data as well as edit the properties and transformations applied to the features associated to each of the fields retrieved through the selected Data Set. Only features that meet specific criteria will be available for editing and you can set the following properties depending on the Field Type:
| Feature Field Type | Editable properties |
|---|---|
| Dimension | Mark as Label Replace Nulls with Most Frequent Encoding ( One Hot or Ordinal) |
| Numeric | Mark as Label Replace Nulls with Mean Normalize Min-Max Remove Outliers (also specify the Sigma threshold) |
| Timestamp | None |
Table: Feature editing
Info
One of the features must have the Mark as Label property selected.
Step 5: Data Splitting#
In this tab, choose the different weight that the ML Model will follow. It is possible to combine different criteria, either by adjusting the sliders or by inputting a weight in the text number next to each Criteria. All the weights used must add up to 100. The available criteria are:
| Data Split | Minimum weight | Maximum Weight |
|---|---|---|
| Train | 50% | 80% |
| Validate | 10% | 40% |
| Test | 10% | 10% |
Table: ML Model Data Splitting
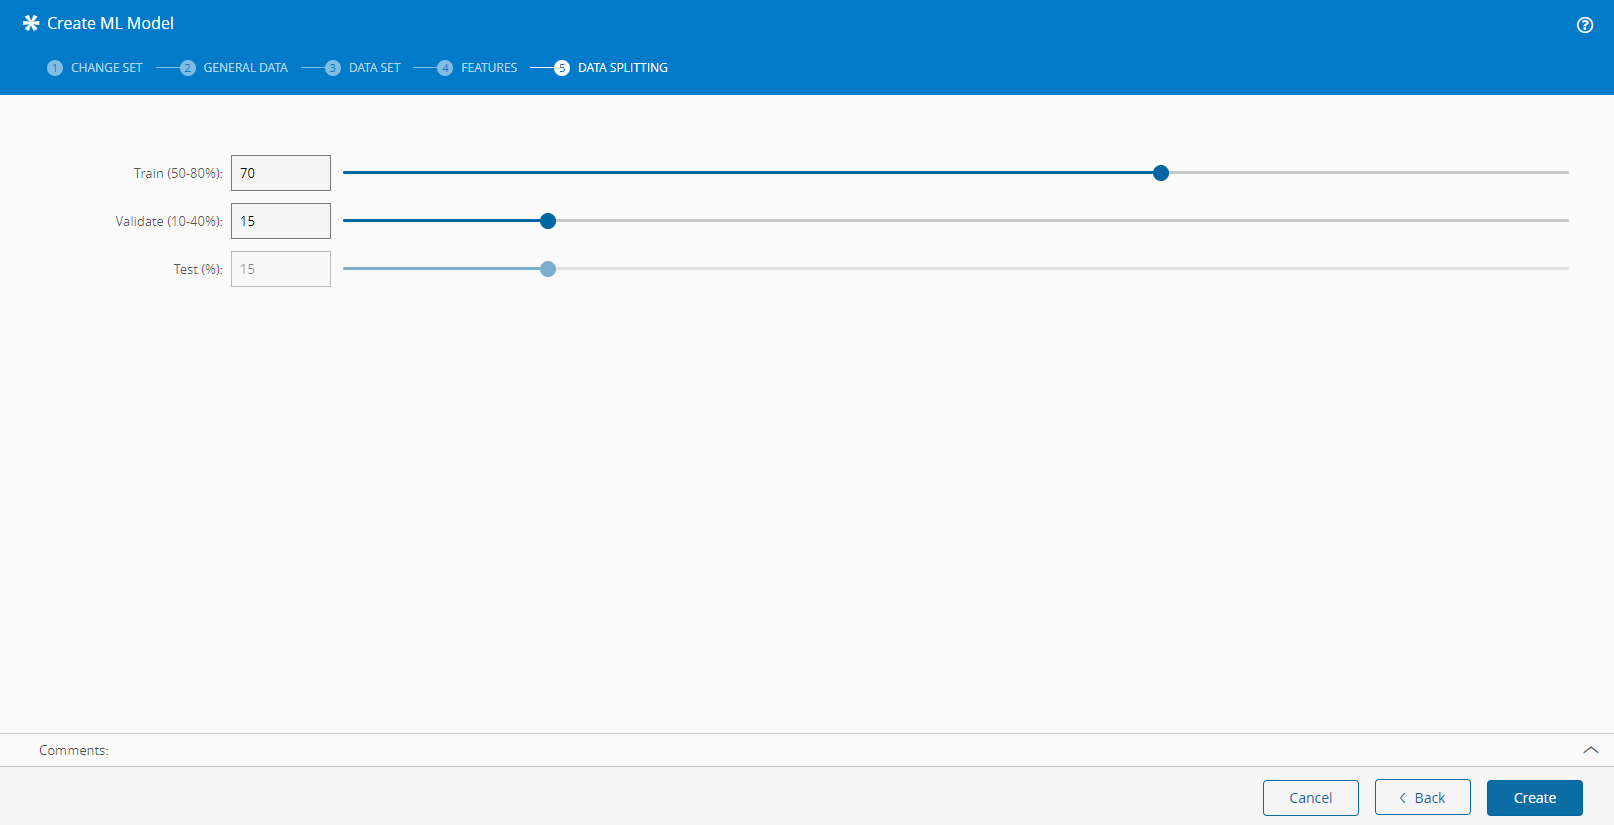
After you have finished the configuration, select Create to complete the operation.