Classic vs Modern#
Estimated time to read: 4 minutes
This example will reflect a real use case, and will highlight the differences between the Classic and Modern Data Collection user interface in Critical Manufacturing MES.
To execute any Data Collection you must have a Material, which has an associated Flow with Steps because the collection of data is performed at a given Step.
Additionally, Steps must provide Services, which are associated to Resources. And there must be an effective Data Collection that is associated to the Step we want to collect data at.
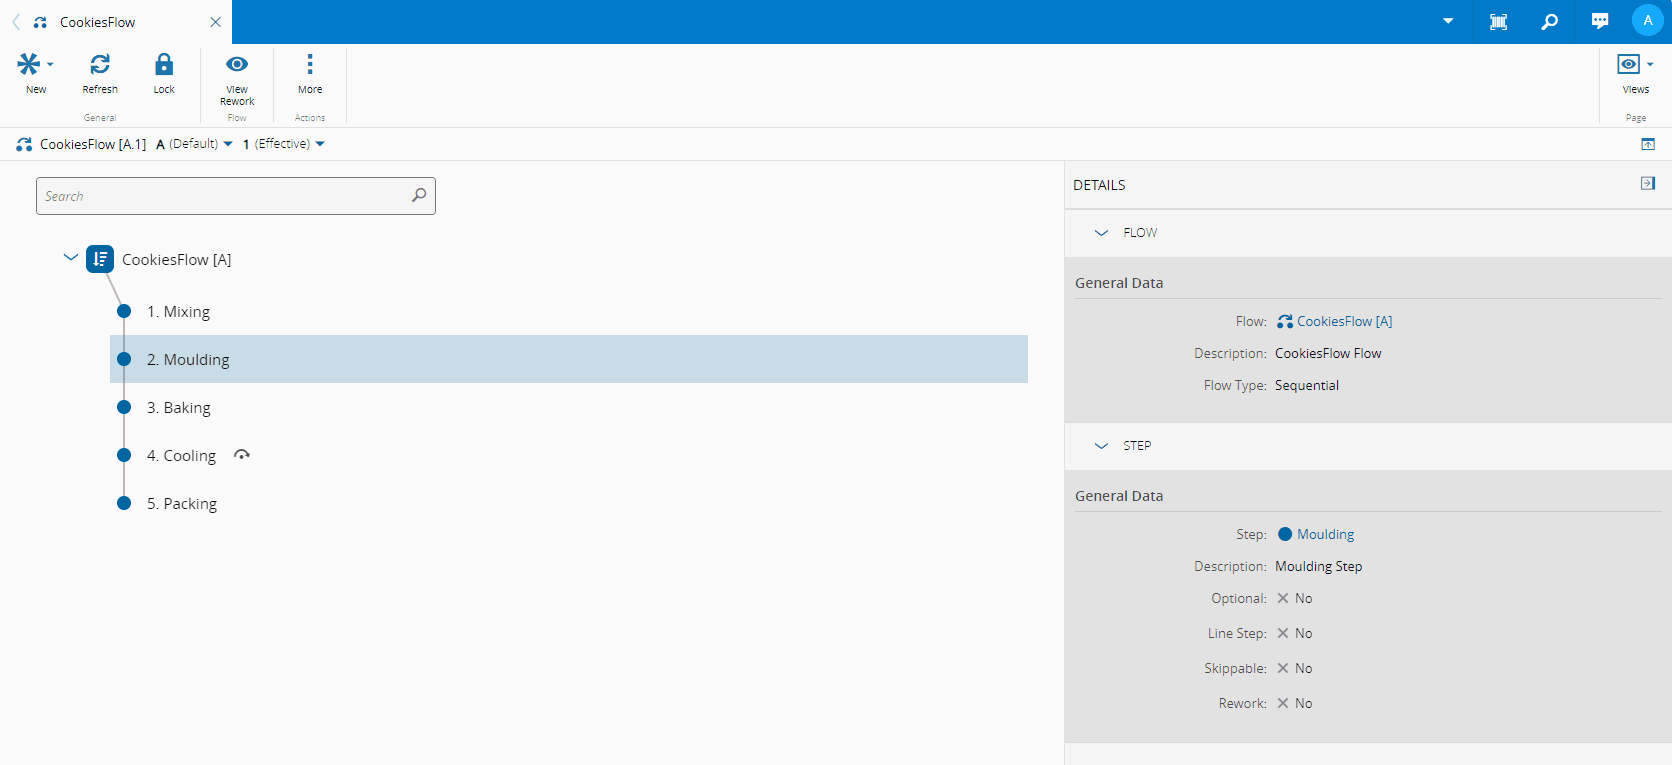
In this example, we will be collecting data at the Moulding Step of the Cookies Flow:
Classic Data Collection#
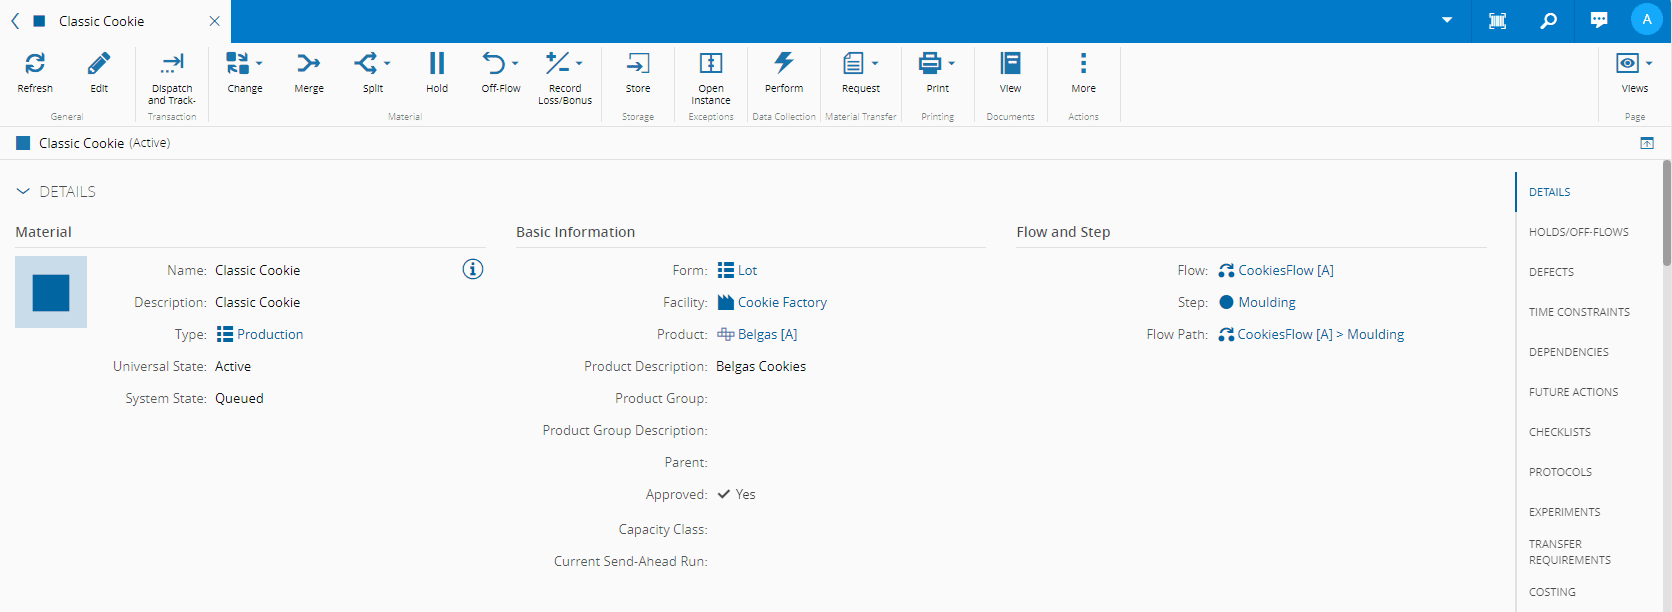
In the Material that we want to collect data, ensure you are at the Moulding Step - the one we configured for the Data Collection Context:
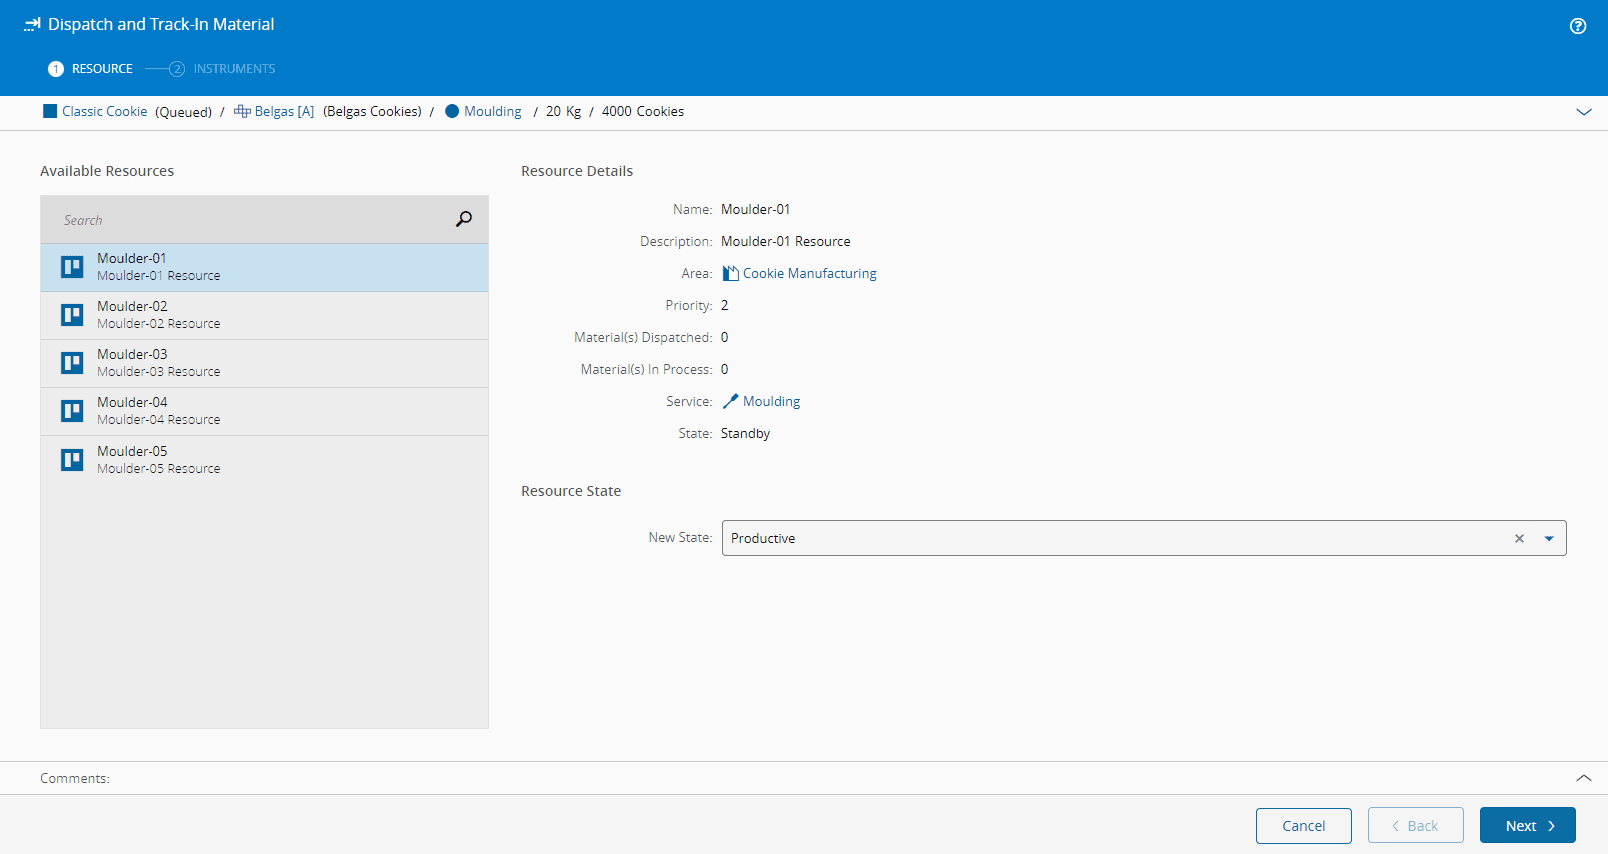
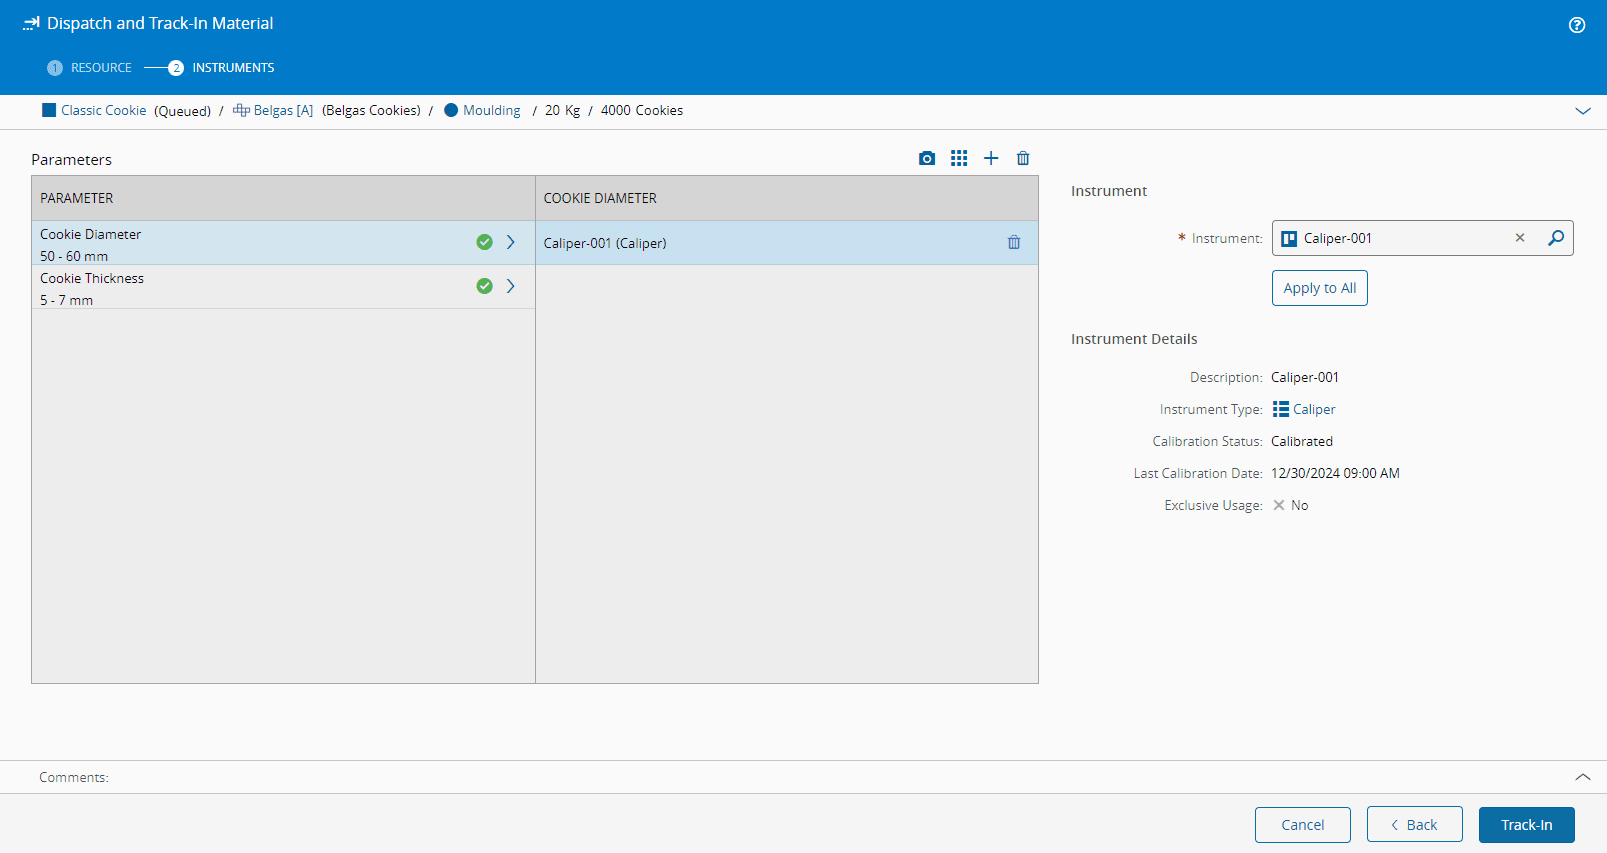
Dispatch and track in the Material to the Moulder-01 Resource, which is where we associated the Instrument we will be using:
Note
There is a second step named Instruments, and this is the result of our previous set up configuration.
Moreover, on selecting Next, you can see the availability of the Instrument, and its information, for both Parameters:
Track in the Material and instead of posting data from the Material, let's use the Resource View as this is generally what the operator sees on the shop floor:
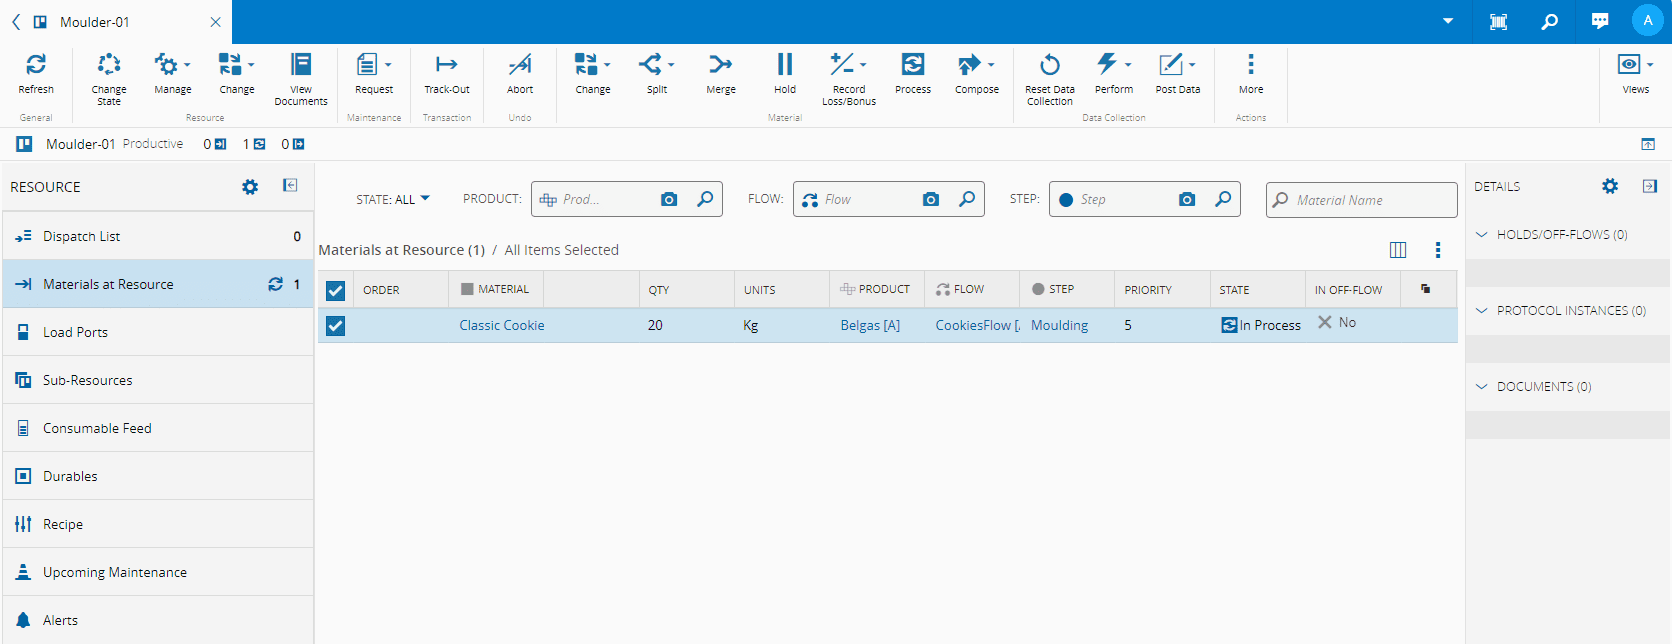
Select the Material, select Post Data on the top ribbon, and in the Post Data to Data Collection wizard proceed by selecting the Instrument, and posting the data, for both Parameters:
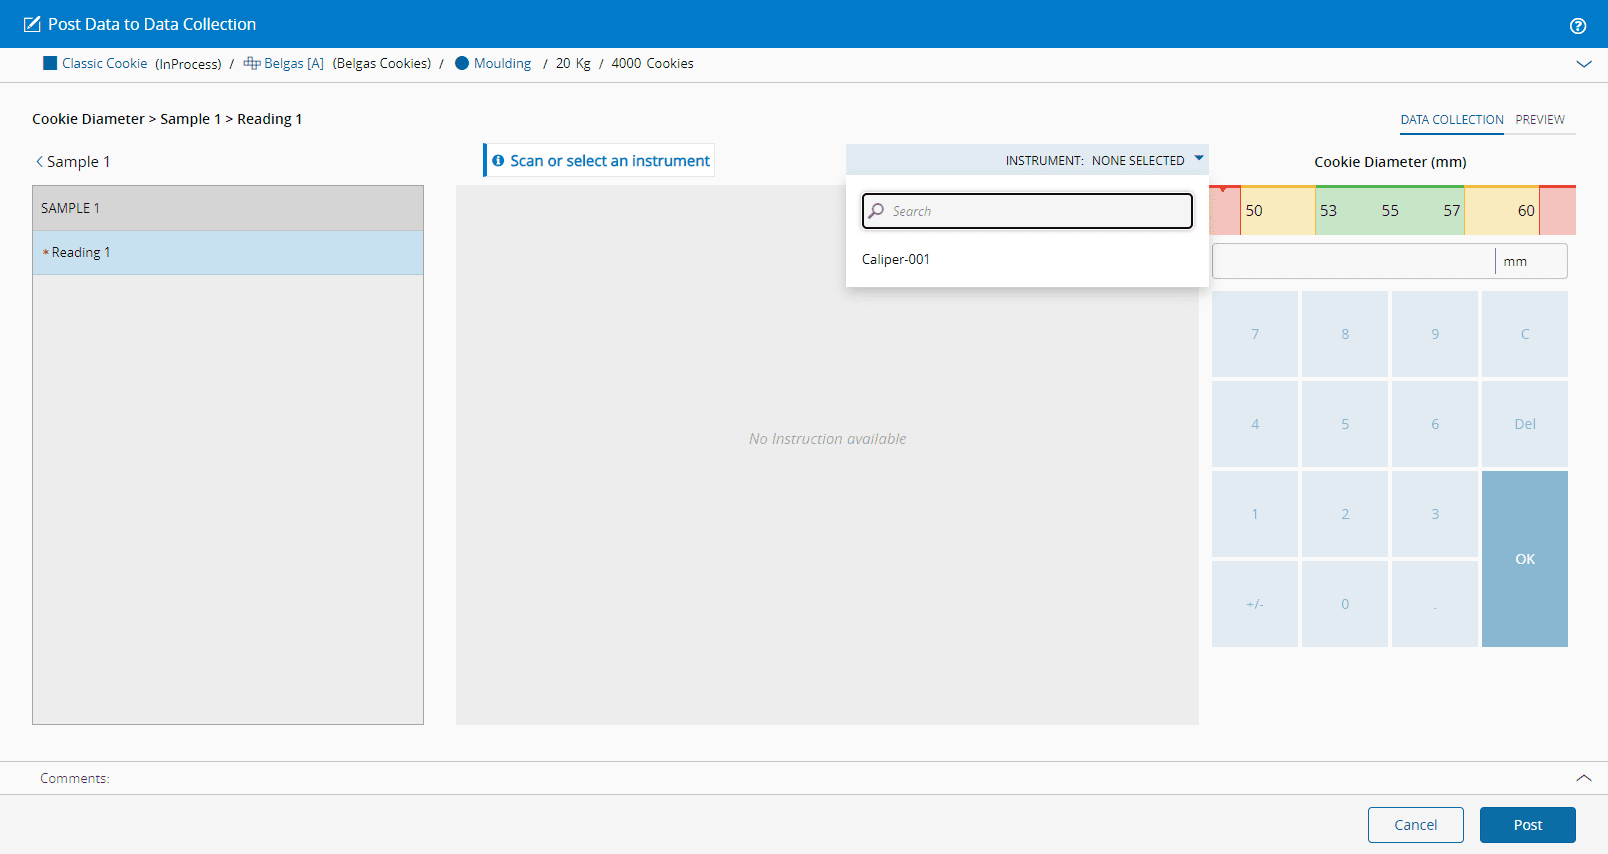
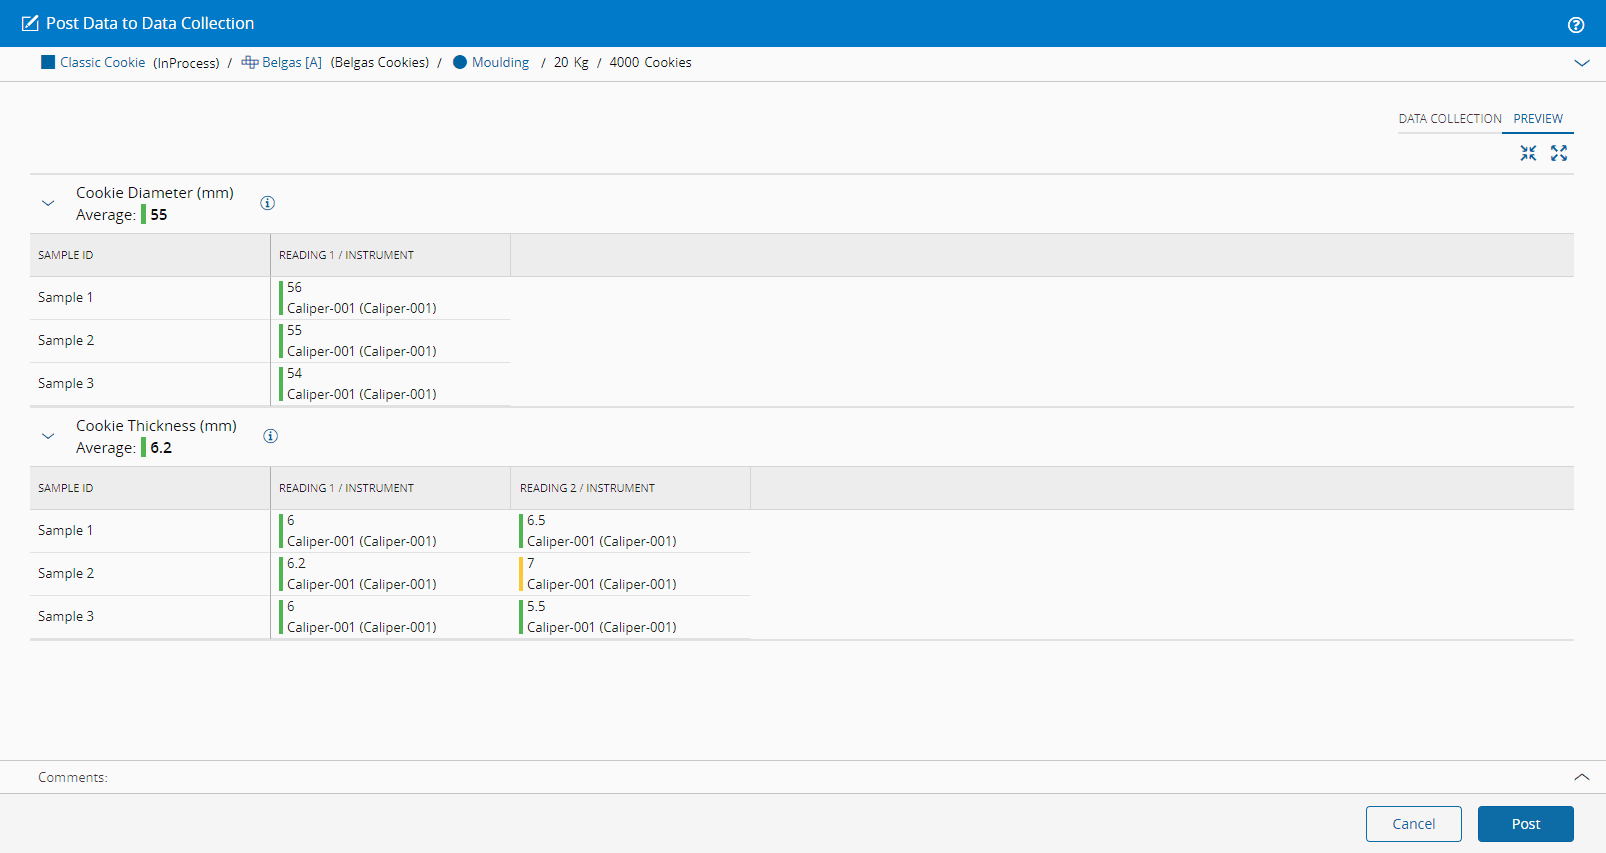
Here is an example of a sample collection, and the green bar by the input value means it is within the defined limit set:
After collecting the data, we can select Preview to view the information in full. This includes the average of the measurements per parameter, each individual reading, and the instrument used:
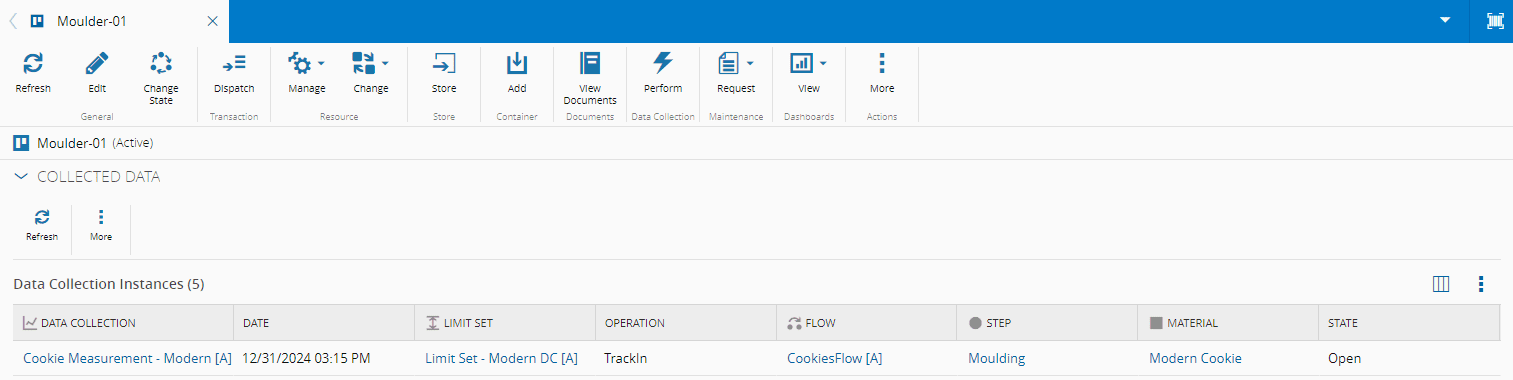
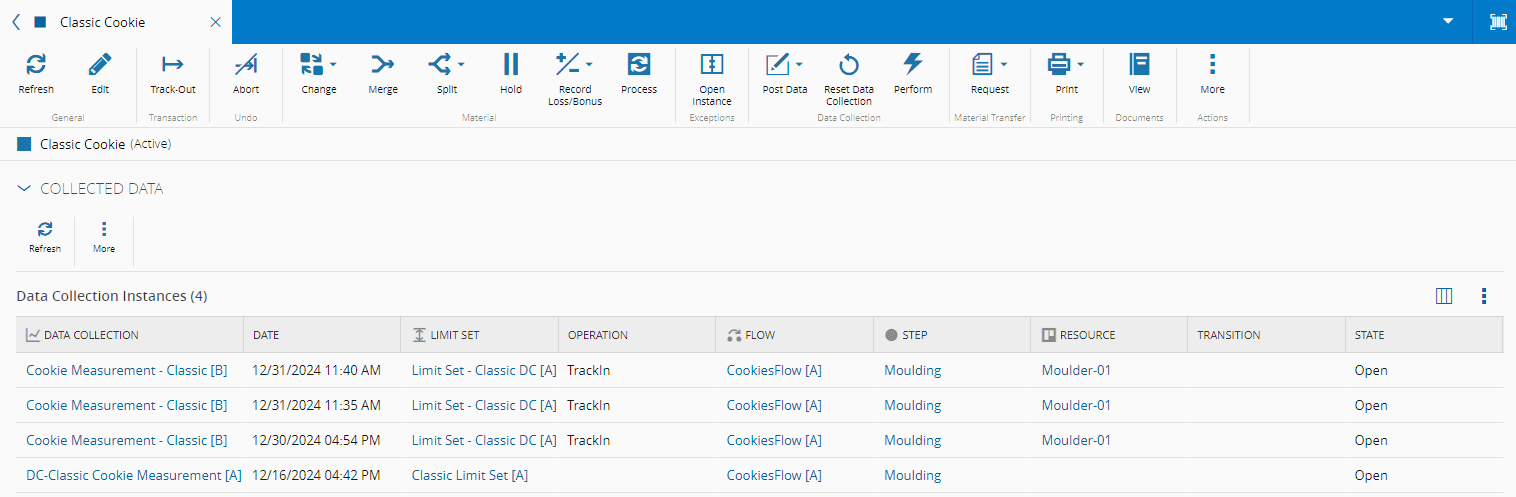
When the data is posted, it becomes available in the Collected Data section of the Material:
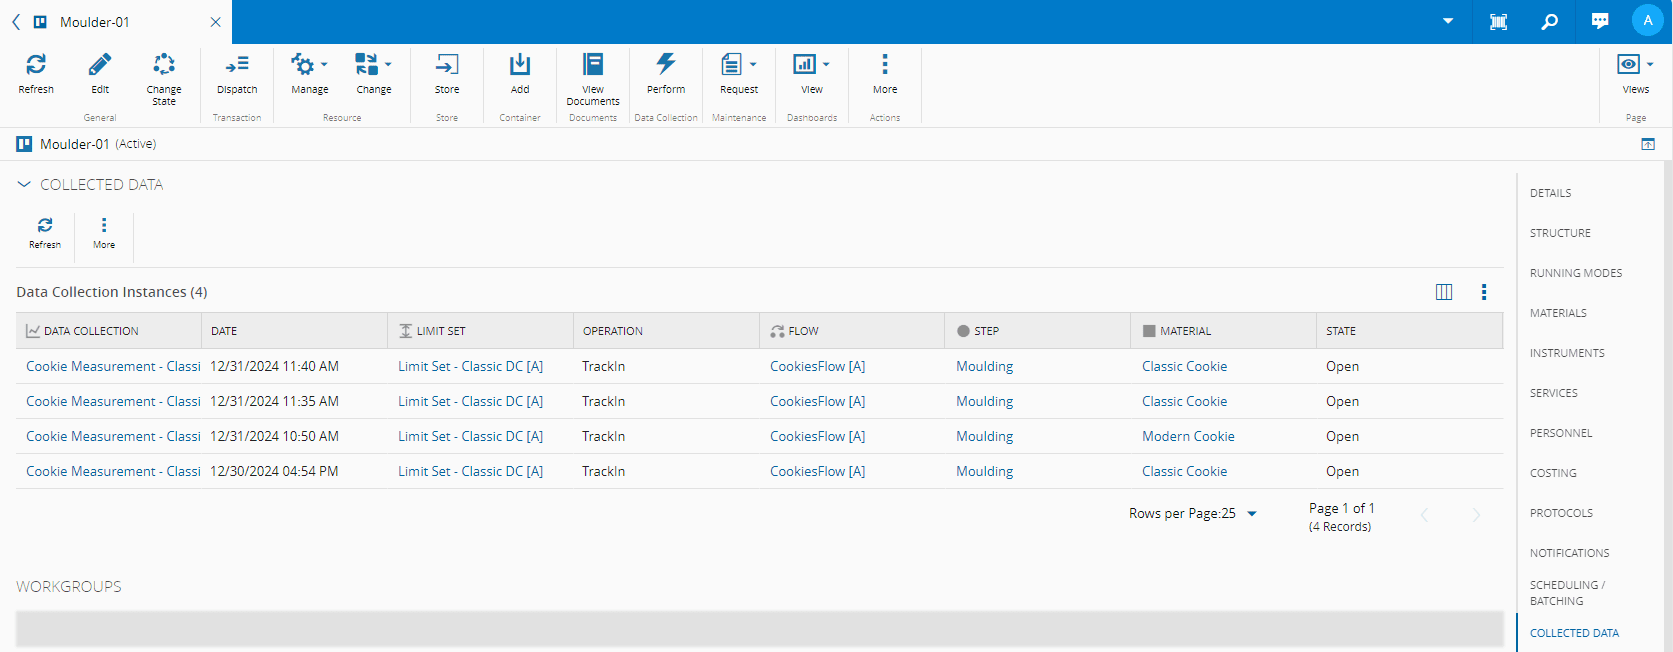
And Resource:
Modern Data Collection#
We will now look at the same use case but with the Modern Data Collection.
For this example, we will be posting data directly from the Material to differentiate from the Classic Data Collection above.
Starting with the Material in the Moulding Step, and tracking it in to the Moulder-01 Resource, we are once again taken to the Instrument information:

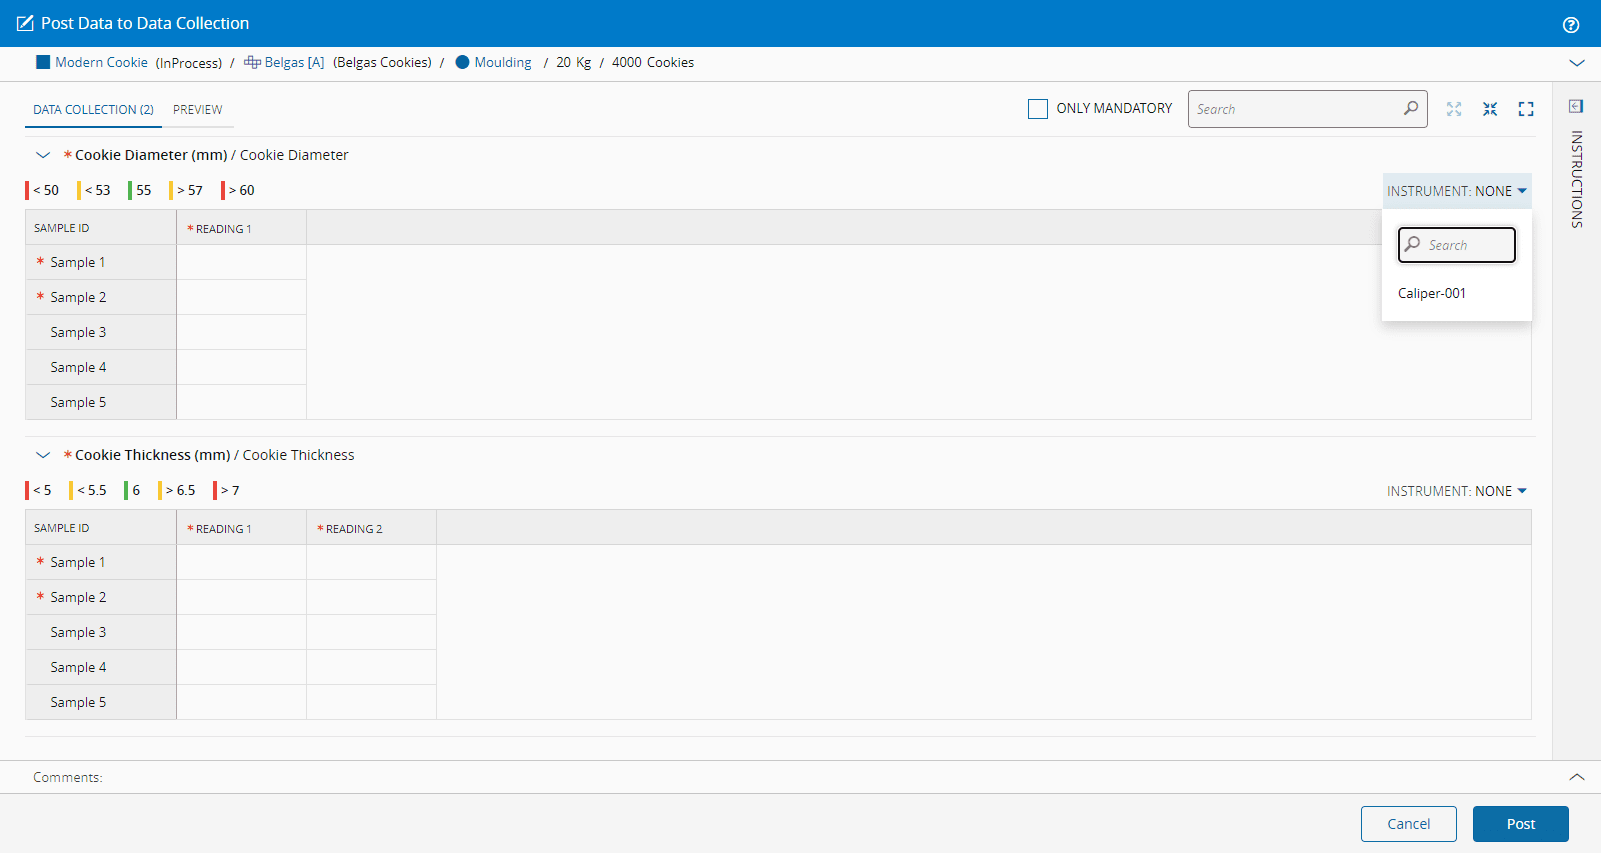
After tracking in the Material and selecting Post Data on the top ribbon of the Material page, the system displays the Modern Data Collection interface:
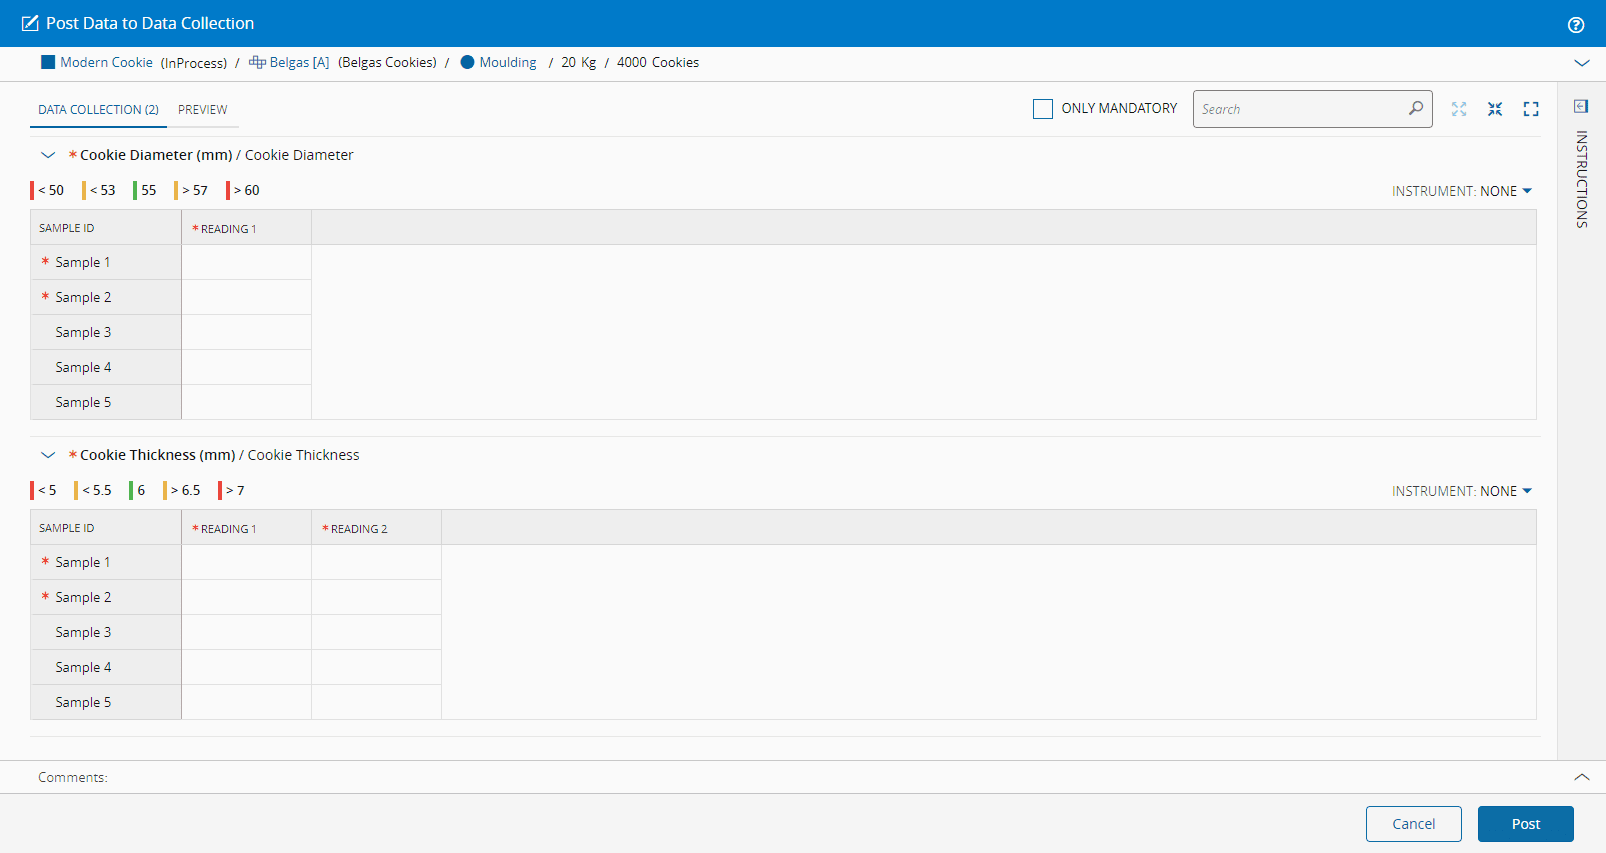
In this wizard you can opt to see only mandatory information by checking the appropriate box, you immediately see, and can associate, the color-coded bars to the defined limit set values, and you can select the Instrument:
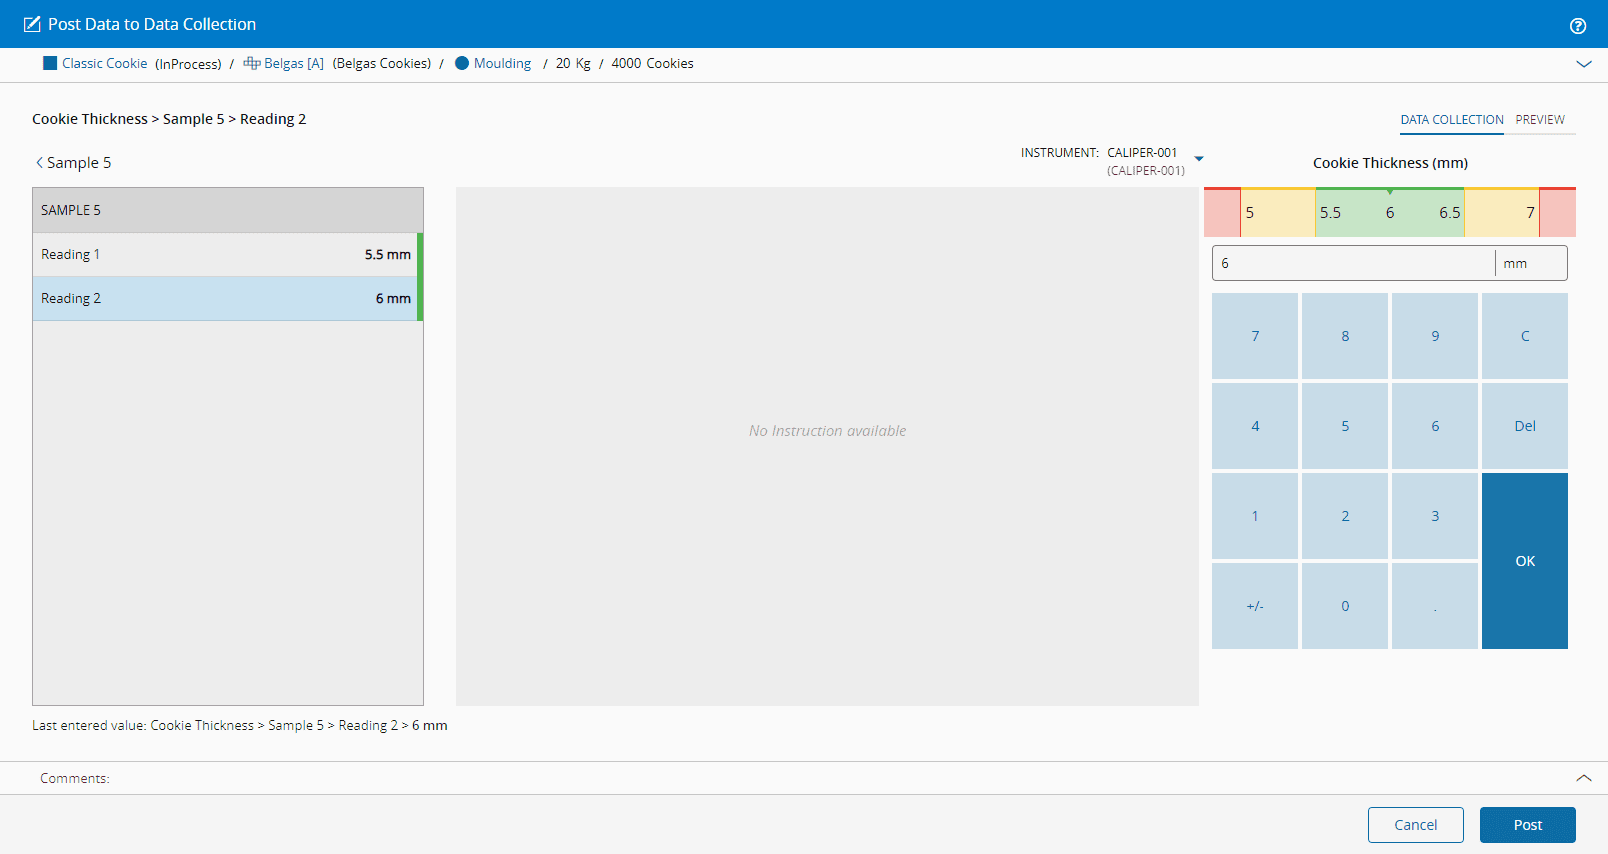
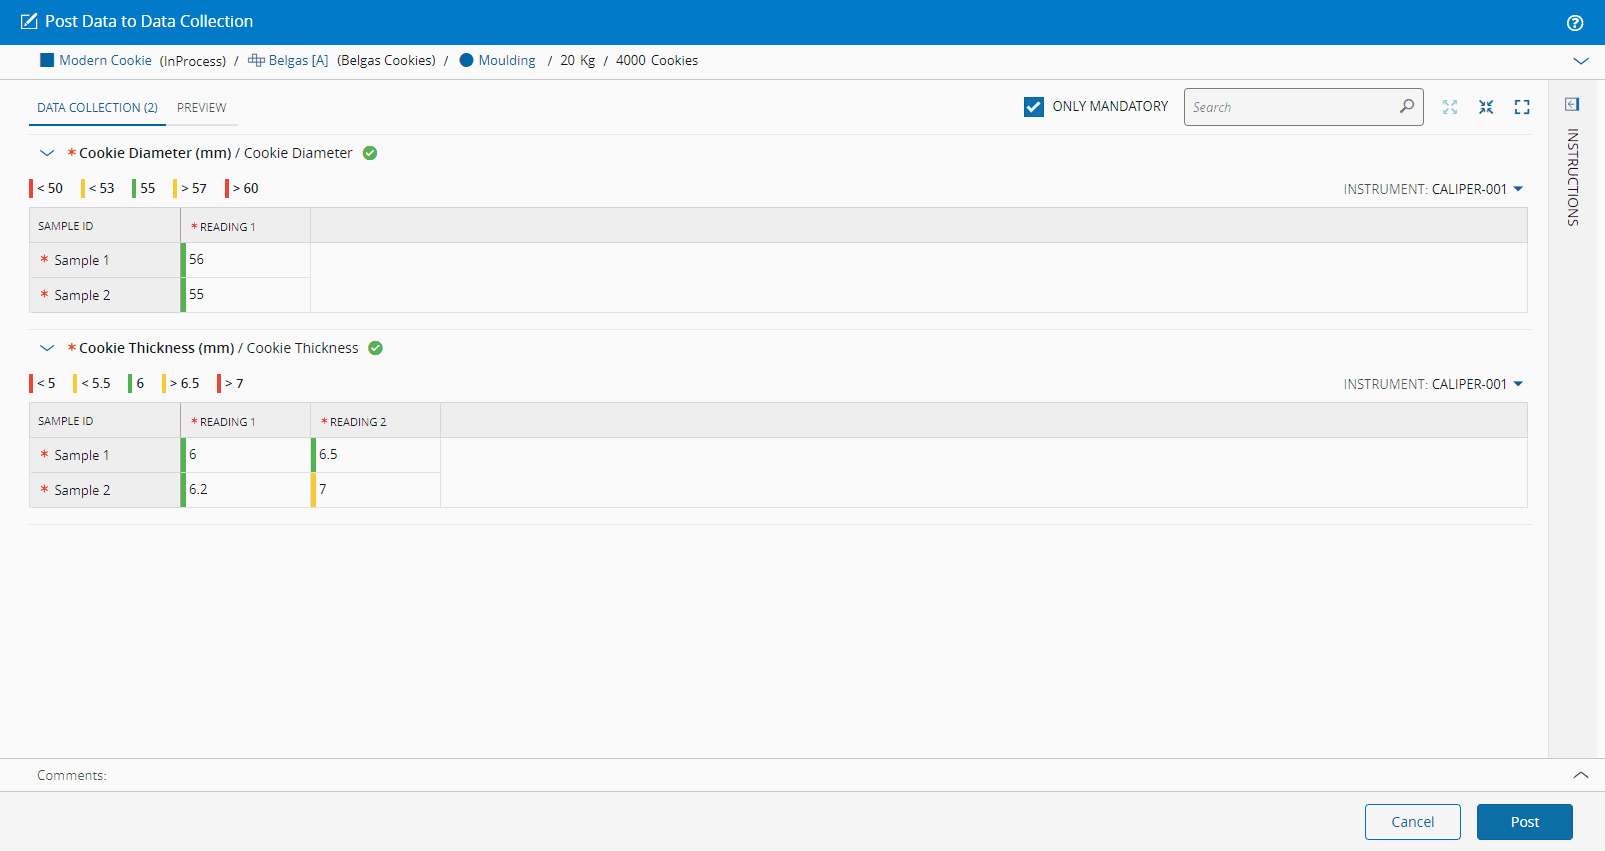
For the purpose of this tutorial, we will select only the mandatory sample readings, and as we are using the Modern Data Collection, we use our keyboard to enter the values.
This Modern grid format to post values, as opposed to the Classic approach where you have to go back and forth, promotes immediate visibility and greater user friendliness when collecting vaster amounts of data as sample and reading information is readily available:
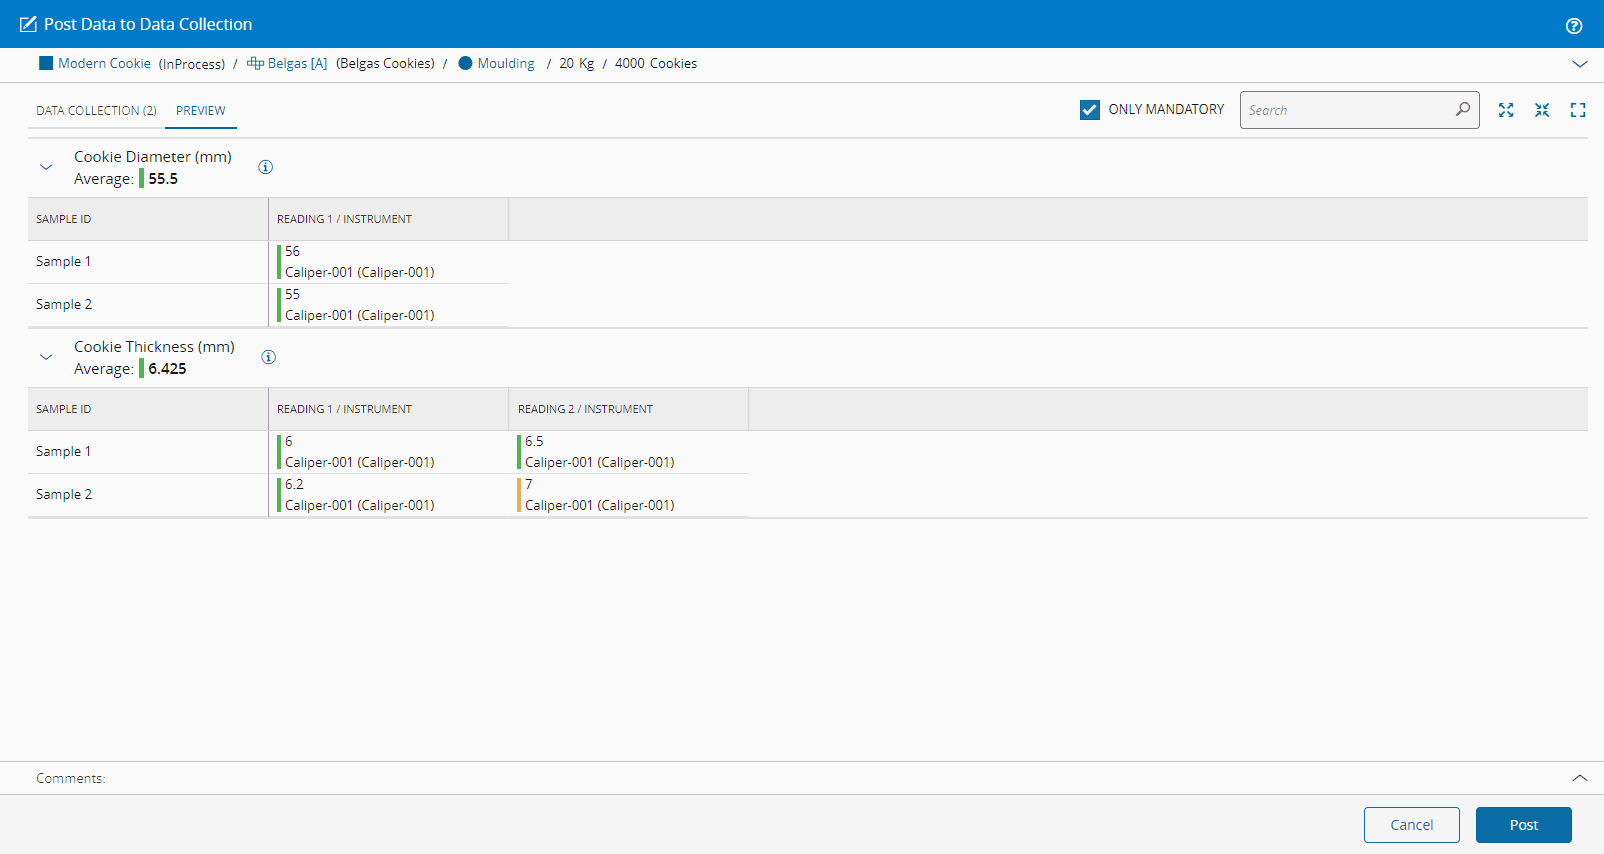
If we select to Preview the collected data, we also have access to the average of the measurements per parameter, each individual reading, and the instrument used:
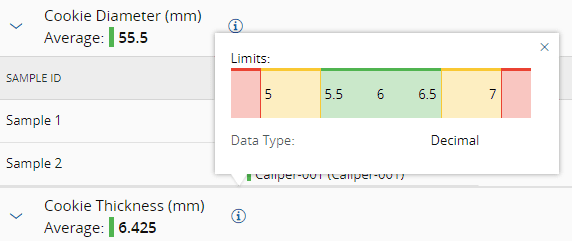
Also in the Preview mode, if you select the Information icon, you can quickly access the limits that were set:
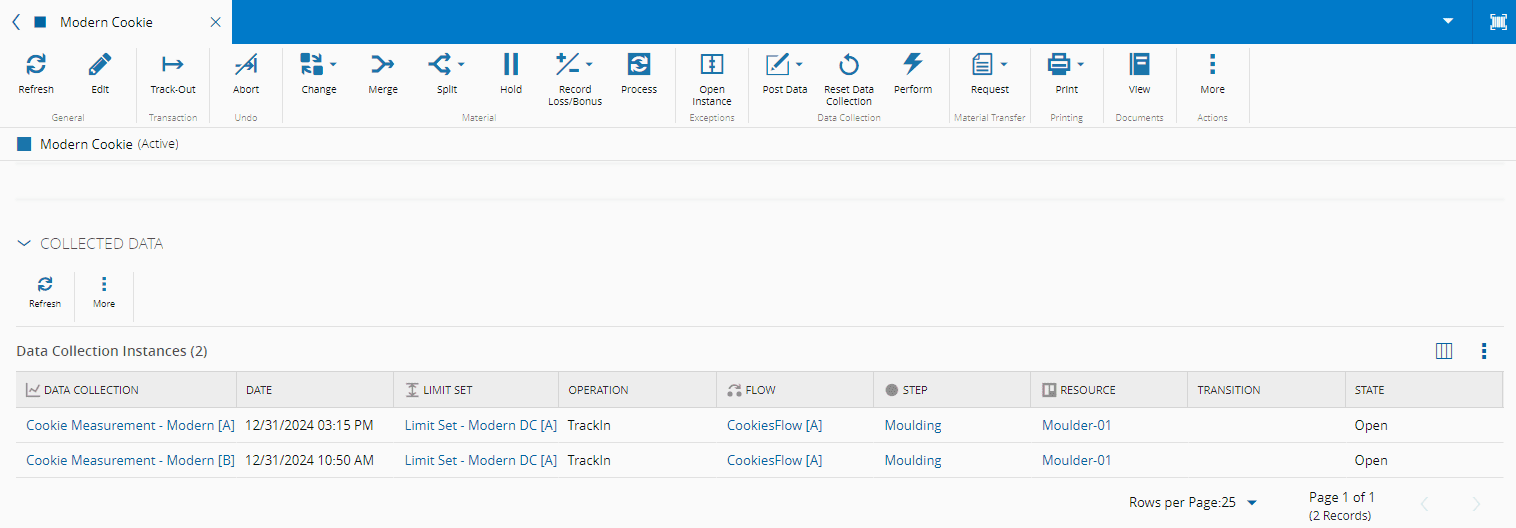
On posting the data, the Data Collection information is available in the Material:
And Resource under the Collected Data section: