Create Data Set#
 CmfDataSet.Create
Overview#
The Data Set is a Data Platform entity that can be easily created by authorized users. In addition to the normal creation process, you can create Data Sets by using templates in .xml format and importing them using the Import button.
Data Sets are automatically created as part of the process of creating IoT Event Definitions, or they can be manually created by defining SQL queries. Data Sets created this way, without a direct link to IoT Event Definitions, are of type Query, meaning they behave as user-defined views on top of database tables.
Setup#
No specific setup is required other than to meet the preconditions of the transaction.
Preconditions#
- The Data Set name must be unique in the folder in which it will be created.
Warning
The following characters are not supported: ., /, \, and $.
Sequence of Steps#
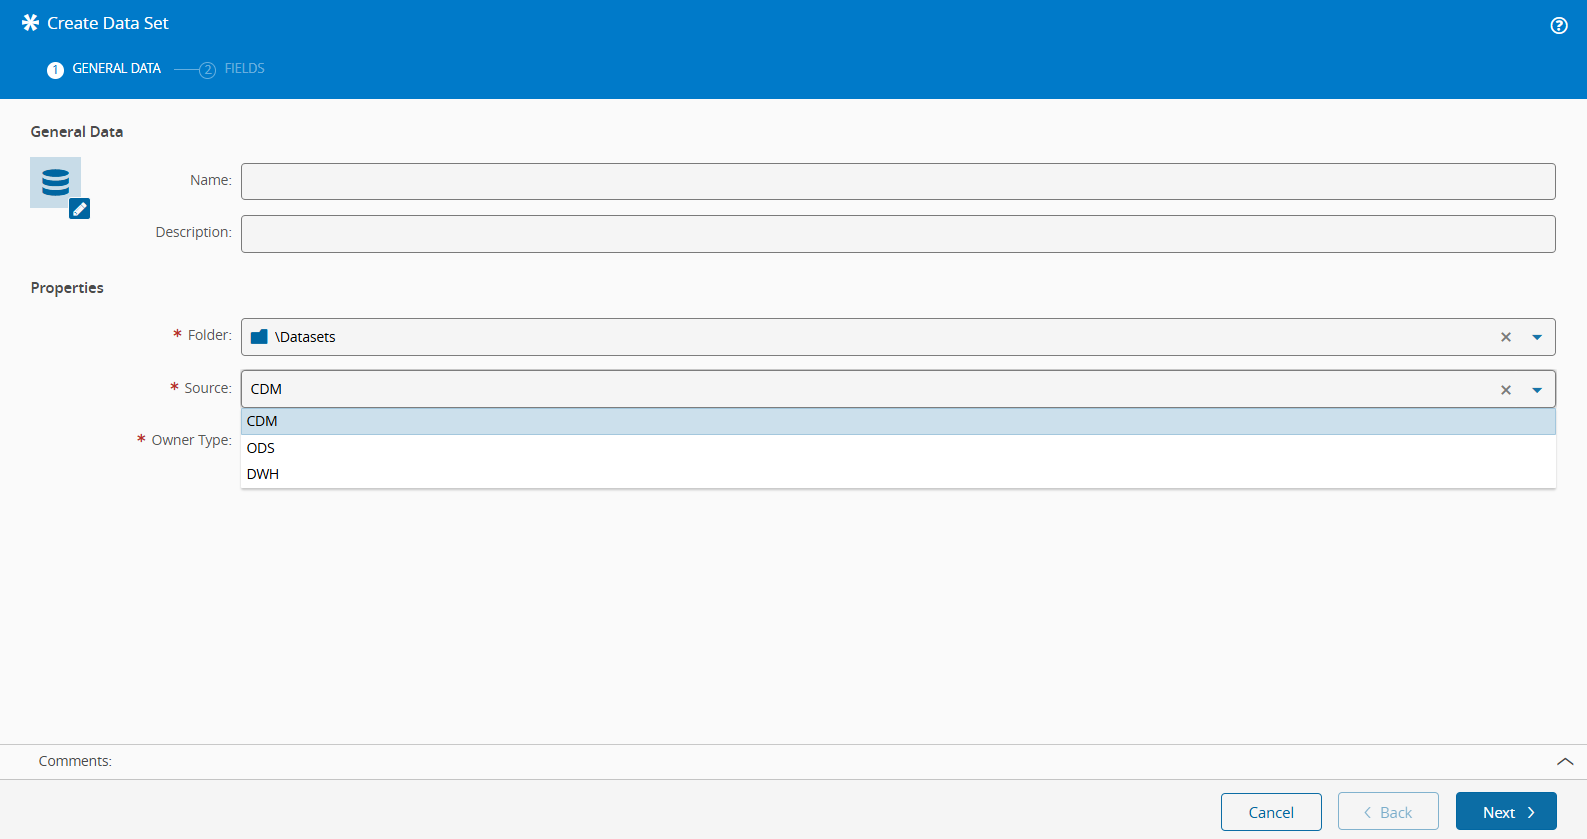
Step 1: General Data#
- Enter the Name of the Data Set (must be unique in the target folder).
- Enter the Description.
- Select a Data Group if you want to restrict the access to the data in the Data Set (assuming Objects Security Level is active in MES).
- Select the Folder where the Data Set should be placed.
- Select the Data Source which contains the tables with the data you want to access:
CDM- contains the tables with the data from IoT Events, which includes system CDM events and user-created IoT EventsDWH- contains the data warehouse tables with the data that is being automatically aggregatedODS- contains the tables with the MES ODS data
-
Choose the Owner Type, depending on which you will need to set additional configurations:
App- when available, select the App that will be using this Data SetRole- select the Owner Role for this Data SetUser- select the Owner User for this Data Set
-
Select Next to continue.
Step 2: Fields#
In this step there are two tabs, Query and Fields.
- Write your SQL SELECT statement in the
Querytab. -
Select the
Validatebutton to validate your query and retrieve the fields.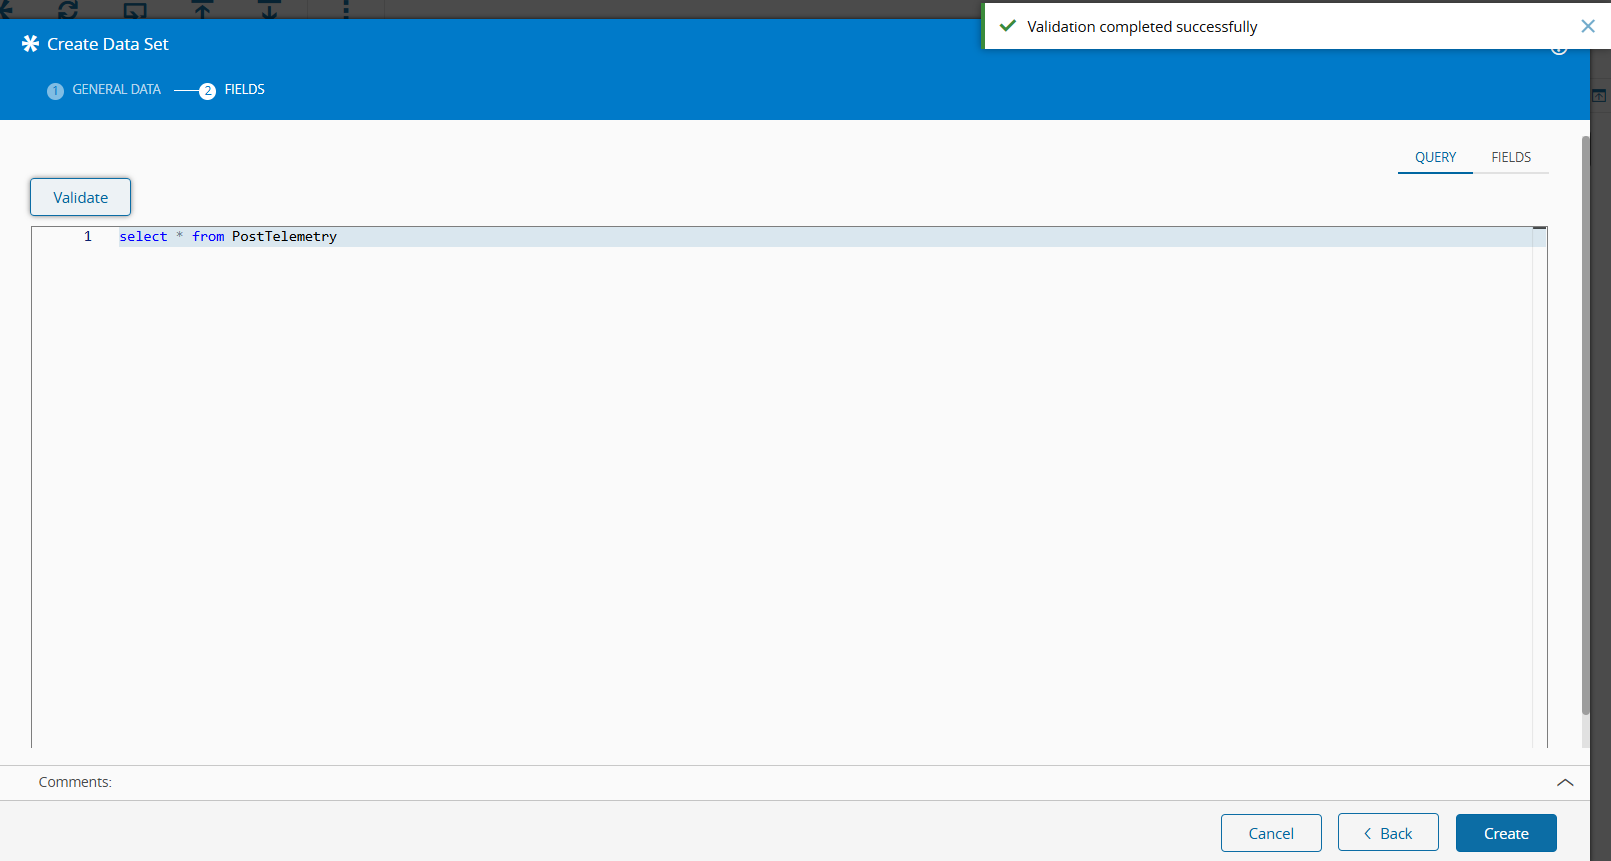
The Validate button will populate the grid of fields in the
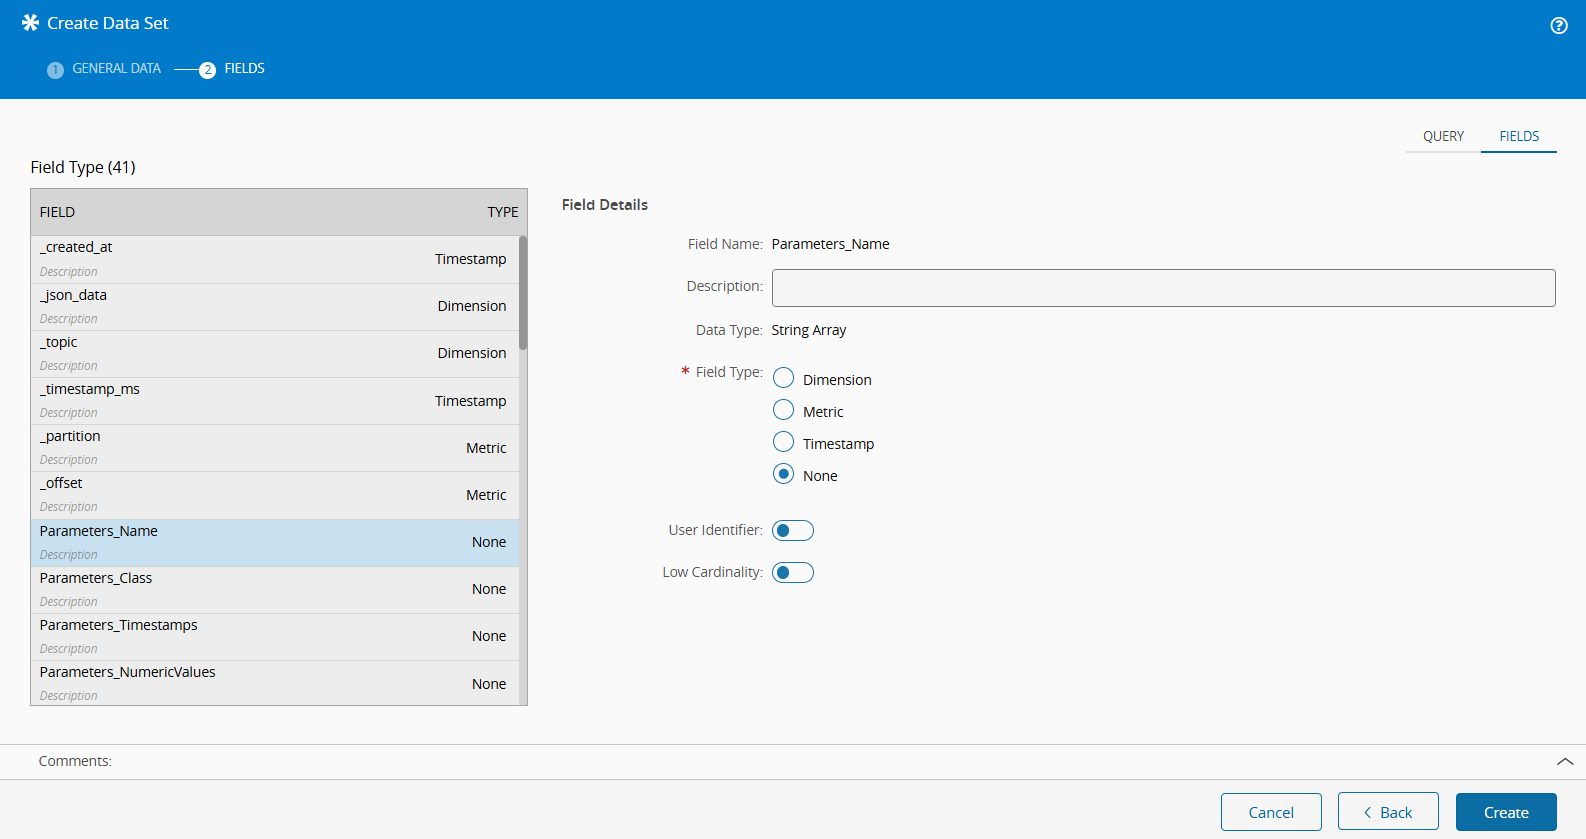
Fieldstab, located on the top right. This enables you to edit the following properties for each field:- Description
- Field Type
- Dimension
- Metric
- Timestamp
- None
- Low Cardinality
Info
Fields of type
Timestampare automatically picked for the x-axis in time-series visualization in Grafana, so if a field has that type and you do not want to use it for that purpose you should set the type toNone. -
When you are have edited the fields, select Create to complete the creation of the data set.
The Data Set should now be available in the folder you picked, and its data readily available to be accessed via OData client such as Grafana, Power BI or Excel.