Roles#
 Administration.Security
Roles Overview#
The list of Roles is available by selecting the Roles label on the landing page of the Security page.
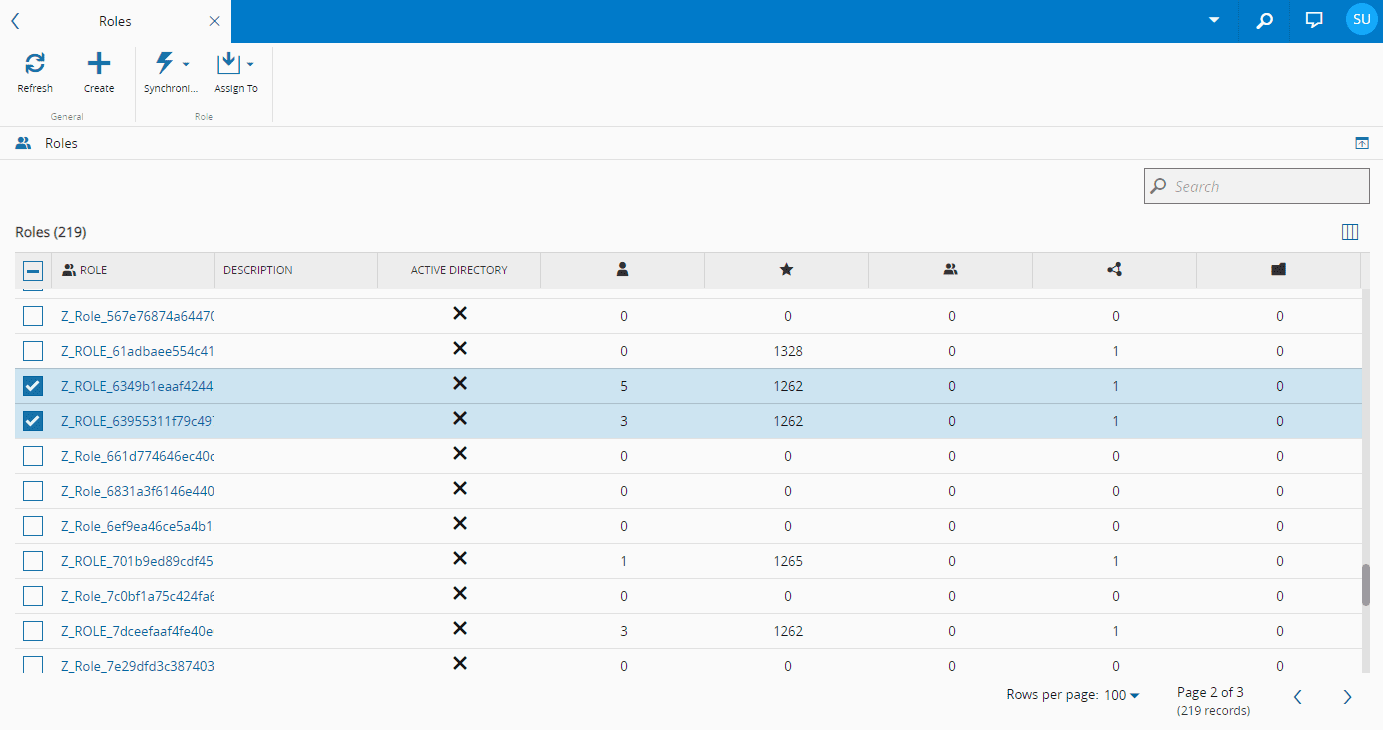
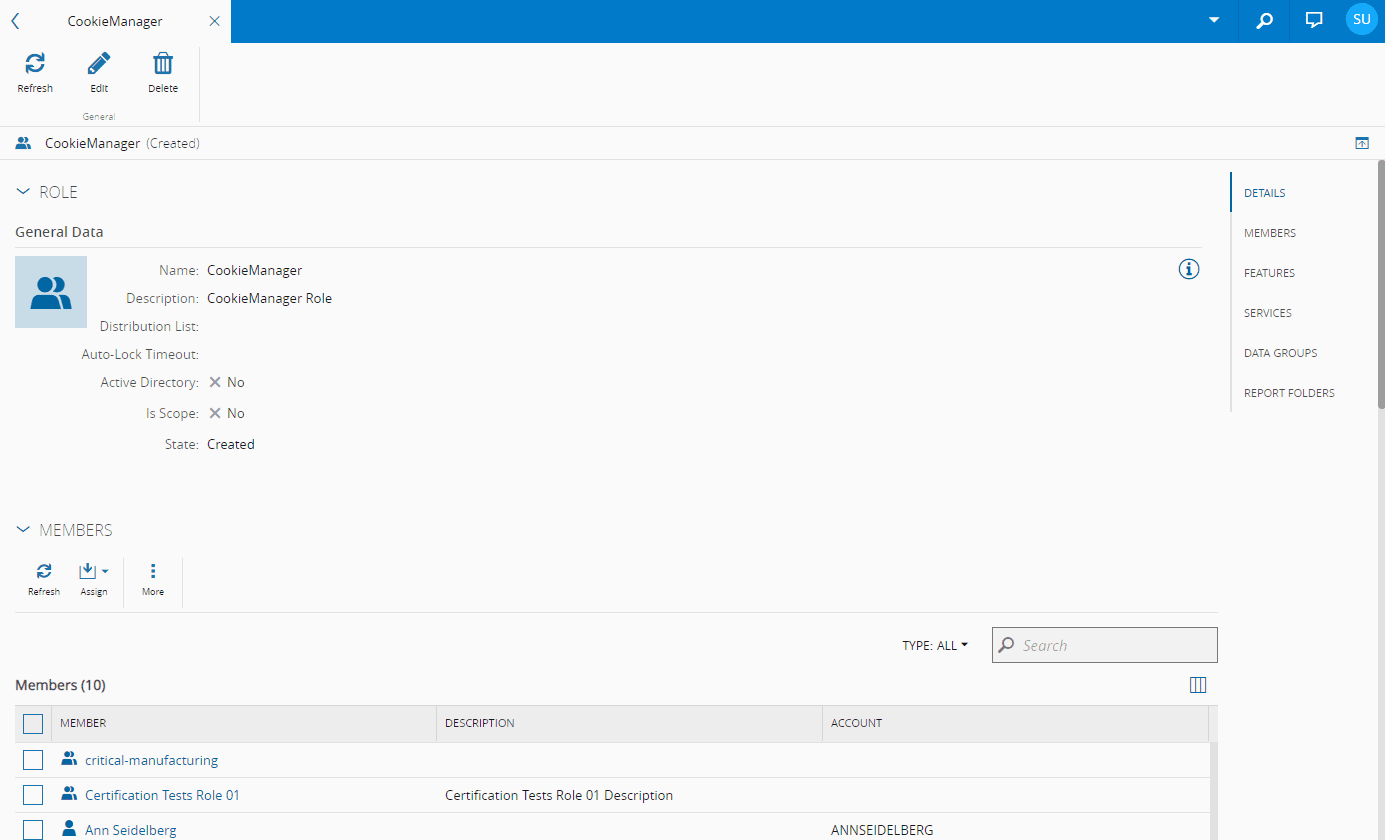
The Roles page displays general information on the specific Role. In addition it enables the user to perform all the operations that can be performed on a specific Role.
The Details view will display some or all of the following page sections:
- Details - displays general information on the Role.
- Members - displays information on the Users or other Roles that belong to the Role.
- Features - displays information on the Features to which the Role has access.
- Services - displays information on the Services to which the Role has access.
- Data Groups - displays information on the Data Groups to which the Role belongs.
- Report Folders - displays information on the Data Groups to which the Role has access.
Warning
In order to have access to the Report Folders section in the Role page, the user must have access to the ReportFolder.Edit feature.
System Default Roles#
Critical Manufacturing MES provides a set of default roles that control the operations users can perform in the system. The following roles are available by default:
- Administrators - the system's built-in administrative role. This role cannot be deleted.
- AppFrameworkApiAccess - grants applications the permissions required to interact with Critical Manufacturing MES APIs during installation. This role is assigned to the user representing the application being installed.
- CubeExplorerAdministrators - a role used to control access to the Cube Explorer (Cube Playground) functionality.
- DataOrchestratorAdministrators - grants access to the Data Orchestrator (Dagster) user interface.
- MES - an OAuth Scope Role automatically generated as part of the environment. This role is required for non-Administrator users to log in to Critical Manufacturing MES. Without it, users will receive an error at login.
- SysAdministrators - grants access to environment management endpoints related to ClickHouse backup and restore operations.
Info
In addition to these roles, installed applications create their own roles. These roles are automatically generated and follow the name of the corresponding application.
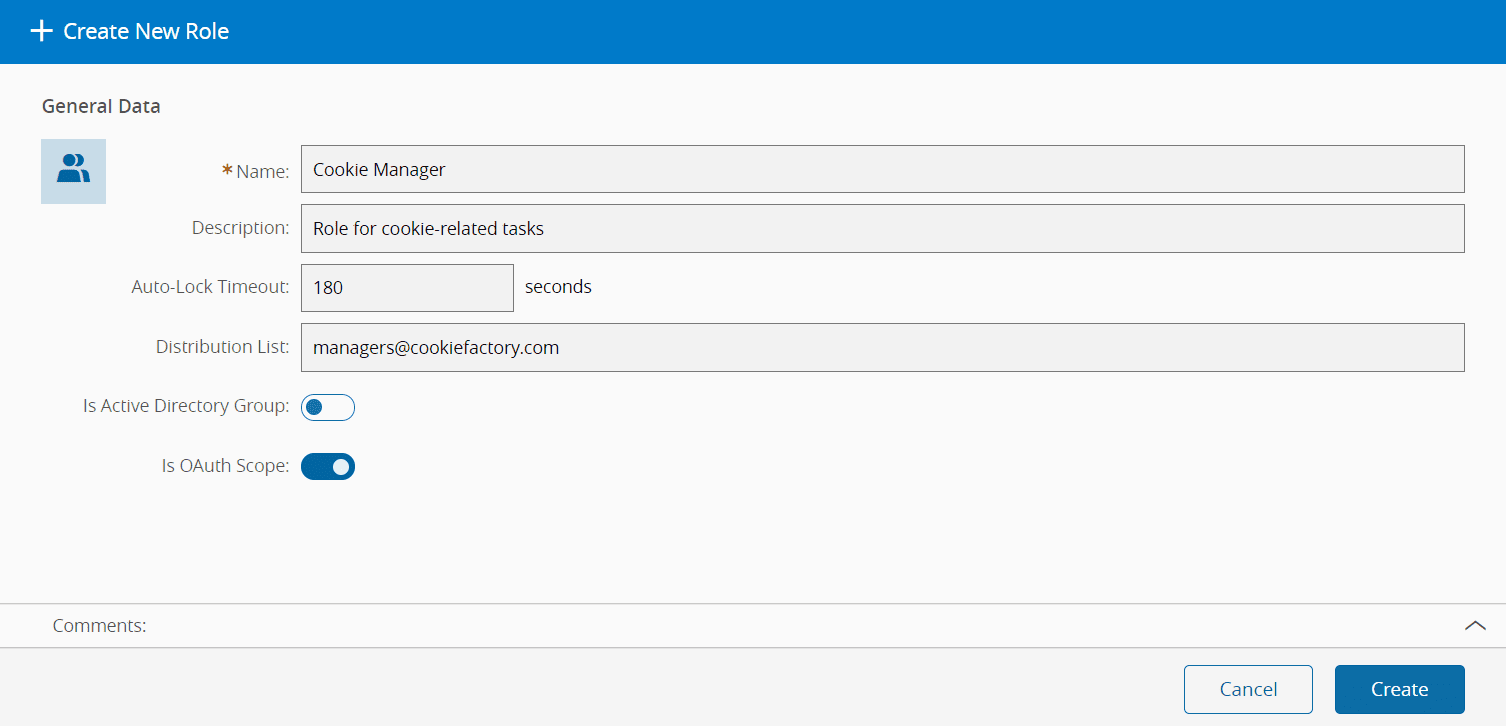
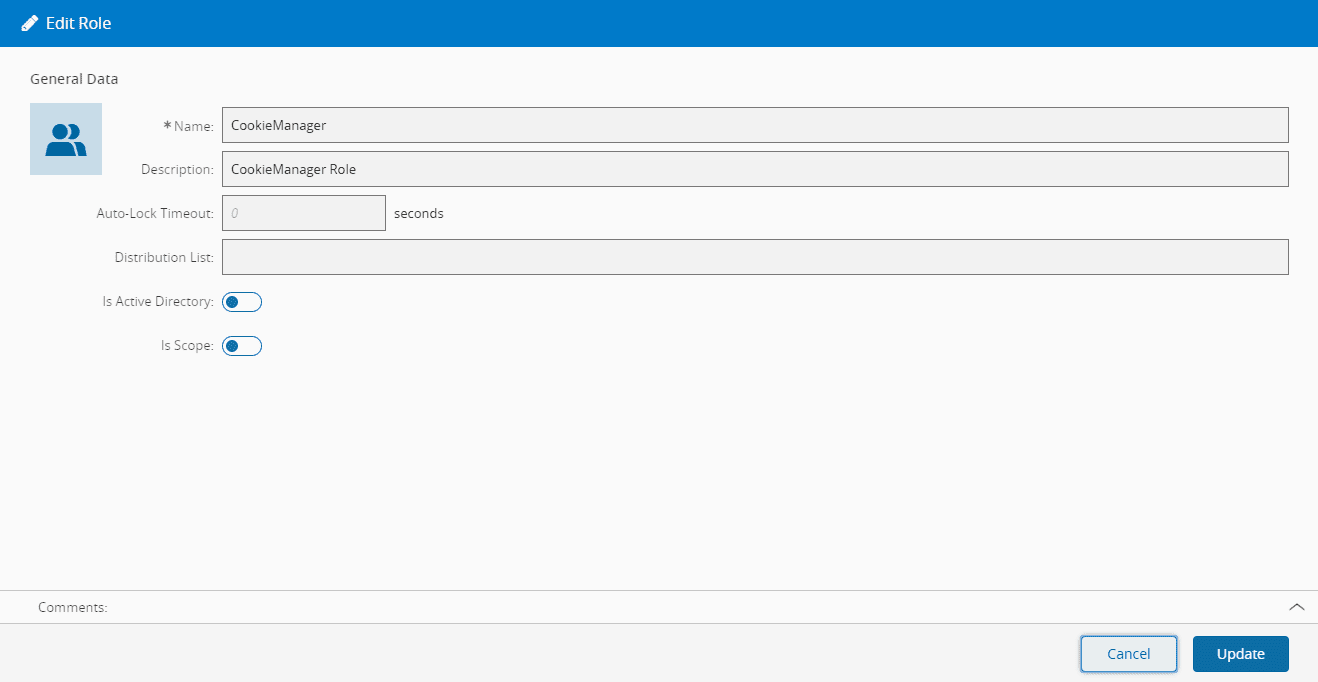
Creating a Role#
Role.Create
To create a Role in the application - note that the role must exist in the Active Directory - it's necessary to choose the Roles page and select the Create button in the ribbon:
- Provide the name for the Role.
- Optionally provide a description.
- Optionally enter a auto-lock timeout value (in seconds) which applies by default for every user which has this role defined as the primary role. Note that this value is overridden by the user level auto-lock timeout value.
-
Optionally specify a Distribution List where emails will be sent when notifying role.
Note
If a Distribution List is defined, it must be well formed - it must contain valid email addresses, and if multiple email addresses are provided, they must be separated by a semicolon.
-
If the Role is an Active Directory Role, the Is Active Directory Group checkbox must be checked. Note that in this case the Name must match exactly the Active Directory group name
-
If the Role is defined as an OAuth Scope Role, the Is OAuth Scope checkbox must be checked for proper authorization when using the appropriate Security Portal strategy.
Note
The
MESOAuth Scope Role is required for non-Administrator users to log in to MES. Without it, the user will receive a message error at login. -
Select Create to complete the operation.
Editing a Role#
Role.Edit
To edit a Role, it's necessary to:
- Open the Role page.
- Open the wizard by selecting Edit on the top ribbon.
- Make the necessary changes.
- Commit the data to the database by choosing Update.
Removing a Role#
Role.Remove
To remove a Role, it's necessary to:
- Open the Role page.
- Open the wizard by selecting Remove on the top ribbon.
- Select Remove to complete the operation.

Warning
Any Personal Access Tokens with the scope associated through the role (directly or indirectly) will be revoked.
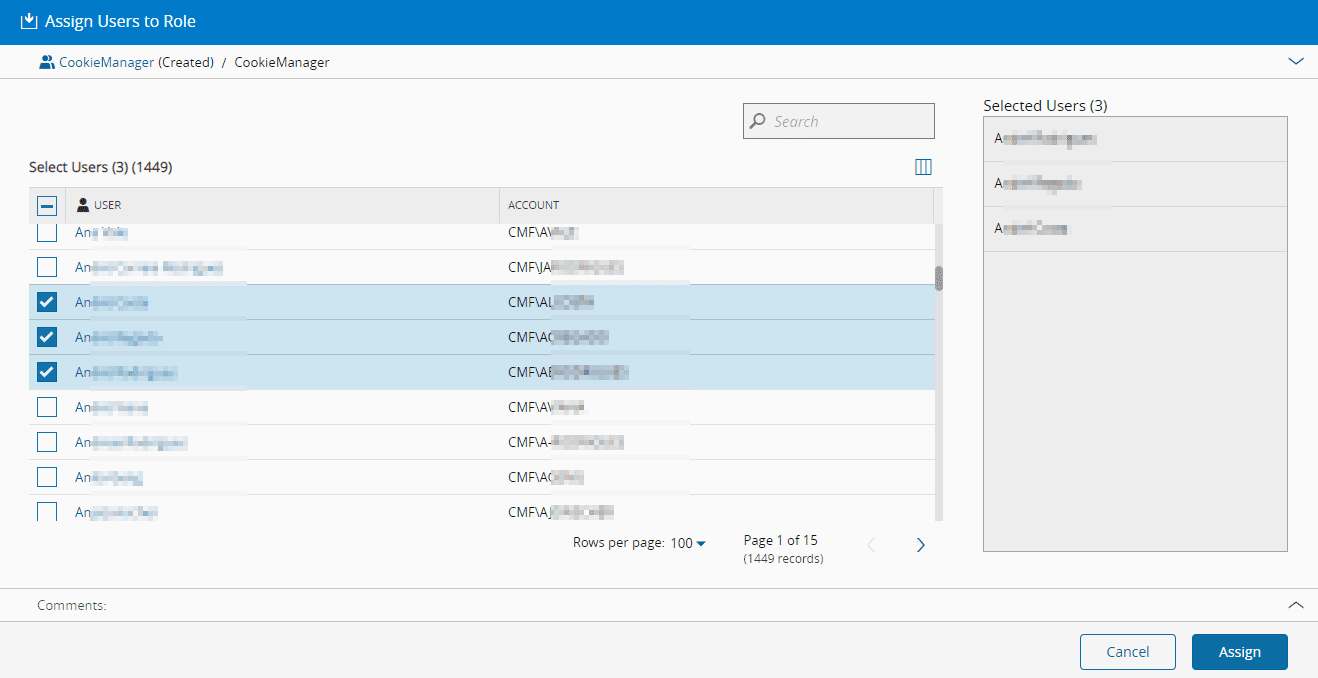
Assigning Users to a Role#
Role.Edit
To assign one or more Users to a Role is necessary to:
- Open the Role details and navigate to the Members section in the Role details page or select the Roles in the Role list page.
- Select the Assign dropdown button and select Users.
- Choose the desired Users to be assigned the current Role.
- Select Assign to complete the operation.
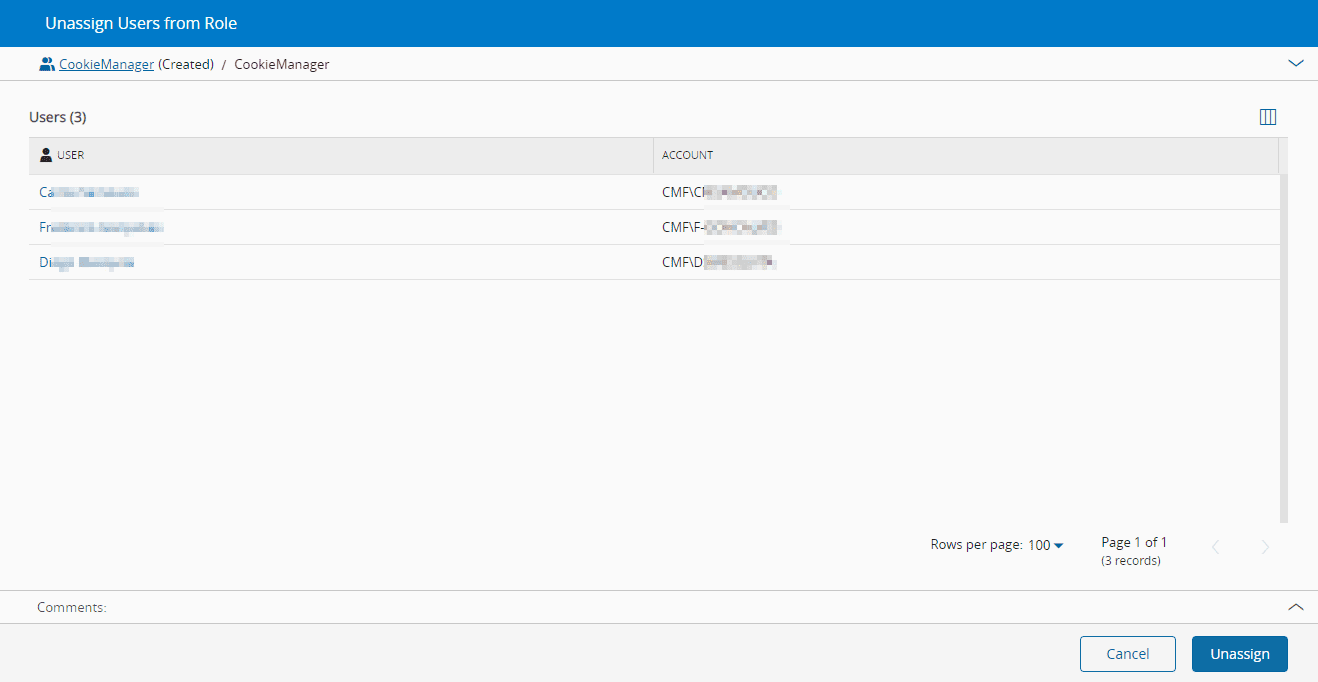
Unassigning Users from a Role#
Role.Edit
To unassign one or more Users from a Role is necessary to:
- Open the Role details and navigate to the Members section in the Role details page.
- Choose the Users you wish to unassign from the Role and select the Unassign dropdown button, followed by Users.
- Select Unassign to complete the operation.
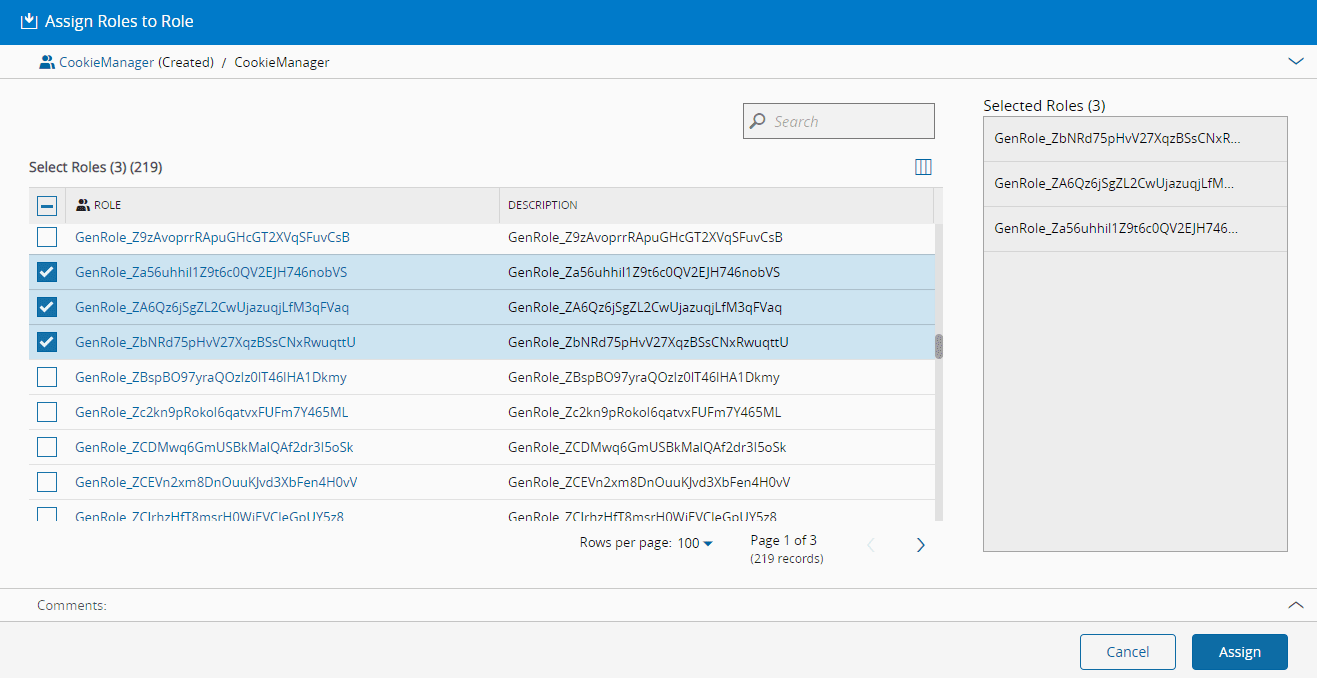
Assigning Roles to a Role#
Role.Edit
To assign one or more Roles to a Role is necessary to:
- Open the Role details and navigate to the Members section in the Role details page or select the Roles in the Role list page.
- Select the Assign dropdown button and select Roles.
- Choose the desired Roles to be assigned the current Role.
- Select Assign to complete the operation.
Unassigning Roles from a Role#
Role.Edit
To unassign one or more Roles from a Role is necessary to:
- Open the Role details and navigate to the Members section in the Role details page.
- Choose the Roles you wish to unassign from the Role and select the Unassign dropdown button, followed by Roles.
- Select Unassign to complete the operation.

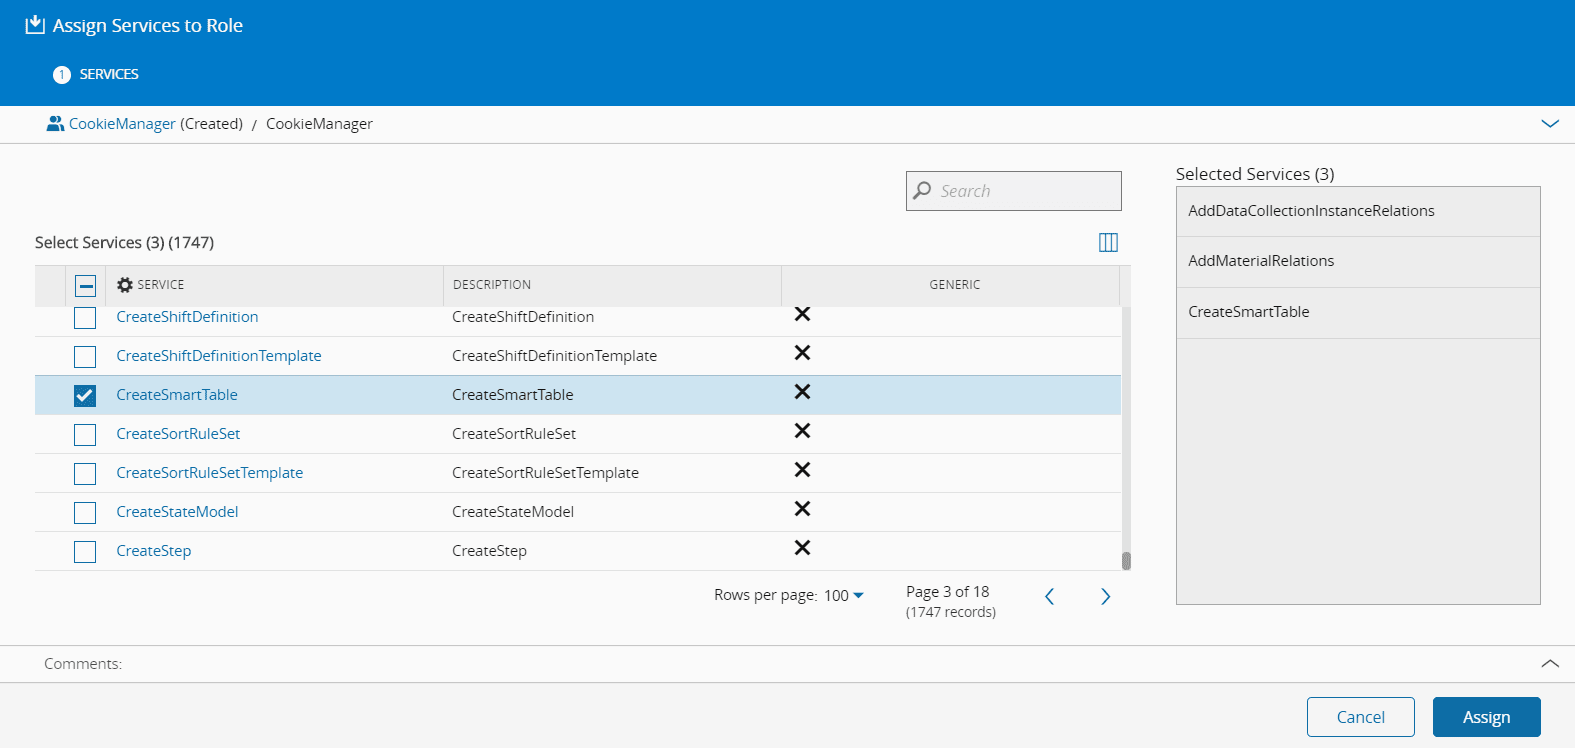
Assigning Services to a Role#
Role.Edit
To assign one or more Services to a Role is necessary to:
- Open the Role details and navigate to the Services section in the Role details page or select the Roles in the Role list page.
- Press the Assign button.
- Select the desired Services to be assigned the current Role.
- Press Assign to complete the operation.
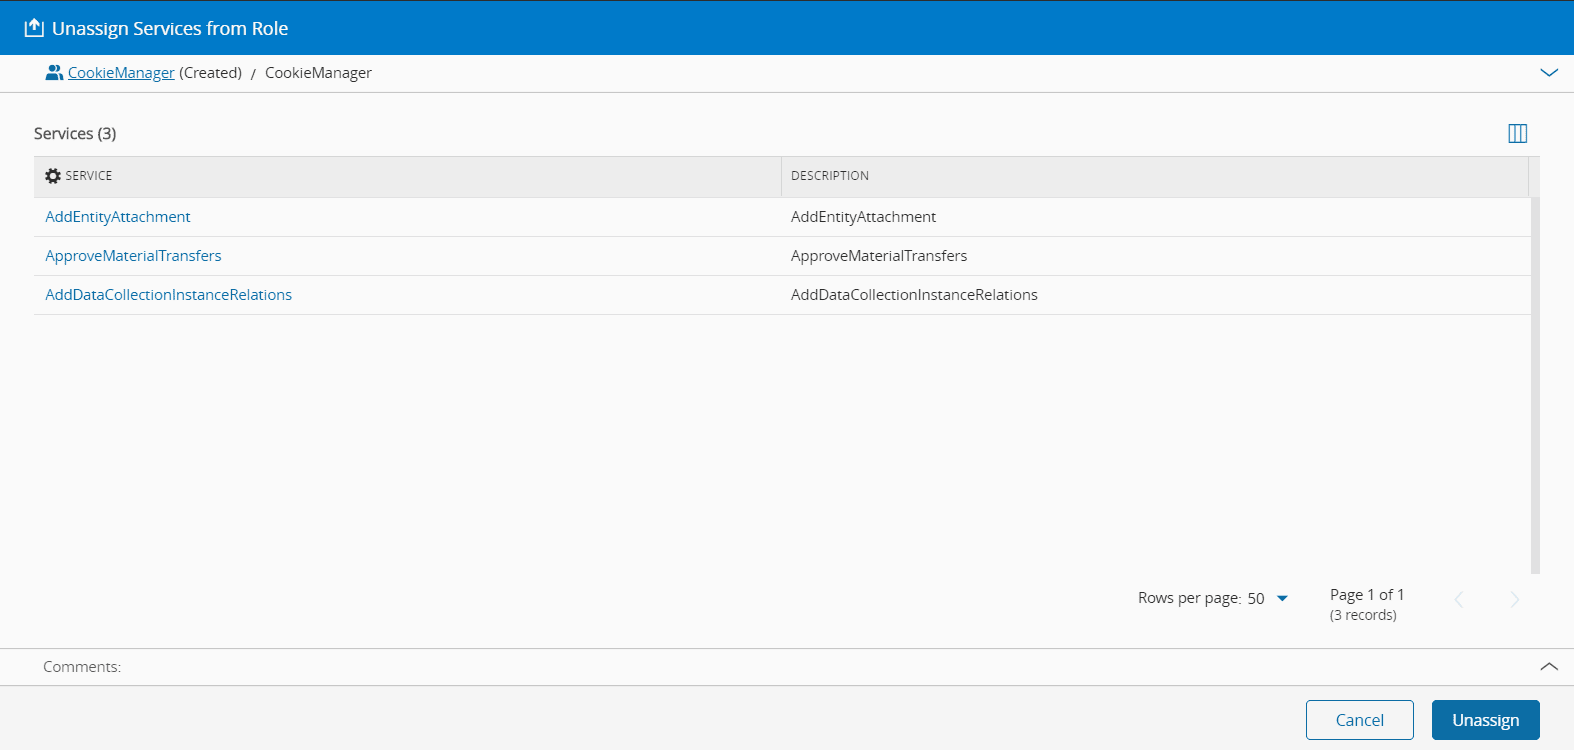
Unassigning Services from a Role#
Role.Edit
To unassign one or more Services from a Role is necessary to:
- Open the Role details and navigate to the Services section in the Role details page.
- Choose the Services you wish to unassign from the Role and select the Unassign button.
- Select Unassign to complete the operation.
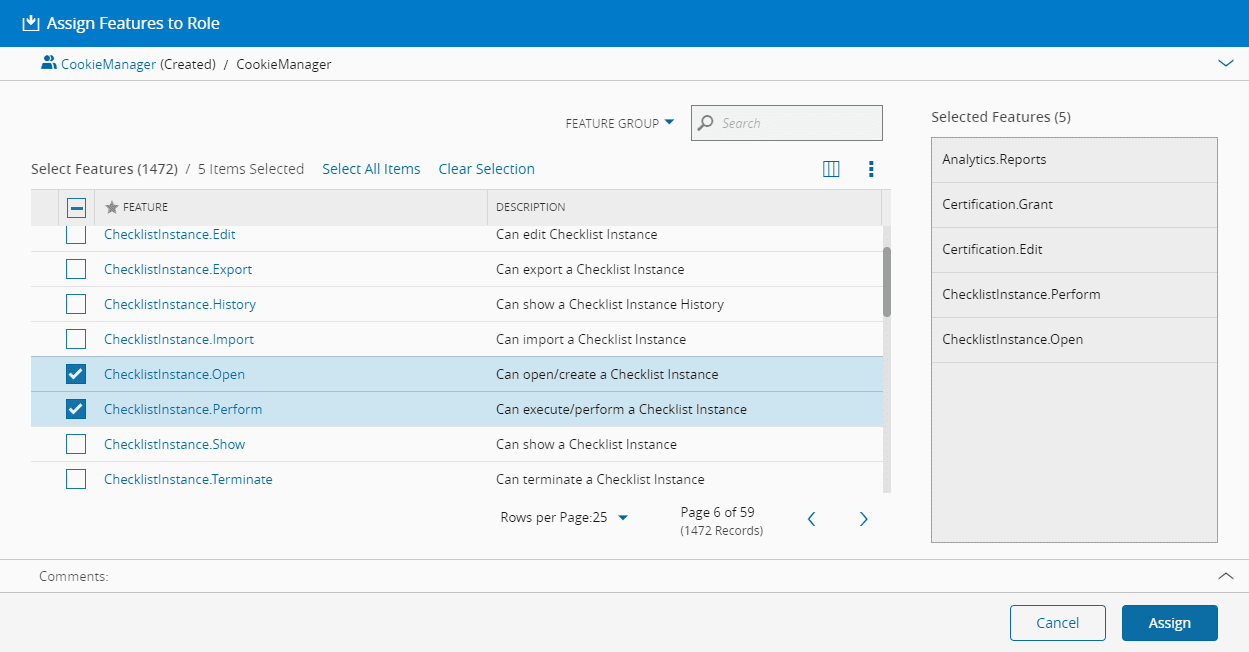
Assigning Features to a Role#
Role.Edit
To assign one or more Features to a Role is necessary to:
- Open the Role details and navigate to the Features section in the Role details page or select the Roles in the Role list page.
- Select the Assign button.
- Choose the desired Features to be assigned the current Role.
- Select Assign to complete the operation.
Info
For easier feature assignment, there is the possibility of selecting all features at once, bypassing the grid paging and allowing for a one-click selection of the entire set of features. Simply use Select All Items and all the available features will be selected. Similarly, to deselect all features, use Clear Selection and all features will be deselected.
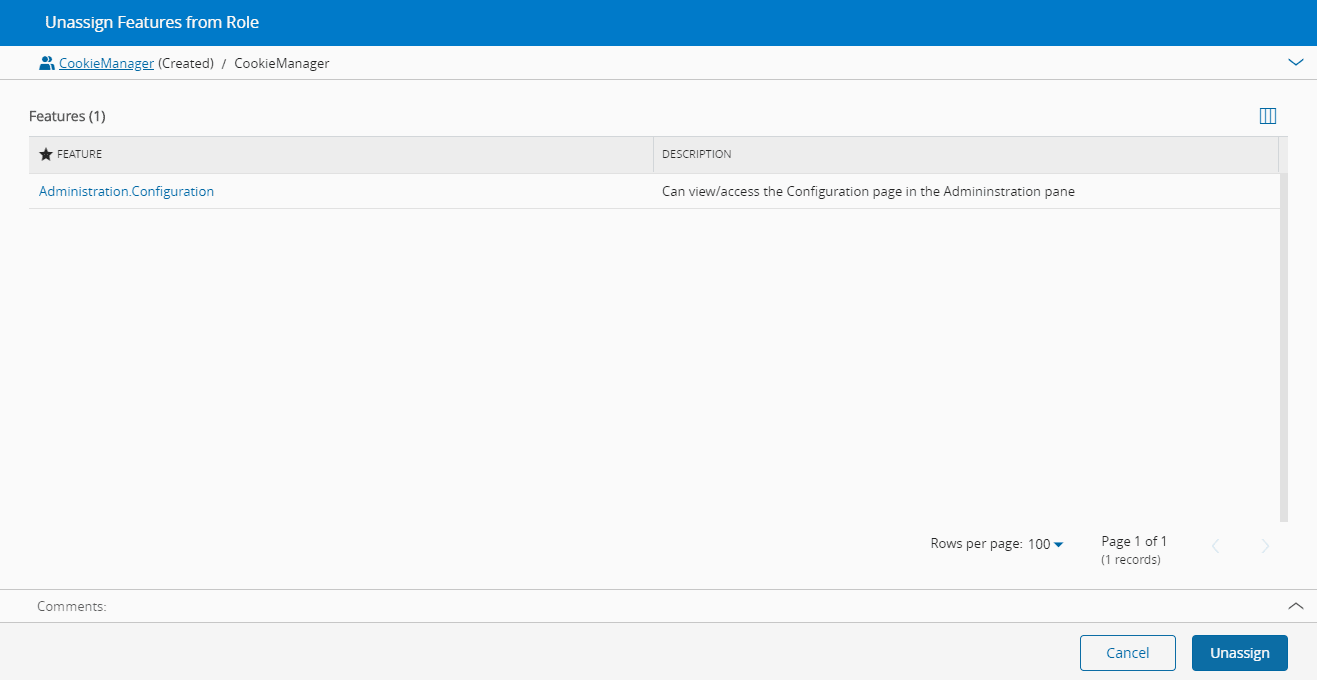
Unassigning Features from a Role#
Role.Edit
To unassign one or more Features from a Role is necessary to:
- Open the Role details and navigate to the Features section in the Role details page.
- Choose the Features you wish to unassign from the Role and select the Unassign button.
- Select Unassign to complete the operation.
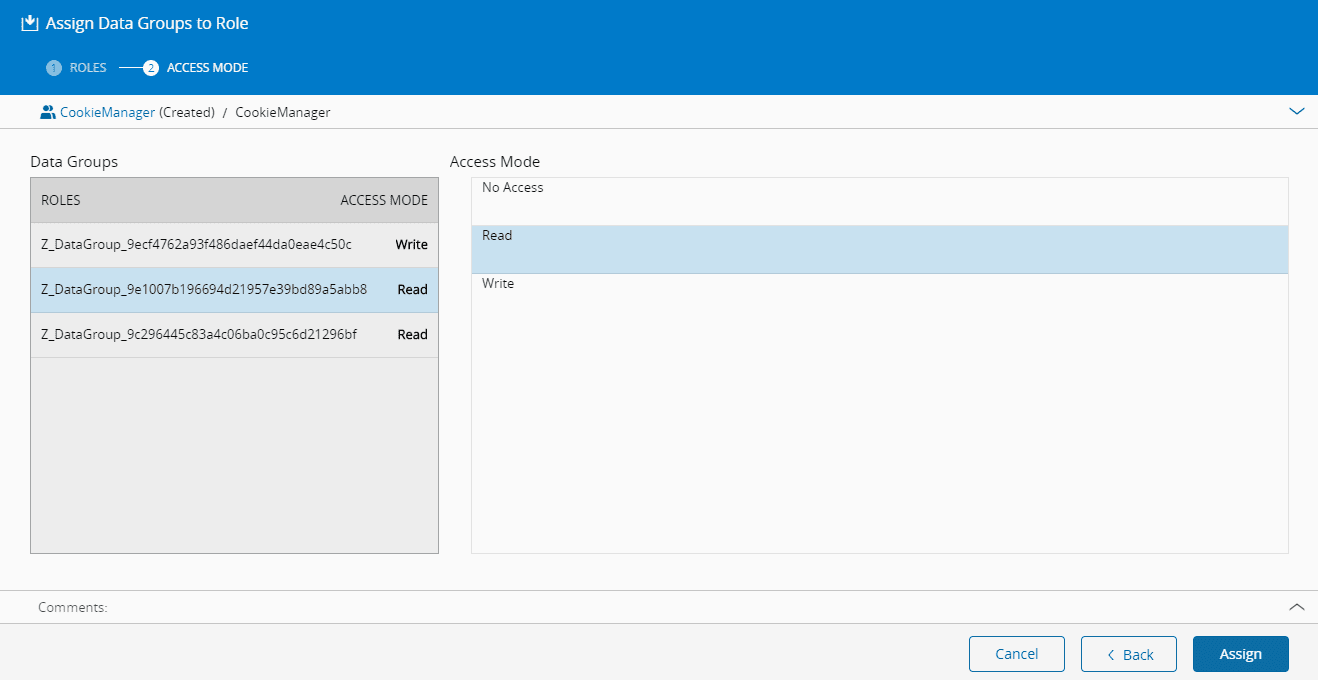
Assigning Data Groups to a Role#
Role.Edit
To assign one or more Data Groups to a Role is necessary to:
- Open the Role details and navigate to the Data Groups section in the Role details page or select the Roles in the Role list page.
- Select the Assign button.
- Choose the desired Data Groups to be assigned the current Role.
- Choose the Access Mode for each of the Data Groups to assign to the current Role.
- Select Assign to complete the operation.
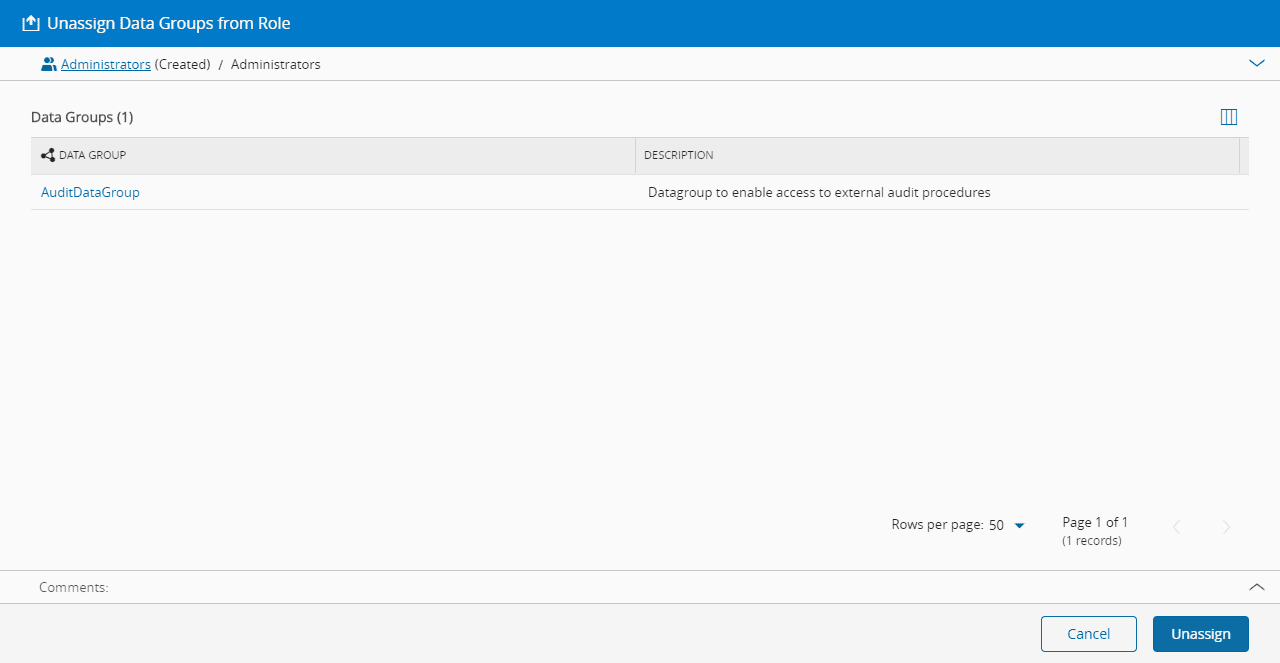
Unassigning Data Groups from a Role#
Role.Edit
To unassign one or more Data Groups from a Role is necessary to:
- Open the Role details and navigate to the Data Groups section in the Role details page.
- Choose the Data Groups you wish to unassign from the Role and select the Unassign button.
- Select Unassign to complete the operation.
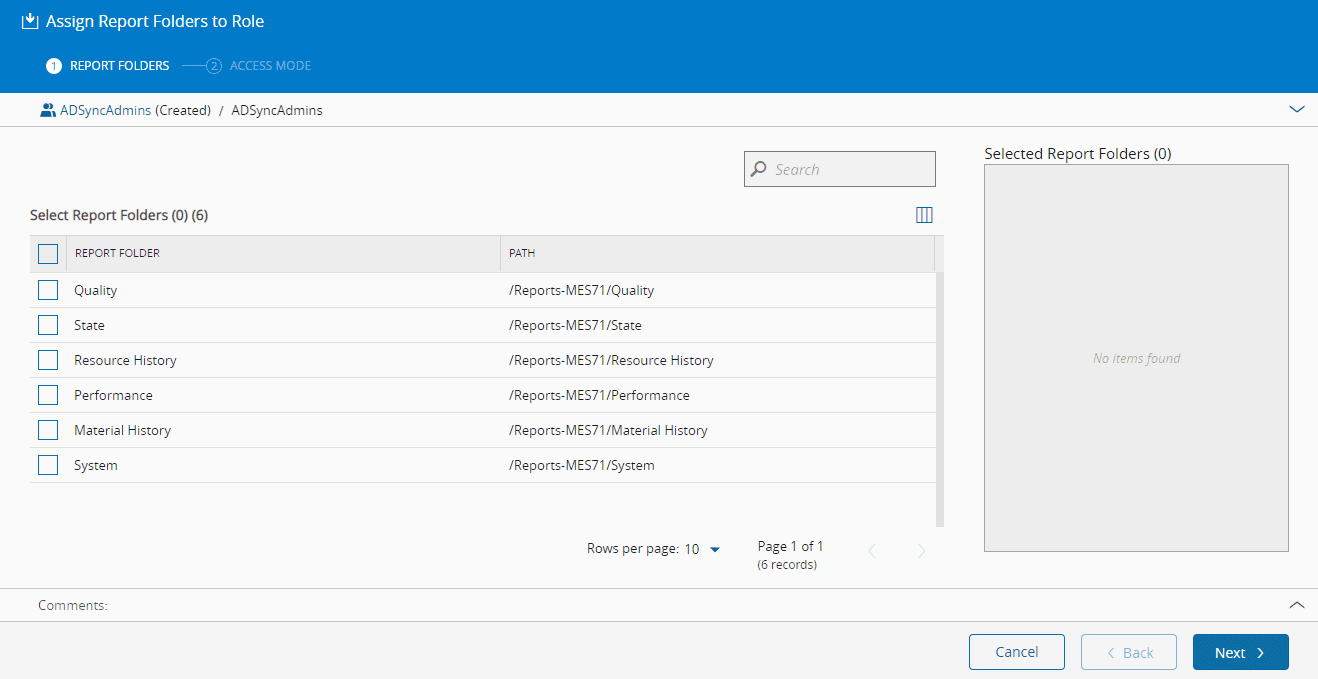
Assigning Report Folders to a Role#
Role.Edit
To assign one or more Report Folders to a Role is necessary to:
- Open the Role details and navigate to the Report Folders section in the Role details page or select the Roles in the Role list page.
- Select the Assign button.
- Choose the desired Report Folders to be assigned the current Role.
- Choose the Access Mode for each of the Report Folders to assign to the current Role.
- Select Assign to complete the operation.
Warning
In order to have access to the Report Folders section in the Role page, the user must have access to the ReportFolder.Edit feature.
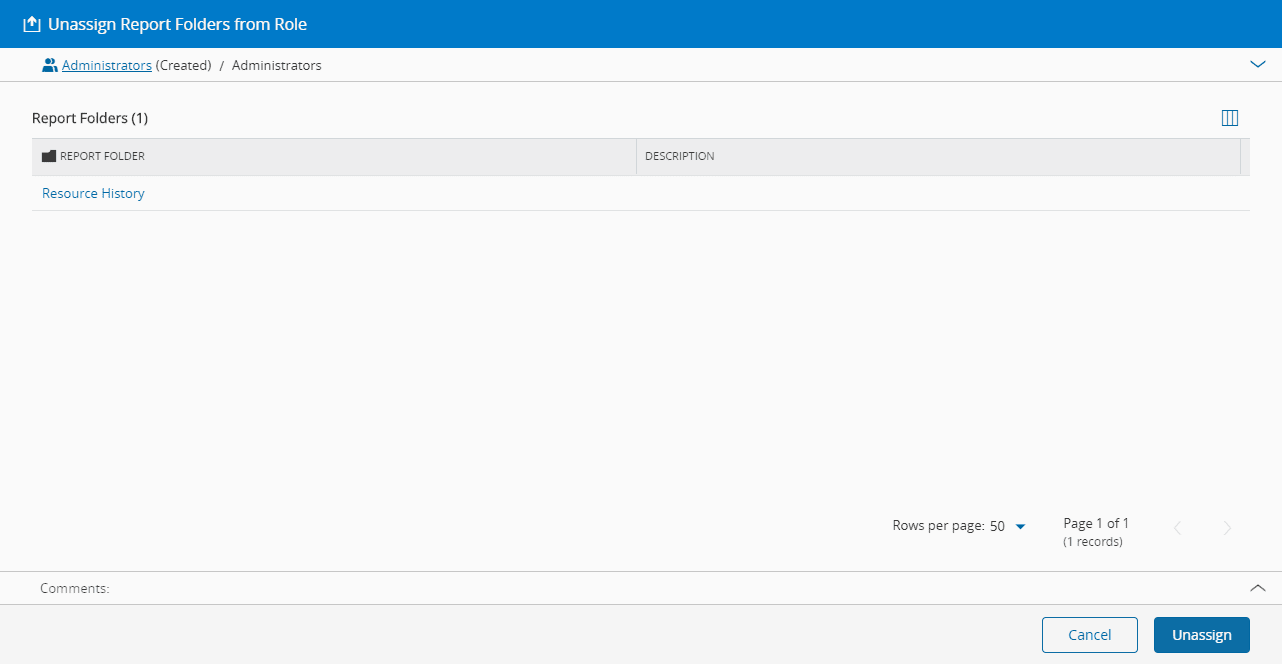
Unassigning Report Folders from a Role#
Role.Edit
To unassign one or more Report Folders from a Role is necessary to:
- Open the Role details and navigate to the Report Folders section in the Role details page.
- Choose the Report Folders you wish to unassign from the Role and select the Unassign button.
- Select Unassign to complete the operation.
Warning
In order to have access to the Report Folders section in the Role page, the user must have access to the ReportFolder.Edit feature.