---
alias: user-guide-create-checklist
description: "Create checklists step-by-step, defining items, instructions, and parameters for task execution"
---
# Create Checklist
:lock: Checklist.**Create**
## Overview
This operation is used to create a **Checklist**, this is, a step-by-step list of actions.
## Preconditions
* The **Checklist** name must be provided and must be unique.
## Sequence of Steps
{% include-markdown 'includes/pages/info_creating_versioned_entities.md' %}
### Step 1: Change Set
{% include-markdown 'includes/pages/step_one_versioned_entities.md' %}
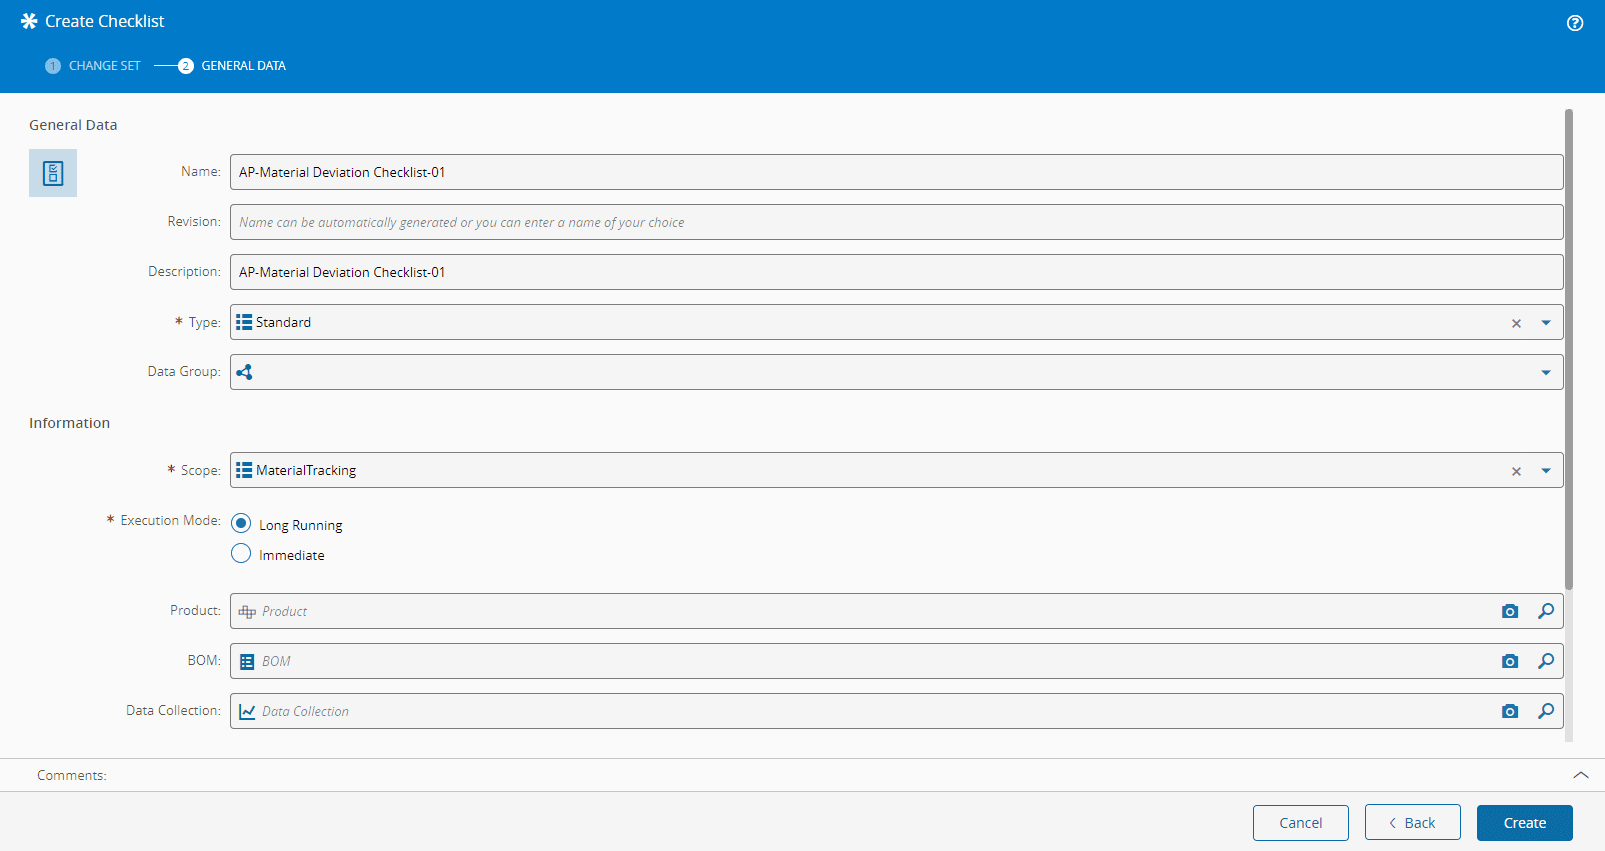
### Step 2: General Data
1. Provide a **Name** for the **Checklist**.
2. If you are creating a new version, the revision that was selected when you started the process will be the revision to which this version will be associated. If you are creating a new entity or revision (with a new version associated to it), provide a **Name** for the revision or it will be automatically generated for you. For more information, see [[revisions-index#naming|Revision Naming]].
3. Optionally, enter a **Description**.
4. Select the **Type** of **Checklist**. The list of possible values is taken from the [[checklisttype-lt]] Lookup Table.
5. Select the **Scope** of the **Checklist**. Based on the chosen Scope, the General Data wizard will show different options, as outlined in the table below.
{% include-markdown 'includes/pages/checklist_restrictions.md' %}
!!! info
There are several specific restrictions to the objects used in the General Data wizard. For more information, see [[tutorials-checklist-introduction#restrictions|Checklist Tutorial]].
### Step 3: Items
At this point the **Checklist** is created but there are no **Checklist Items** defined for it.
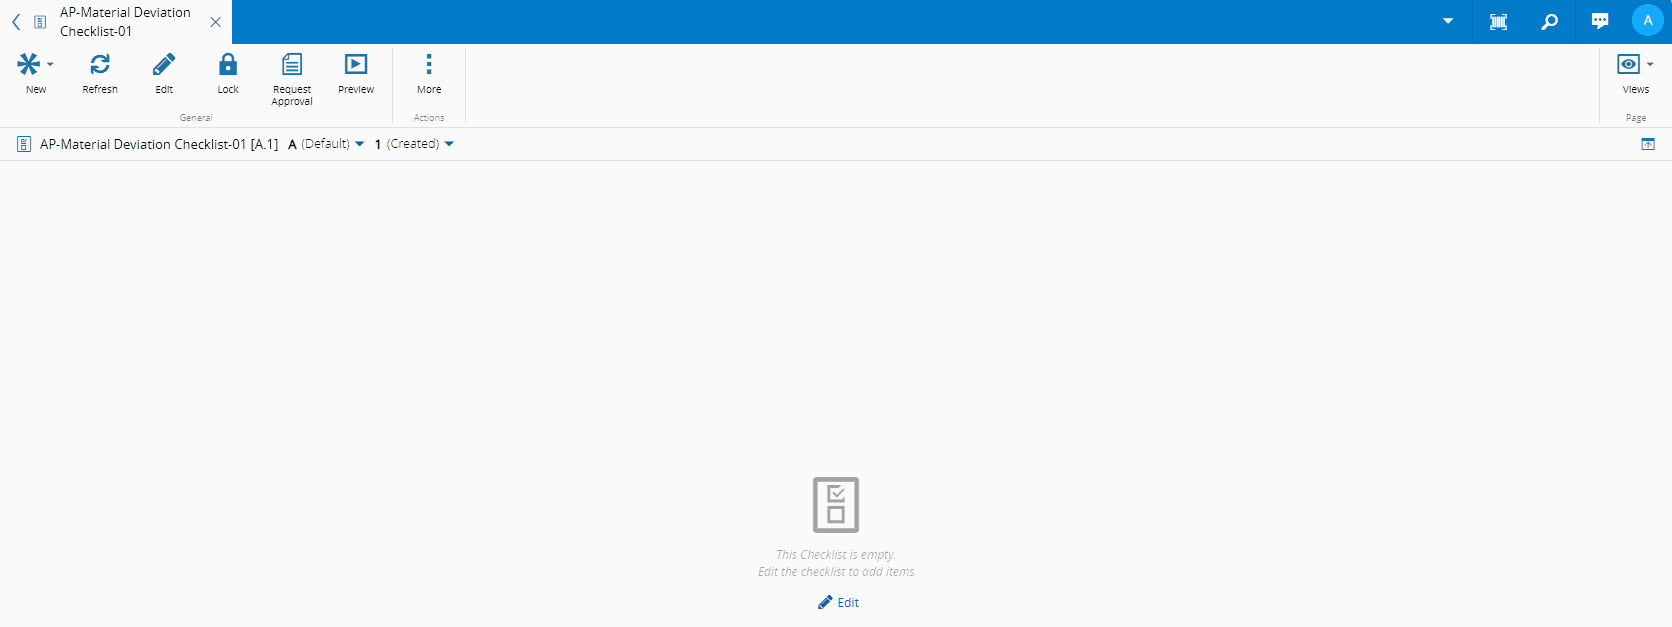
To build the **Checklist** structure, select **Edit** in the center of the page. A new central panel will appear where you can add items (left) and their details (right).
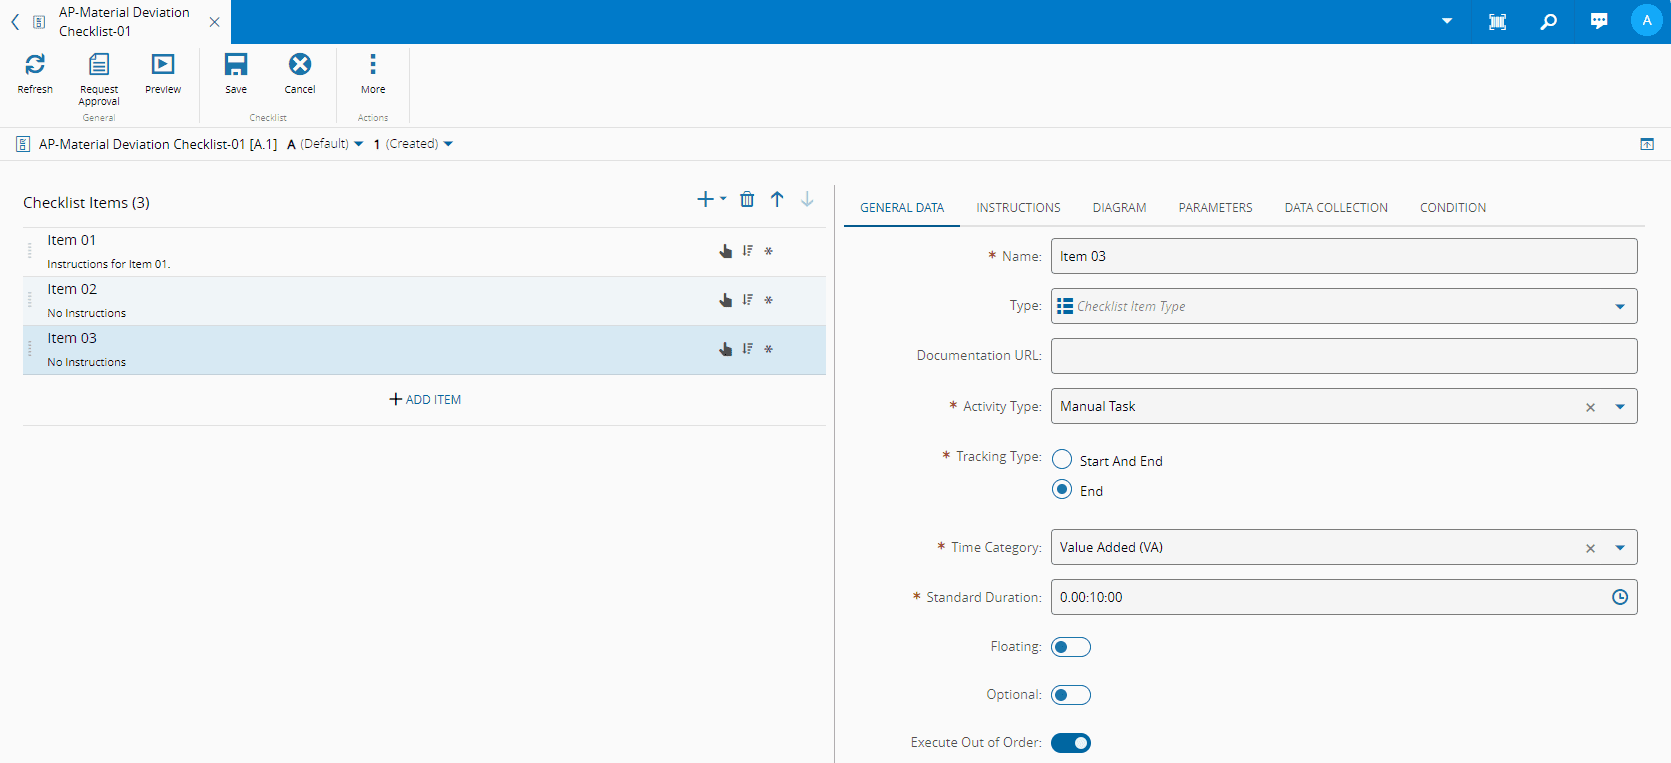
To build the **Checklist** structure, select **Add Item** and a new row will be inserted in the structure. You can :material-plus: and :material-trash-can: as many items as you need. Optionally, you can define a **Group** (give it a name), which will be used to gather **Checklist** items. All **Checklist** items must either have a defined group or no group at all.
!!! info
It is possible to reorder checklist items by using the :material-arrow-up: and :material-arrow-down: arrow keys.
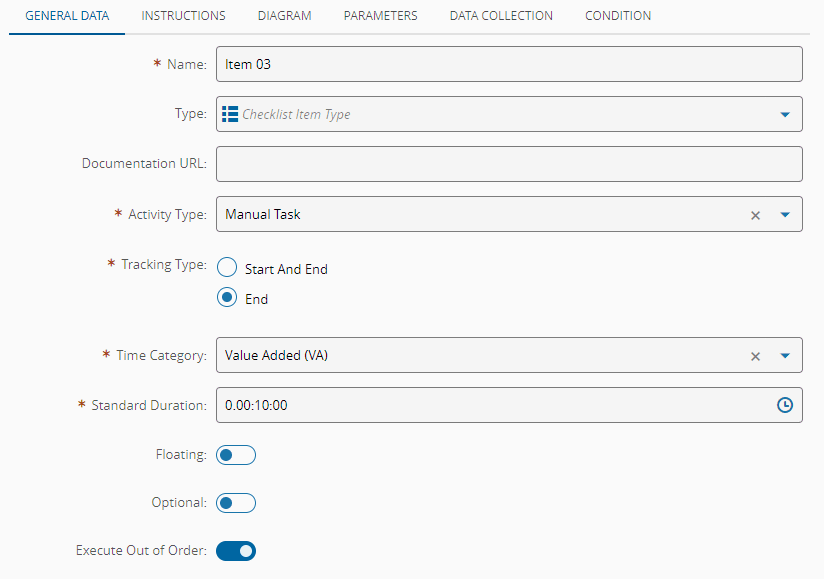
#### General Data
For each item, specify:
* **Name** of the **Checklist** item.
* Optionally, enter a **Checklist** item **Type**. The values are taken from the [[checklistitemtype-lt]] Lookup Table.
* Optionally, provide a **Documentation URL** for the **Checklist** item. A valid URL will be displayed in a separate tab named **Document** and can also be opened in a new tab for an easier viewing experience.
* The **Activity Type**:
* Manual Task - a manual procedure from which additional parameters can be collected.
* Manual Action - a DEE action that is triggered manually.
!!! note
Manual Actions cannot be applied to a Checklist that is in the Immediate mode.
The Checklist item with this Activity Type must be the last one.
* Automatic Action - a DEE action that is triggered automatically.
!!! note
Automatic Actions cannot be applied to a Checklist that is in the Immediate mode.
If the Checklist item with this Activity Type is not the first item to be performed, you must save the Checklist instance before the system can automatically execute the associated Rule.
* Signature - an item that needs to be signed with a username and password. For more information, see [[tutorials-checklist-items#signatures|Checklist Tutorial]].
* If the **Activity Type** is Manual Task, select the **Tracking Type**:
* Start And End - the start and the end need to be captured.
* End - captures only the completion of the task.
* For Manual and Automatic Actions, specify the corresponding **Rule**.
!!! warning
The selected Rule must return a dictionary with a key named `Result`.
* If the scope is Material Tracking or Maintenance Management, and the Define Standard Times property is set to `true`, specify:
* **Time Category** - Value Added, Non-Value Added, or Required Non-Value Added. This classification should follow the [Lean Thinking](https://leancommunity.org/value-added-vs-non-value-added/) methodology.
* **Standard Duration** - define the duration of each **Checklist** item.
* Specify whether the **Checklist** item:
* **Floating** - a floating item can be performed at any time whereas a non-floating item needs to be executed in a sequence. Additionally, you can (re)order these items.
* **Optional** - an optional **Checklist** item can be skipped.
* **Executed Out of Order** (available for Manual Tasks only) - if set to `true`, the item can be performed in any order.
!!! info
Depending on the characteristics of each Checklist item, they will have an icon assigned. For more information on each icon, see [[introduction-visual-conventions#checklist-items]].
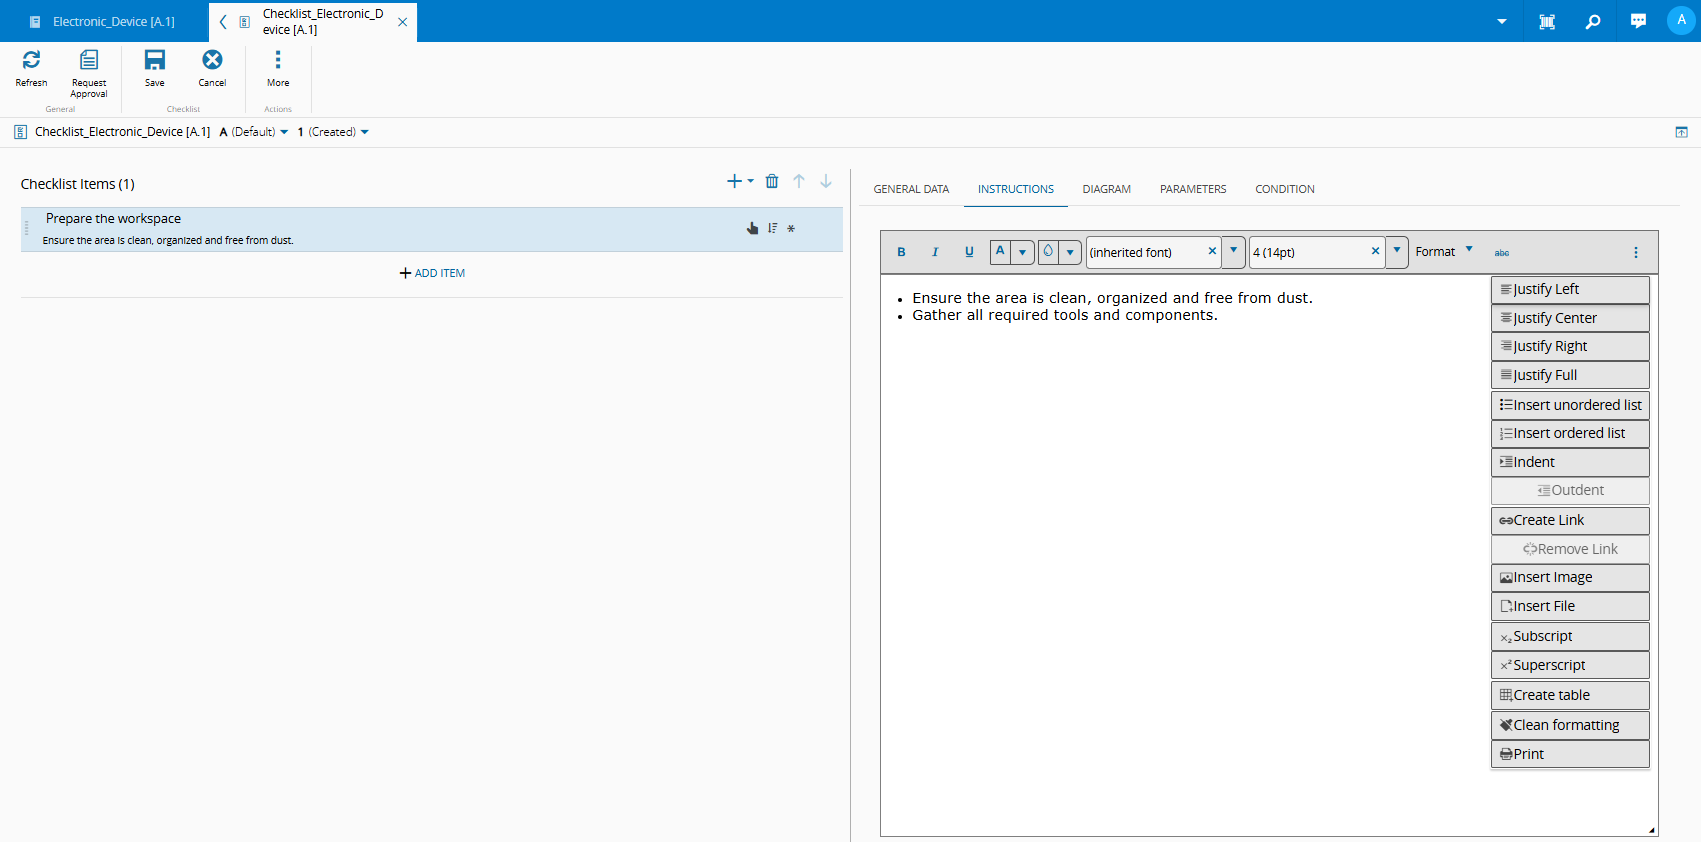
#### Instructions
You can define instructions to be performed and format them using rich text in the editor. This includes applying text styles, creating lists, inserting images and tables, adding hyperlinks, and attaching multimedia such as PDFs or MP4 videos.
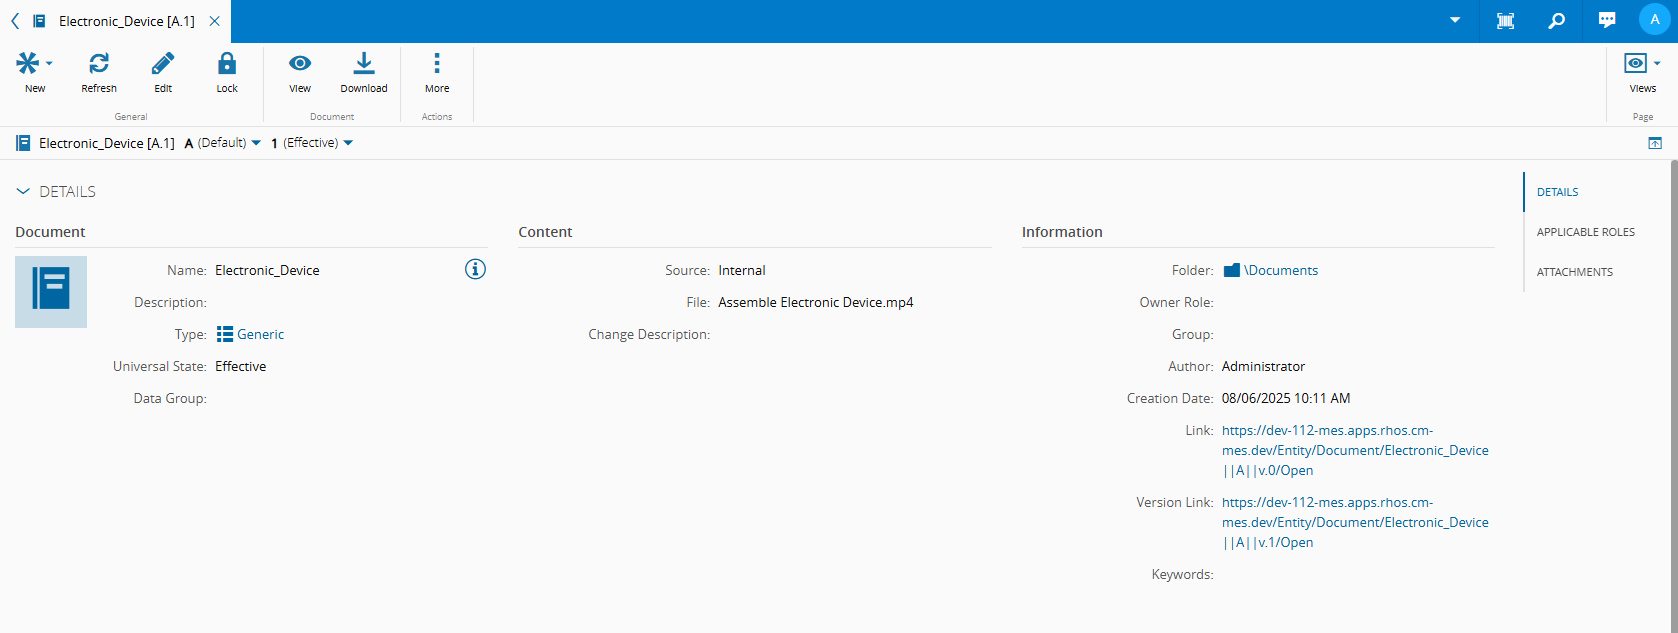
To include multimedia, you must first create a **Document** by uploading the desired file in the system.
!!! note
For more information, see [[user-guide-create-document]].
Once saved, copy the link shown in the information panel of your **Document**:
Within the **Checklist** instructions, select :material-dots-vertical: on the right side of the toolbar to access additional formatting and insertion tools. To embed multimedia content, choose **Create Link**.
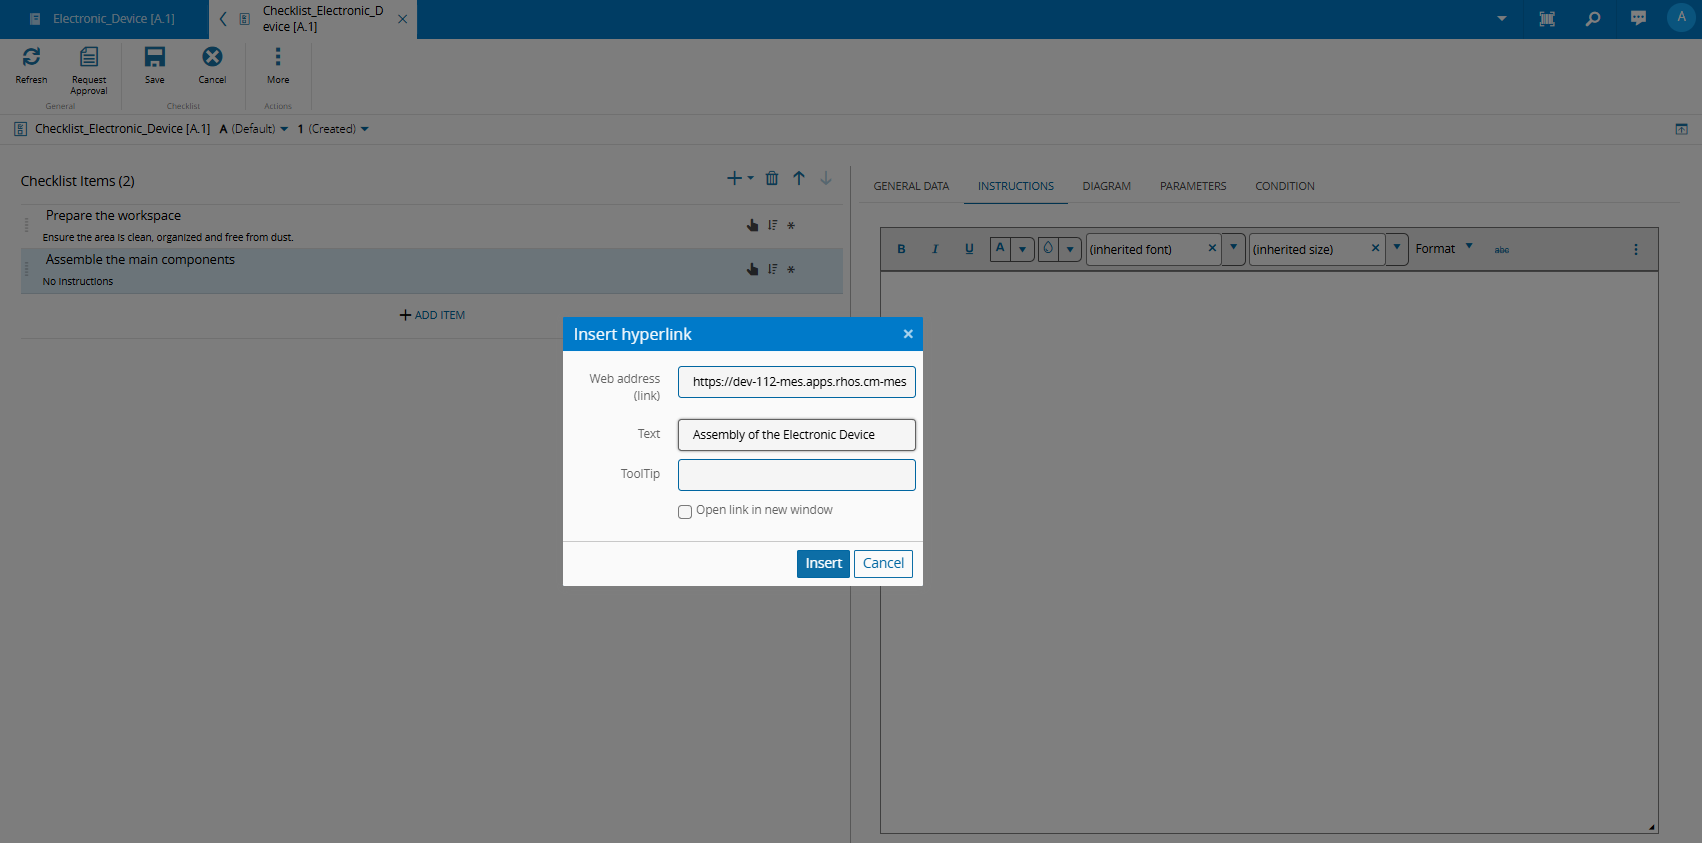
In the **Insert Hyperlink** panel, paste the link of the **Document** into the Web Address field and in the Text field, enter the text to be shown in the instruction:
Select **Insert** and then **Save**. You will be able to view the multimedia by selecting the link:
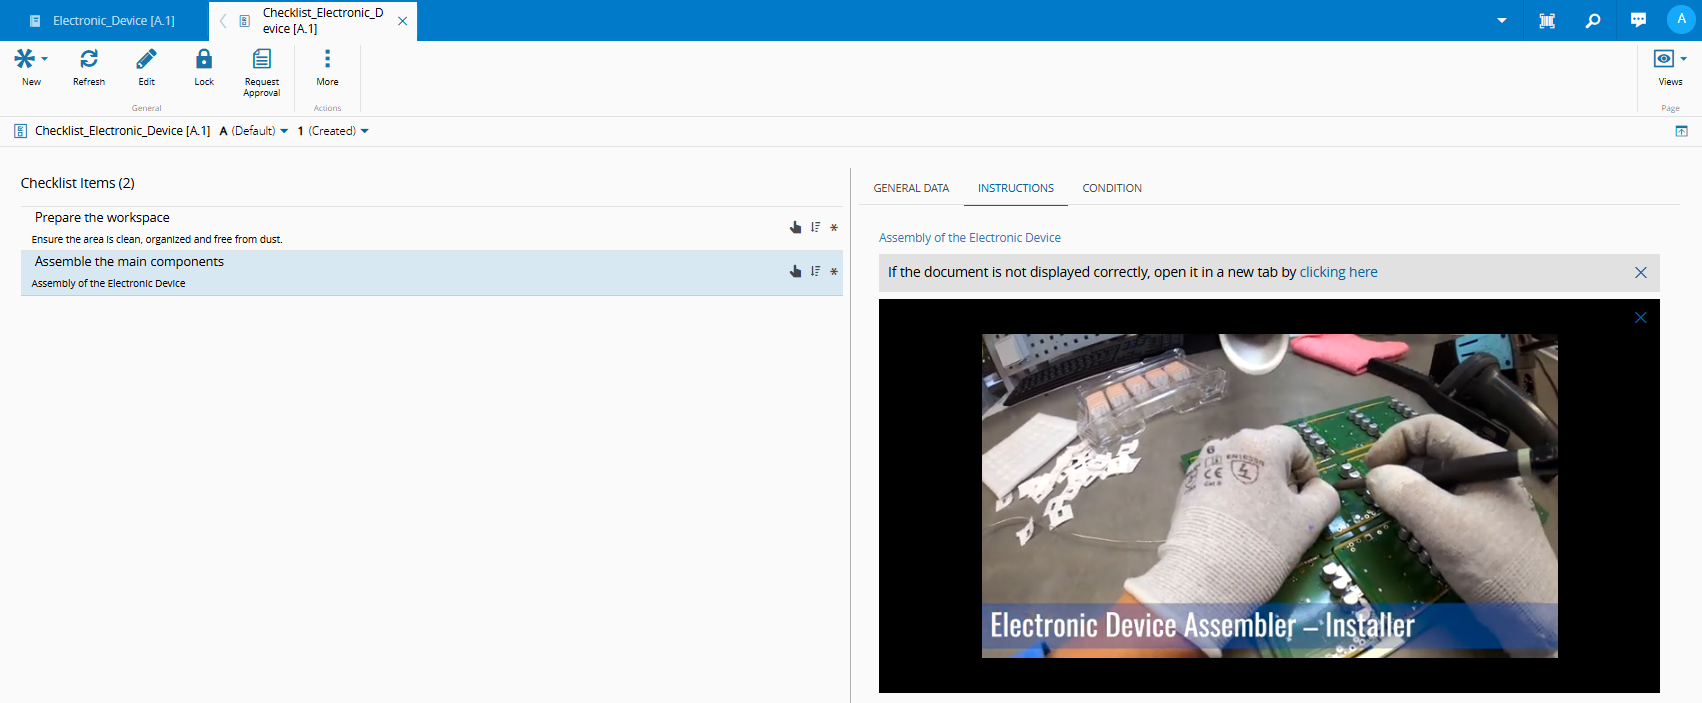
!!! info
The maximum instruction size (in Megabytes) is defined in the configuration entry: `/Cmf/System/Configuration/Checklist/MaxInstructionSize`. If the multimedia attached is internal, it will display directly in the Instructions. If it is external, it will open in a new tab.
#### Diagram
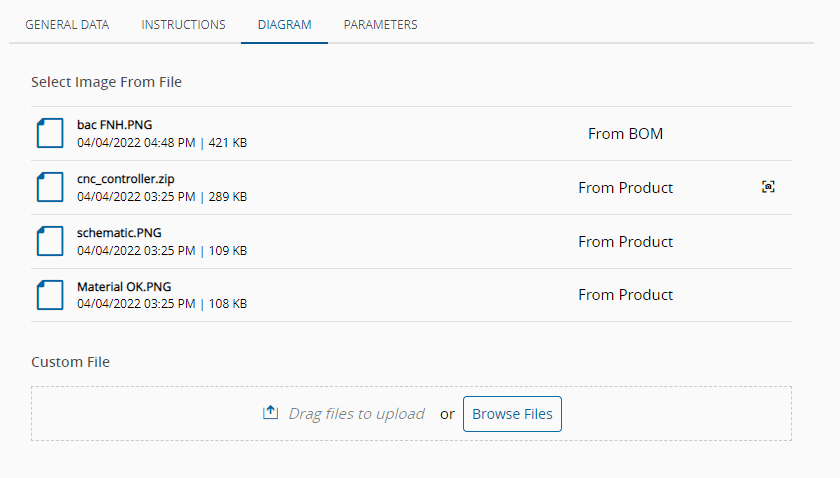
You can associate a diagram to a checklist item by uploading a file that can be used as an illustration of the procedure you want to detail. The image is uploaded through a control in the **Diagram** tab.
In the **Diagram** tab you can also have direct access to the **BOM** drawing associated with the **Checklist**, as well as any images, diagrams, and other document types linked to the **BOM Products** of the **Checklist**:
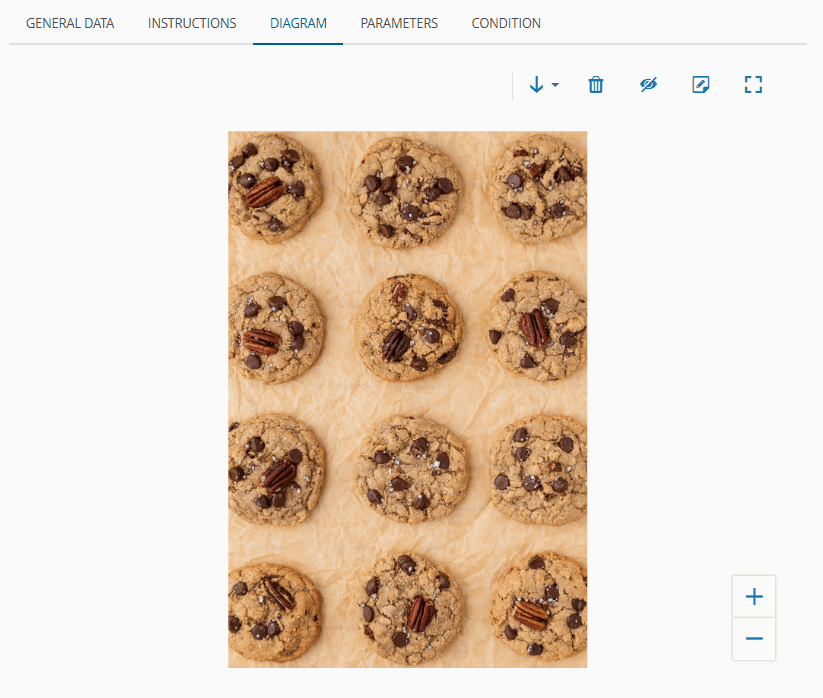
After uploading the file, you can annotate the diagram directly over it, using a simple annotation tool within the same tab. By selecting the file you want to annotate you access the icon to open the **Add Annotations** dialog. For more information on how to use this tool, see [[tutorials-checklist-items#diagram|Checklist Tutorial]].
!!! info
You must save the Checklist in order to keep all the changes made to the diagram.
#### Parameters
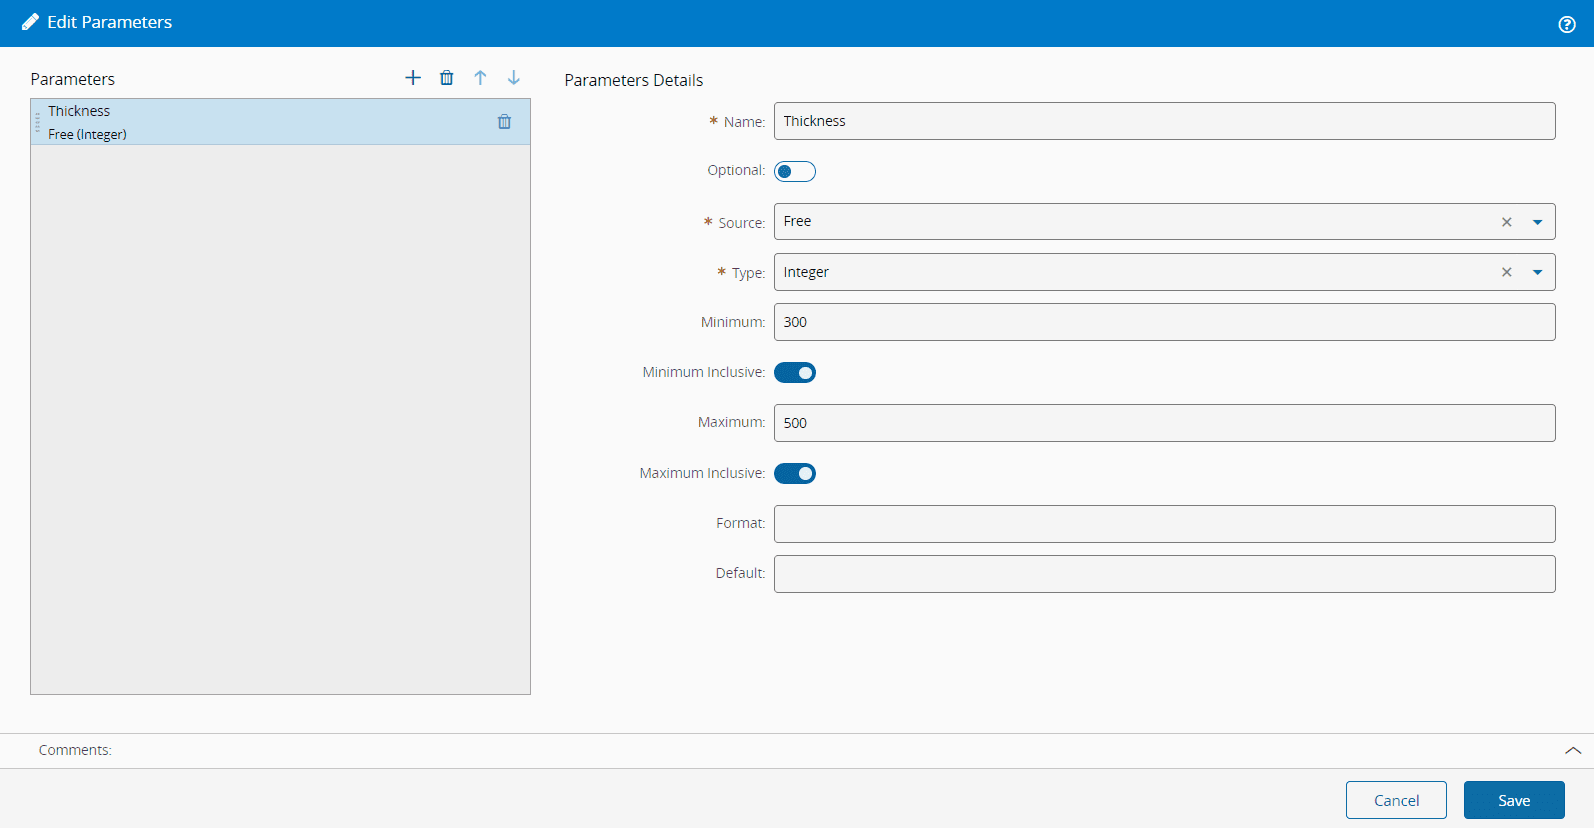
For Manual Tasks and Signatures, specify the desired **Parameters** and provide:
* The **Name**.
* Whether it is **Optional** or not.
* The **Source**:
* **Free**, which is further defined by:
* **Type** - Boolean, Date Time, Decimal, File, Integer, Long, String, Url.
* For numeric types, there can be a minimum and maximum value (the minimum and maximum values may be inclusive or not).
* A **Format**, used for input and display purposes. For more information, see [[user-guide-string-formats]].
* A **Default** value, compatible with the **Type**.
* A date time picker mode for the **Date Time** parameter: Date, Date Time, Time.
* A **File**, to allow capturing images or attaching a file.
* **Lookup Table**, which is further defined by:
* The **Lookup Table**.
* Optionally, a **Default** value.
* **Query**, which is further defined by:
* The **Entity Type**.
* The **Query Name**.
#### Condition
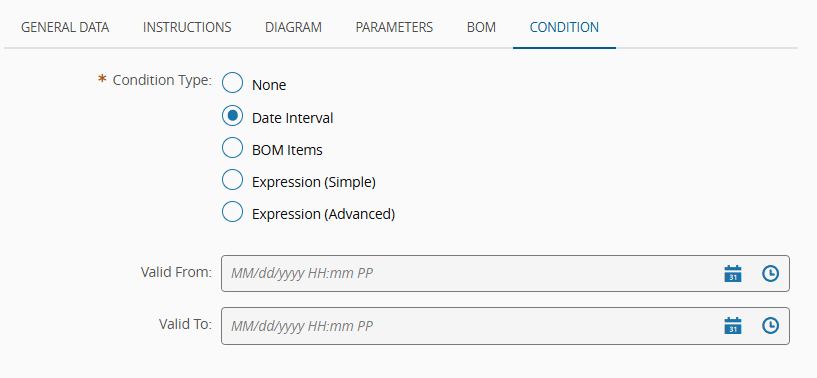
Depending on the scope of the **Checklist**, you can select the following options for the Condition Type:
* **None**
* **Date Interval** - if defined, you must enter the **Valid From** or **Valid To** date and time. If both are defined, the **Valid To** must be greater than the **Valid From**.
* **BOM Items** - this option can only be selected if the scope is Material Tracking and there is at least one BOM item associated with a **Checklist** item.
* **Expression (Simple)** - this option can only be selected if the scope is Material Tracking and it should reference a valid [JSONata expression](https://docs.jsonata.org/). This expression can reference **Product** characteristics. For more information, see [[user-guide-manage-product-characteristics|Product Characteristics]].
* **Expression (Advanced)** - this option can only be selected if the scope is Material Tracking and it should reference a valid [JSONata expression](https://docs.jsonata.org/). This expression can reference direct properties, attributes, and characteristics of the **Material**, as well as **Product** characteristics.
!!! info
For more information, see [[tutorials-checklist-items#condition|Conditions on Checklists]].
#### Data Collection, BOM Products and Documents
Depending on the selected **Scope** and the choices made in [[user-guide-create-checklist#step-2-general-data|Step 2]], you will be able to define **Data Collection Parameters** and **BOM Products**, as well as manage **Documents**. For more information, see [[tutorials-checklist-introduction#checklist-items|Checklist Tutorial]].
After the creation of a version, the version will be in the state **Created**. To make it **Active**, the associated **Change Set** must be approved. To make it **Effective**, the version must be set as **Effective**. For more information, see [[versions-index]].