---
pdfexport: true
alias: tutorials-stimulsoft-report
timetoread: true
tutorial: full
description: "Create simple reports using Stimulsoft Designer, focusing on layout customization and data source management"
---
# Stimulsoft Tutorial
This tutorial explains how to customize or create simple reports using Stimulsoft. If you require more advanced configurations, see [Create Stimulsoft Reports](https://developer.criticalmanufacturing.com/explore/guides/customizations/analytics/stimulsoftreports/).
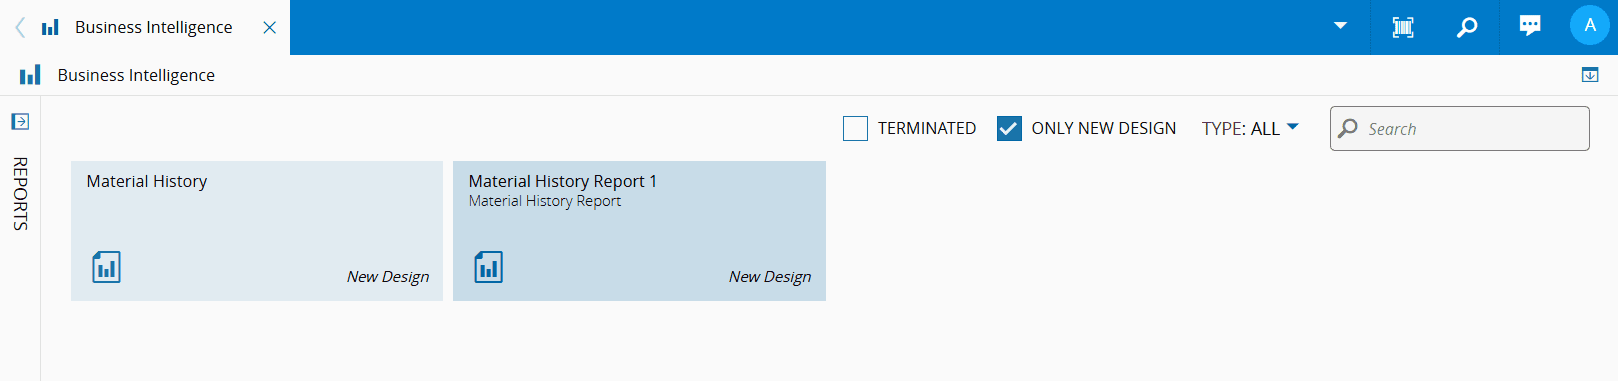
The Stimulsoft reports are available under the **Business Intelligence** menu and are marked with the *New Design* tag, as shown below.
{width=300}
In this tutorial, we will use the **Material History** report as example.
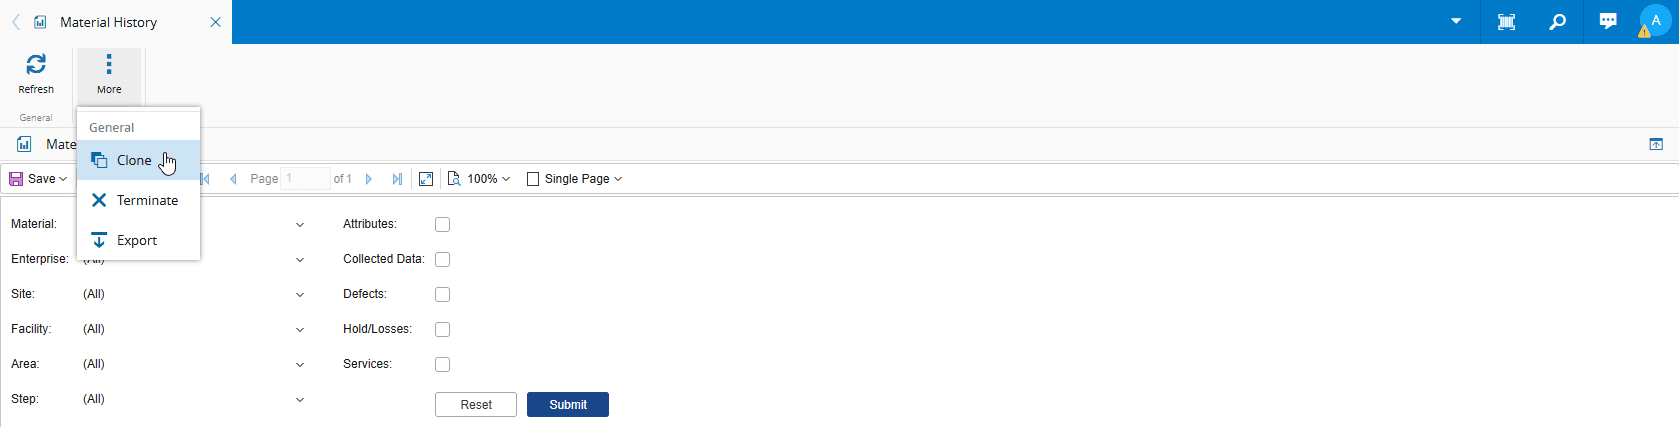
## Cloning a Report
Before making any changes, open the original report and select **Clone** from the **More** button on the top ribbon to create a duplicate.
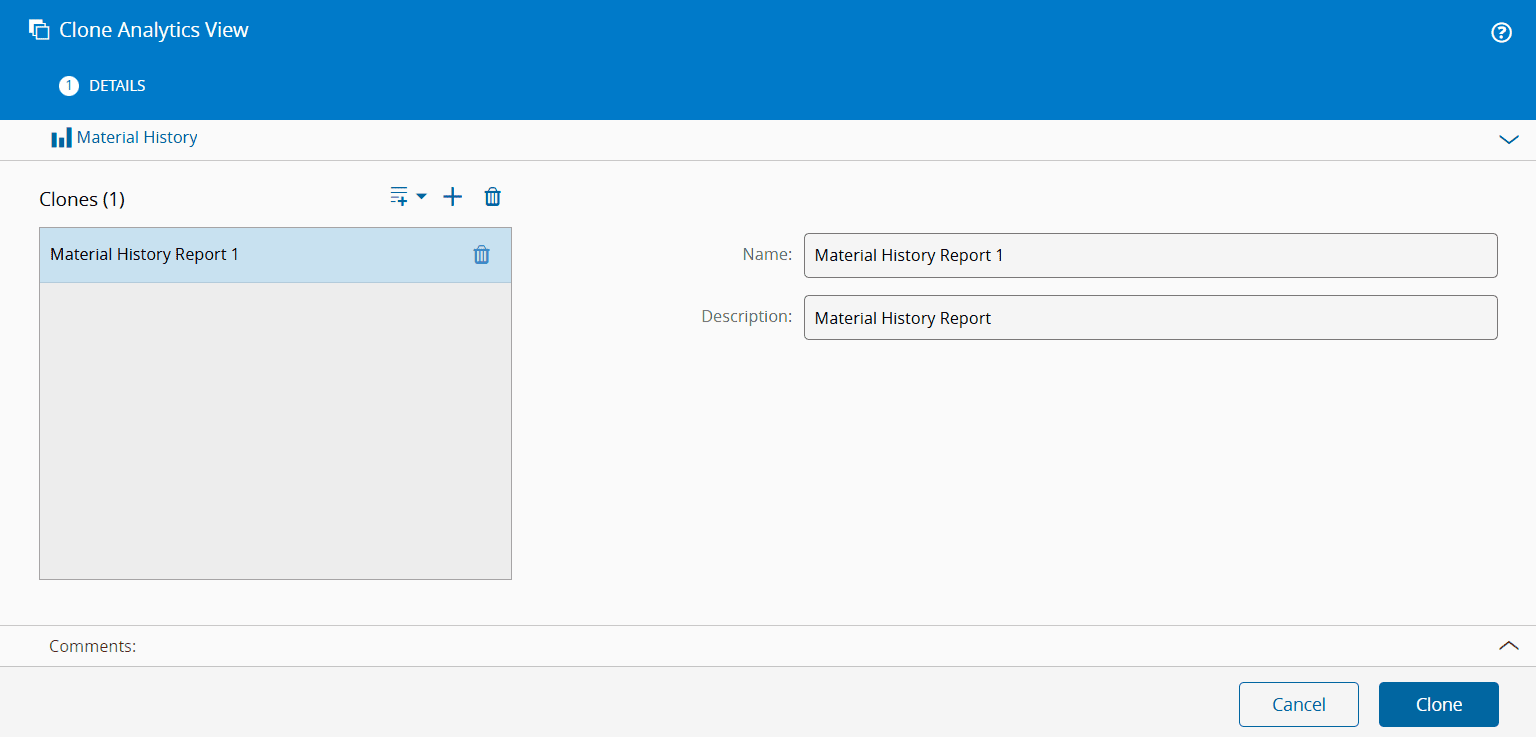
Provide a name and a description for the cloned report.
Navigate to the **Business Intelligence** menu and apply the **Only New Design** filter. From the filtered list, select the cloned report that was just created.
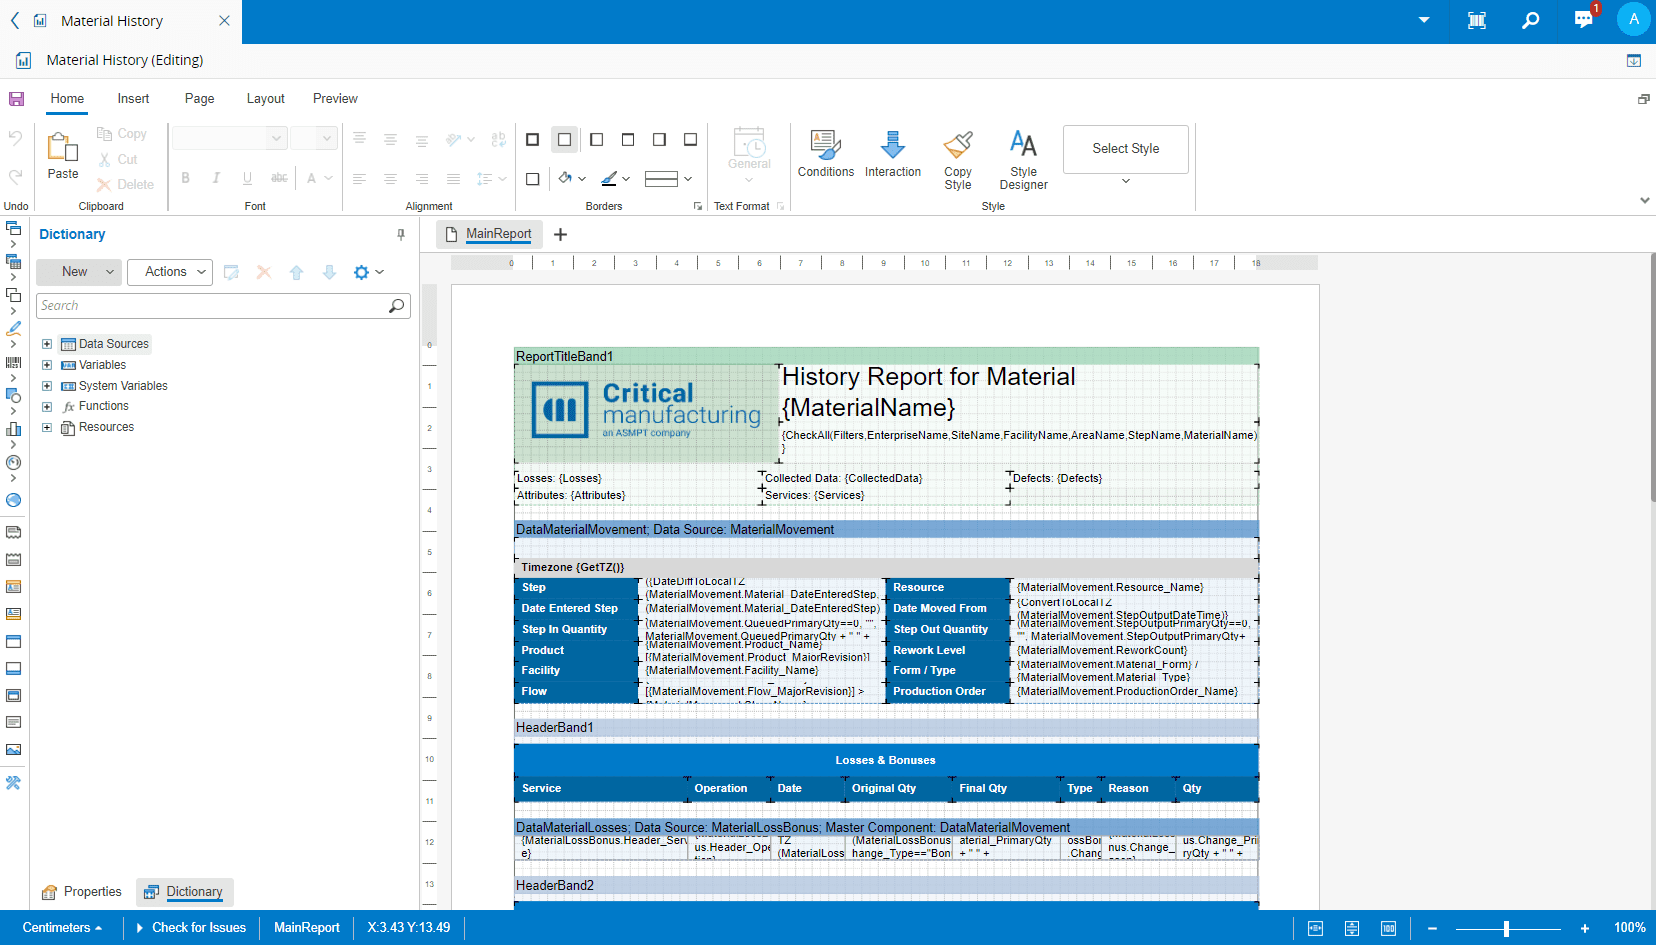
Expand the panel using the :core-static-expandpanel-sm: icon and choose the **Edit Layout** button on the top ribbon.

The report will open in the [Stimulsoft Designer](https://www.stimulsoft.com), a third-party editor with a wide range of customization options.
!!! info
Due to technical limitations, it's not possible to access the Data Source object directly in the designer and the expression needs to be written manually (for example, `{AppliesToValue.Name}`).
!!! warning
Do not forget to save the changes before exiting the layout editor.
To prevent caching issues on the editor, it is strongly recommended to use a single session and to edit one report at a time.
## Editing Report and Page Properties
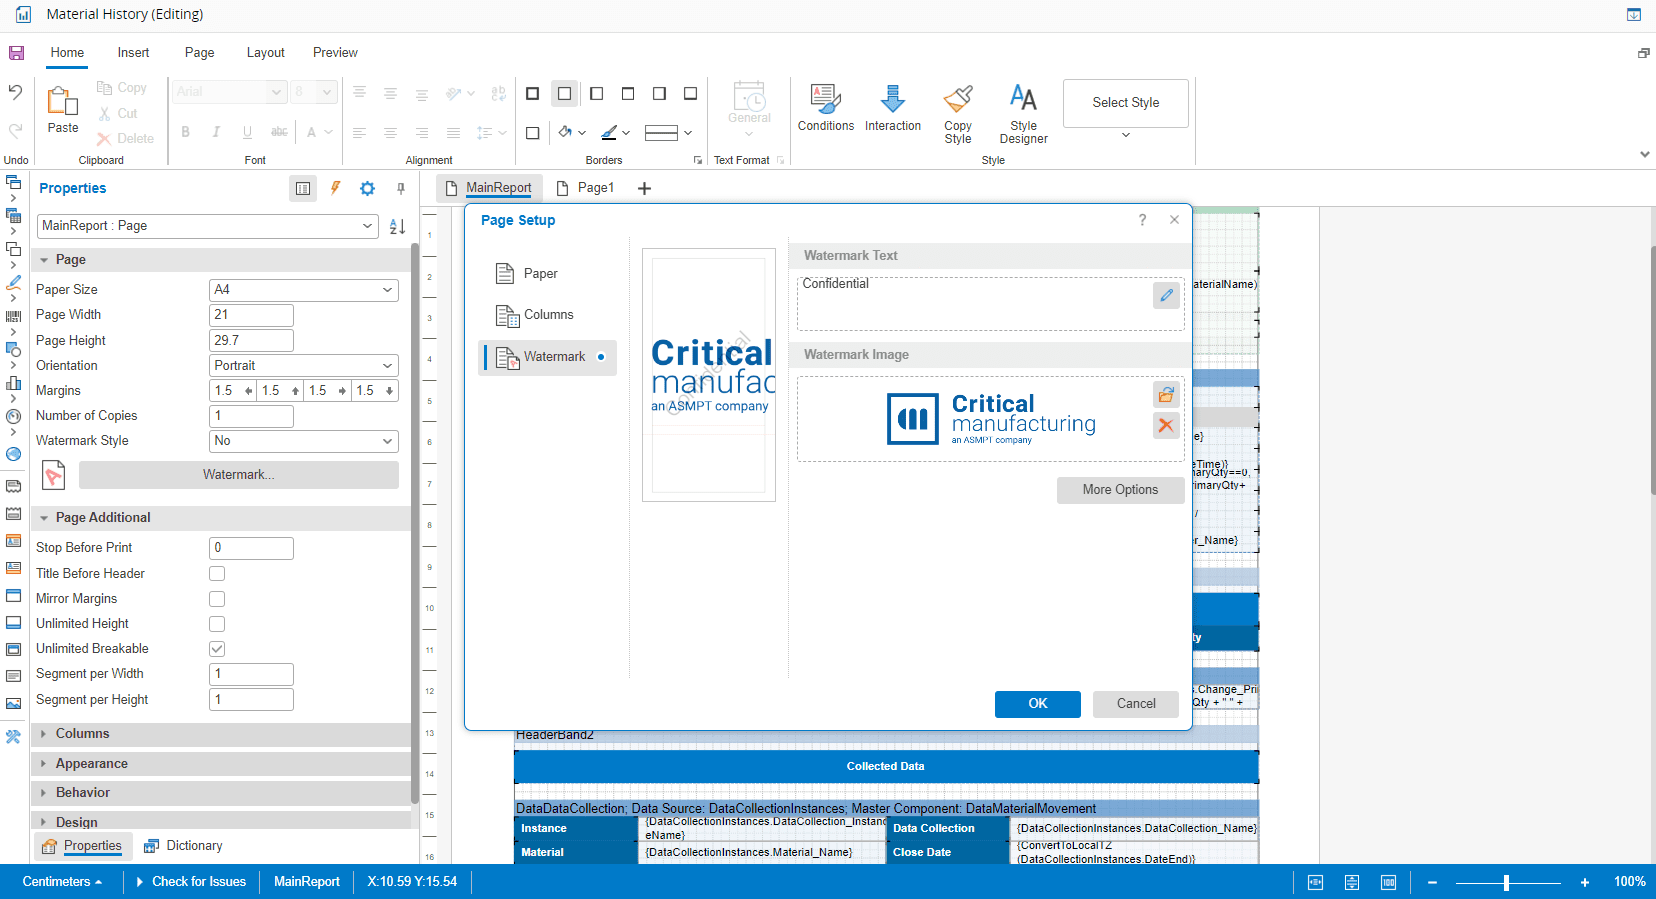
The editor allows you to edit the properties of any layout element, including the page object and the Report. To access the editor, locate the **Properties** tab at the bottom of the left panel. From there you may select the different page elements in the main dropdown of the panel.

Depending on the object selected above, the customization options may vary. For example, if you select the Page object, you may set a different Paper Size, Page Width, Page Height, and more. You may also define a Watermark Style by uploading an image or text as displayed below.
## Layout Design
### Context
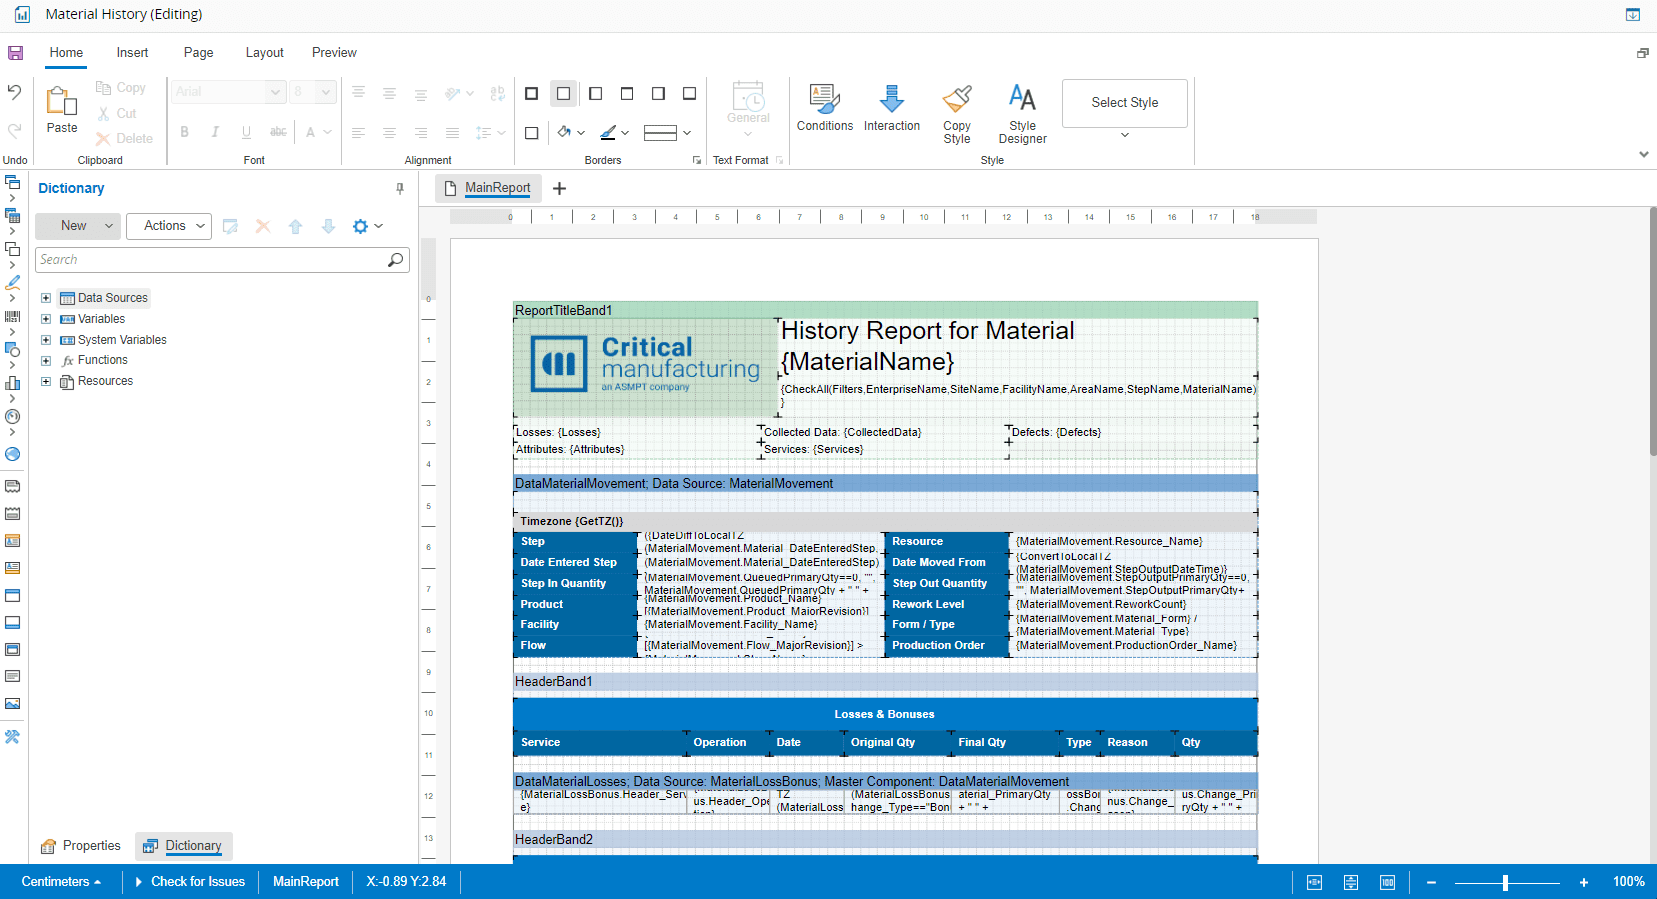
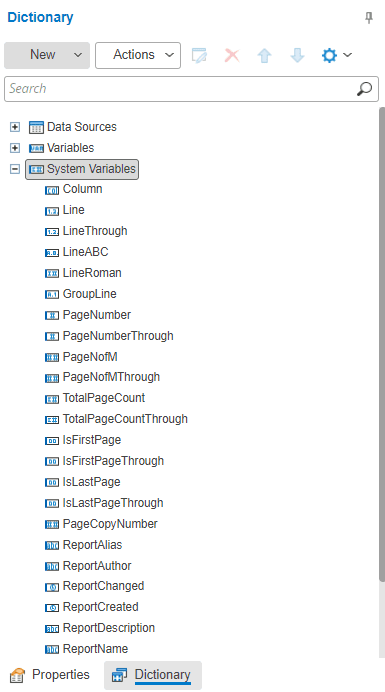
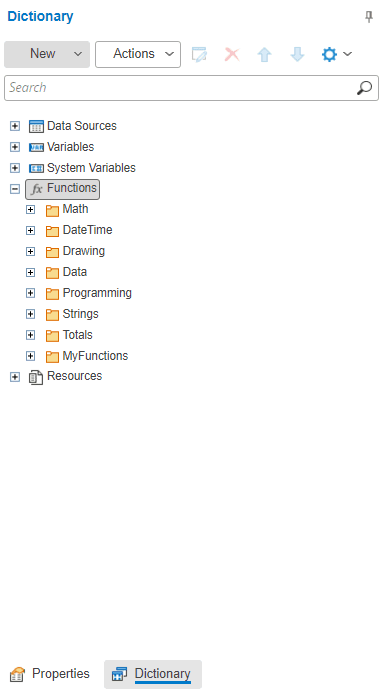
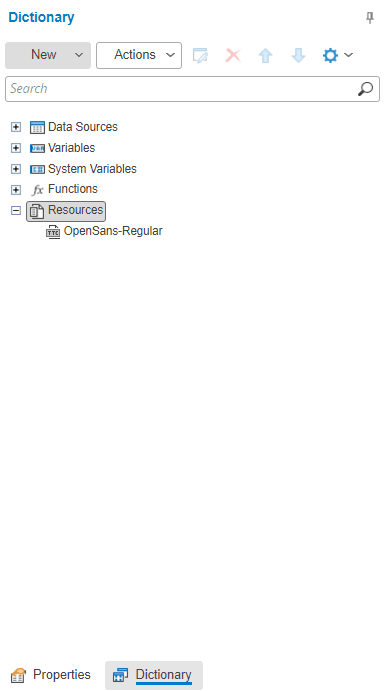
All values of the Material History Context Items plus the system data items, are available on the **Dictionary** tab of the layout designer, which is located next to the **Properties** tab, at the bottom of the left panel. There, you can access the Data Sources, Variables, System Variables, Functions, and Resources.
!!! info
By default, user information displayed in reports is anonymized. To show the real user identities, you must enable the `CmfDataSet.IdentityAccess` security feature (for more information, see [[user-guide-security-features]]) and activate the User Identifier flag when creating a [[user-guide-create-data-set|Data Set]] or an [[user-guide-create-iot-event-definition|IoT Event Definition]].
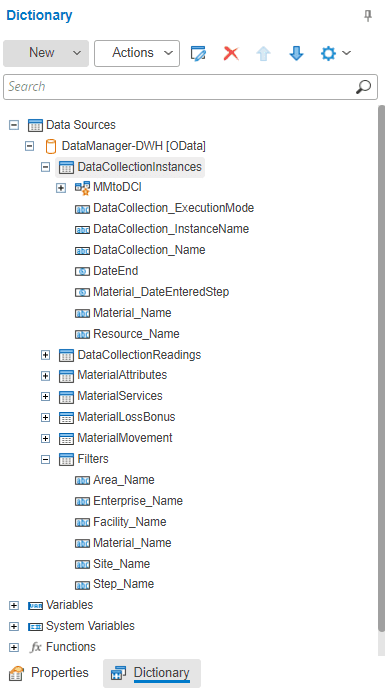
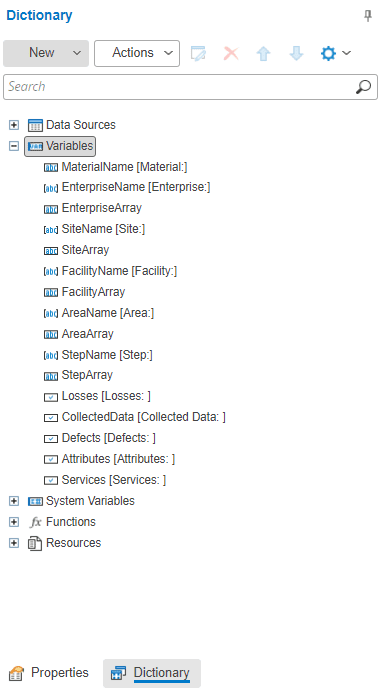
You can manipulate the Material History report items within the **Dictionary** tab. For example, if you expand the **Data Sources** category, you will access all the information that could be displayed in the report. You may add or remove items or even change the position of the data in the report. For each data source, if you right-click on top of an element you will have several options, including accessing the **Properties** of the same item. Similarly, you may do the same for **Variables** and **System Variables**.
=== "Data Sources"
=== "Variables"
=== "System Variables"
=== "Functions"
=== "Resources"
### Data
You can tailor the data displayed in the report to meet your specific needs, simply:
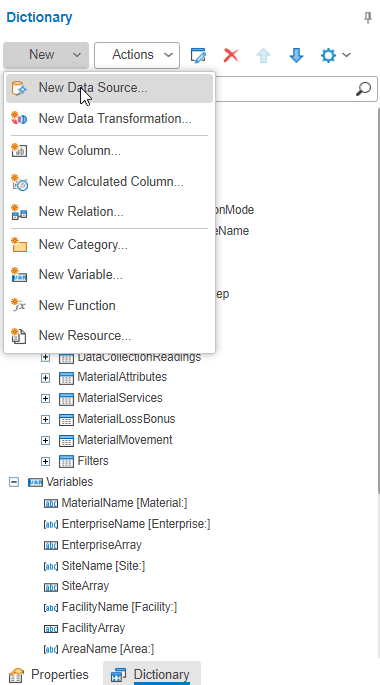
1. Navigate to the **Dictionary** tab in the left panel and select **New Data Source** from the **New** dropdown.
2. In the **Report Connections** section, choose `DataManager-DWH`.
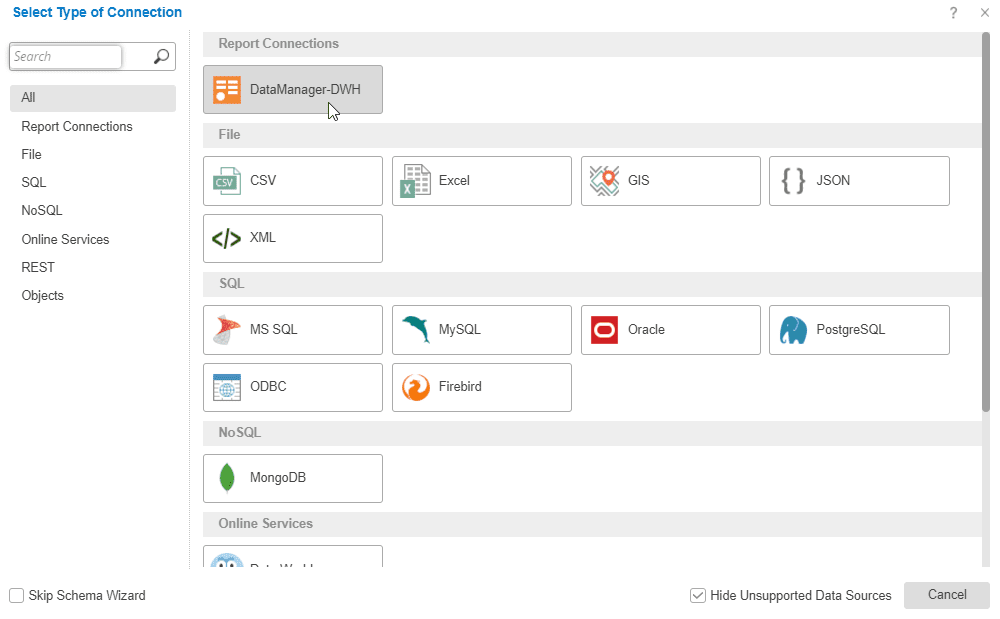
3. Select the data you wish to include in the report.
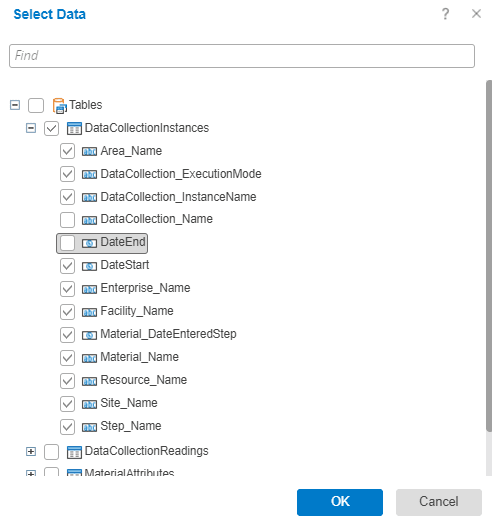
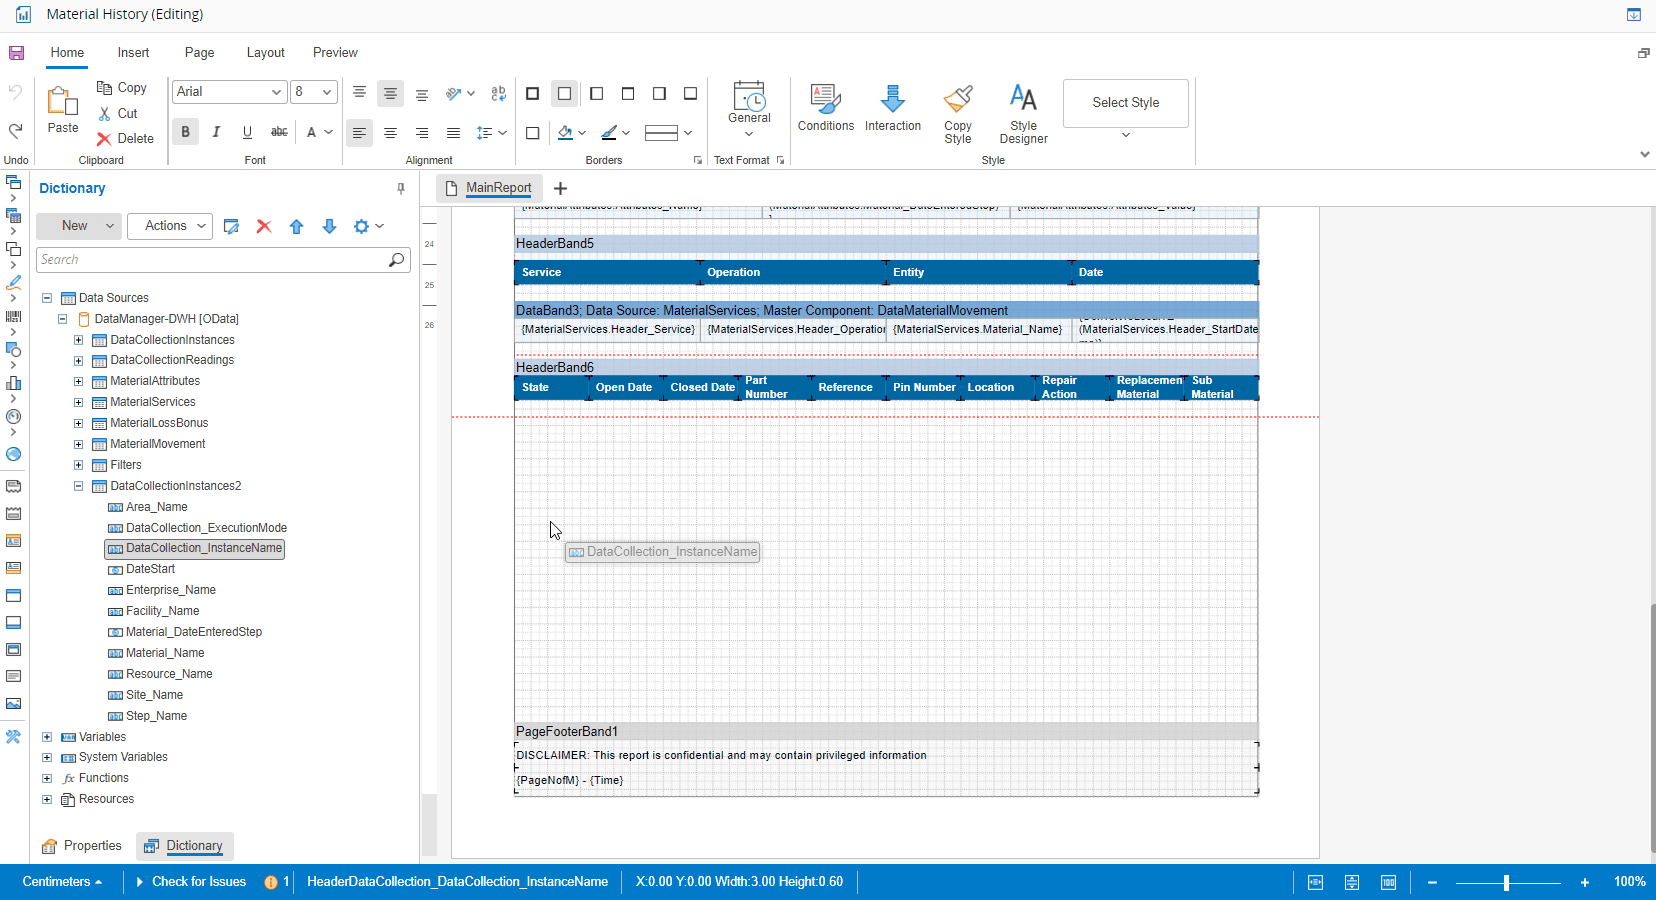
4. Drag and drop the desired data into the report layout to use it.
Additionally, you can add new **Variables**, **Functions**, and **Resources**. For more information, see [Data Dictionary](https://www.stimulsoft.com/en/documentation/online/user-manual/).
### Validation
To validate your report, select the **Check for Issues** button, which is located below the **Dictionary** tab. This feature identifies and displays errors, warnings, informational messages, or report rendering messages that may require your attention.

!!! info
This guide does not cover every aspect of the Stimulsoft software. For more detailed information, we highly recommend exploring the resources available on the [Stimulsoft website](https://www.stimulsoft.com), namely the links below:
* Documentation -
* Articles -
* Videos -