---
tags:
- packing
timetoread: true
tutorial: full
alias: packing-tutorial
description: "Critical Manufacturing MES uses packages at Level 1 (product packaging) and Level 2 (multiple-level packaging) for transportation and shipping, defined"
---
# Packing
## Overview
A **Package** is created from one or more **Products**. The **Product Type** of which must be **Packaging**. And although associated to a **Product**, a package hierarchy can have various **Materials**.
In Critical Manufacturing MES, packing is understood to be any type of box, package or container used for the purposes of transportation or shipping. Additionally, packing can take place at many levels as shown in the example below:
```mermaid
flowchart LR
subgraph Product
direction LR
subgraph Packing["Protective Packaging for every level"]
direction LR
A1[Transportation Packaging] -.->|Pallet| N1[Level 4]
A2[Warehouse Packaging] -.->|Corrugated Box| N2[Level 3]
A3[Secondary Packaging] -.->|Box| N3[Level 2]
A4[Primary Packaging] -.->|Plastic Bag| N4[Level 1]
end
A5[Finished Product Materials] -.-> Packing
end
classDef mermaid_title color:#000, fill:#fafafa, stroke:#fafafa, stroke-width:0x, font-size:100%, font-weight:200;
classDef mermaid_start color:#000, fill:#fafafa, stroke:#fafafa, color:#fafafa, stroke-width:0x, font-size:100%, visibility: hidden;
classDef mermaid_businessdata color:#000, fill:#65CDE8, stroke:#65CDE8, stroke-width:0px, font-size:100%;
classDef mermaid_nonbusinessdata color:#000, fill:#B7DEE8, stroke:#B7DEE8, stroke-width:0px, font-size:100%;
classDef mermaid_entity color:#000, fill:#FB9F53, stroke:#FB9F53, stroke-width:0px, font-size:100%;
classDef mermaid_entitylinked color:#000, fill:#FCD5B5, stroke:#FCD5B5, stroke-width:0px, font-size:100%;
classDef mermaid_context color:#000, fill:#B9CDE5, stroke:#B9CDE5, stroke-width:0px, font-size:100%;
classDef mermaid_optional color:#000, fill:#B7DEE8, stroke:#65CDE8, stroke-width:1px, font-size:100%, stroke-dasharray: 5 5;
classDef mermaid_state color:#000, fill:#d7e4bd, stroke:#000, stroke-width:1px, font-size:100%, font-weight:300;
class Main mermaid_entity
class Start mermaid_start
class A1,A2,A3,A4,A5,A6,A7,A8,A9,A10,A11,A12 mermaid_state
class L1,L2,L3,L4,L5,L6 mermaid_state
class C1,C2,C3,C4,C5,C6 mermaid_context
class N1,N2,N3,N4,N5,N6 mermaid_nonbusinessdata
```
!!! note
This tutorial will focus on Level 1 and Level 2 packaging, but many more levels are possible in Critical Manufacturing MES.
## Packing levels
Critical Manufacturing MES distinguishes between two levels of packing as shown in the table below:
| **Level** | **Description** | **Driven by** | **Comments** |
|-------|-------------|-----------|-------|
| **Level 1
Primary (Product)** | Packaging of the main product, which is typically a **Manufacturing Process**. This includes all the Materials that make up an individual Product Package.
The contents of Packages at this level consist always of Materials. | A BOM. | 1. Requires only one Product of Product Type Packaging in the BOM.
2. Supports Trackable (has a unique Id) and Non-Trackable Packages. |
| **Level 2 and Above
Secondary, Tertiary, and above (Package)** | Packing of packages of Level 1 or above into other packages of a higher level (multiple level packaging), which is typically a **Logistics Process**.
The contents of Packages at this level consist always of other Packages. | A Step level configuration together with a Packing Context Smart Table. | 1. Will resolve to one Product of Product Type Packaging per level.
2. Multiple level packing is possible.
3. Level 2 (and above) Packages are always Trackable. |
Table: Different Packing levels
### Primary Packing
Primary packing consists of creating the packages of the first level - Level 1 packages. These are the packages that directly contain the WIP.
### Secondary and Above Packing
Secondary and above packing consists of packing packages of Level 2 or above in other packages. This operation is referred to as multiple level packing.
### Package
The **Package** entity is part of the **Material Logistics** module, which must be properly licensed in the system, and it can be accessed from the **Business Data** menu of Critical Manufacturing MES.
!!! note
The **Package** entity will only contain information if a packing operation has been executed.
### Product
A **Product** is where packing begins, and a **Product** is always associated to a **Material**.
As every manufactured product needs to be shipped, it also needs to be packed. However, there are different packing processes depending on the immediate outcome of what is packed.
Critical Manufacturing MES caters for various packing processes and has related them to levels, as seen above.
This tutorial will help you understand how Level 1 and Level 2 are configured, and will use a basic scenario with non-trackable packages for Level 1.
## Packing Material - Level 1
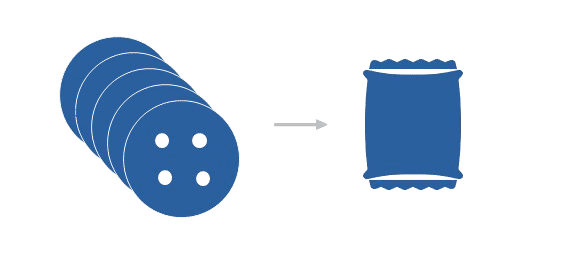
Level 1 is also called product packing and it is typically created on the shop floor. Remember that the contents of packages at this level is always a **Material**. Therefore, for the purpose of this tutorial, for Level 1, you will pack cookies into individual plastic bags:
## Setting up Packing Level 1
To have a functioning **Packing** module, you have to set up Critical Manufacturing MES entities as shown in the following table:
| **Step Number** | **Step** | **Description** |
| --------------- | --------------------------------------------------- | ------------------------------------------------------- |
| **1** | **Lookup Table** | Edit the [PackageType](../../../userguide/administration/tables/lookup-tables/packagetype.md) Lookup Table to create the needed package type. |
| **2** | **Service** | Create the needed **Services**. |
| **3** | **Resource** | Create the needed **Resources**. |
| **4** | **Step** | Create the needed **Steps**.|
| **5** | **Flow** | Create the needed **Flows**. |
| **6** | **Product** | Create the needed **Products**. |
| **7** | **BOM** | Create a **BOM**. |
| **8** | **BOM Context** | Define the **BOM Context**. |
Table: Steps to set up Level 1 Packing
The next sub-sections will cover the required configuration steps in more detail.
### Step 1: Lookup Table
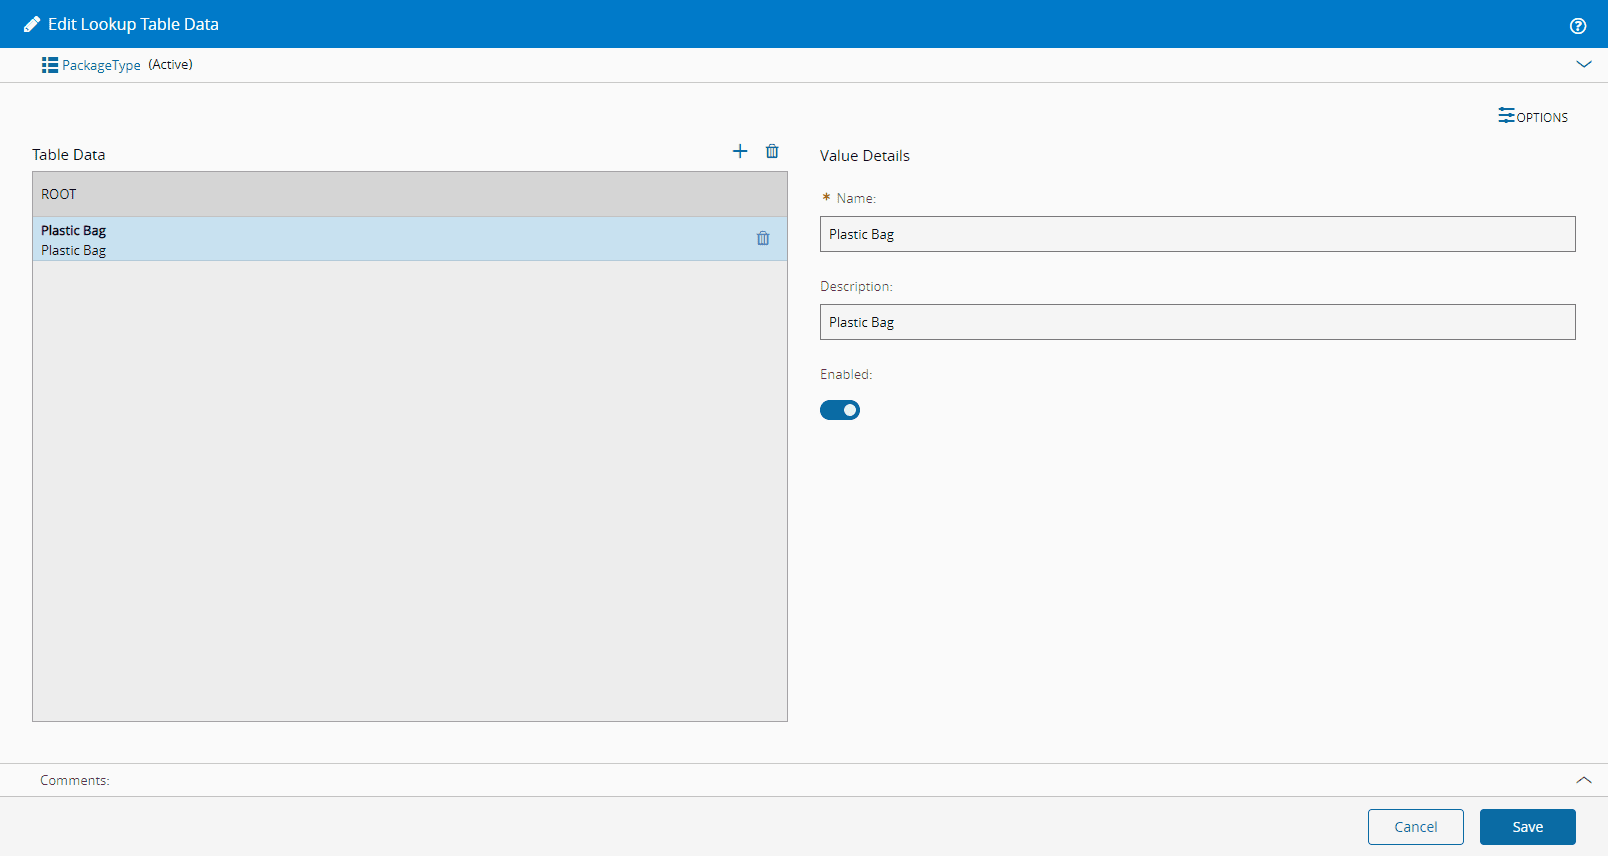
1. Edit the [PackageType](../../../userguide/administration/tables/lookup-tables/packagetype.md) Lookup Table to add the package type you will need. For Level 1 packing you will be using plastic bags:
### Step 2: Service
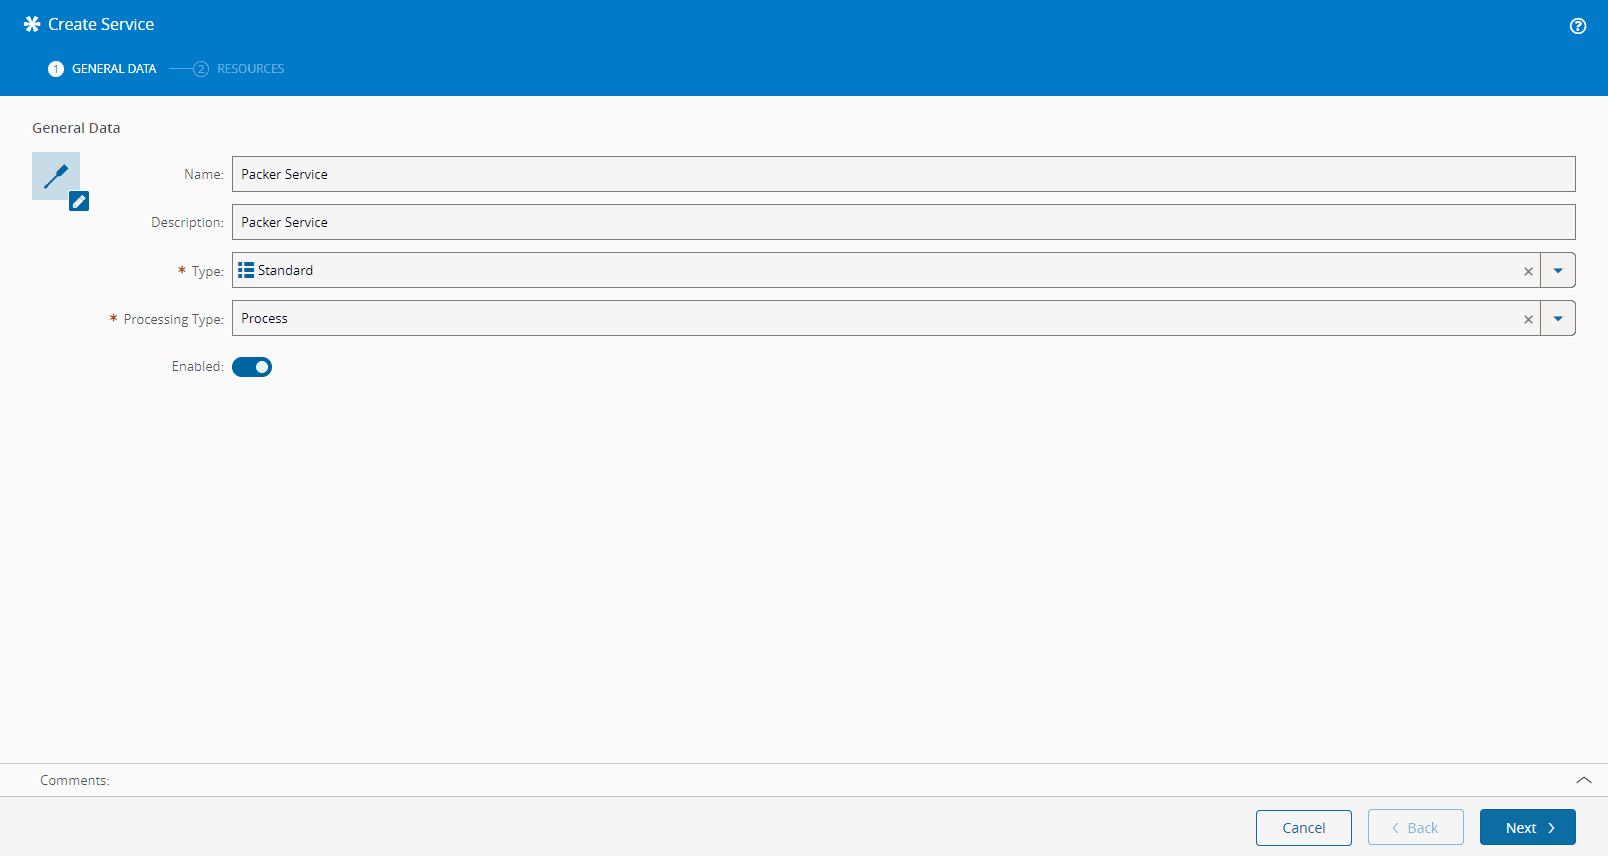
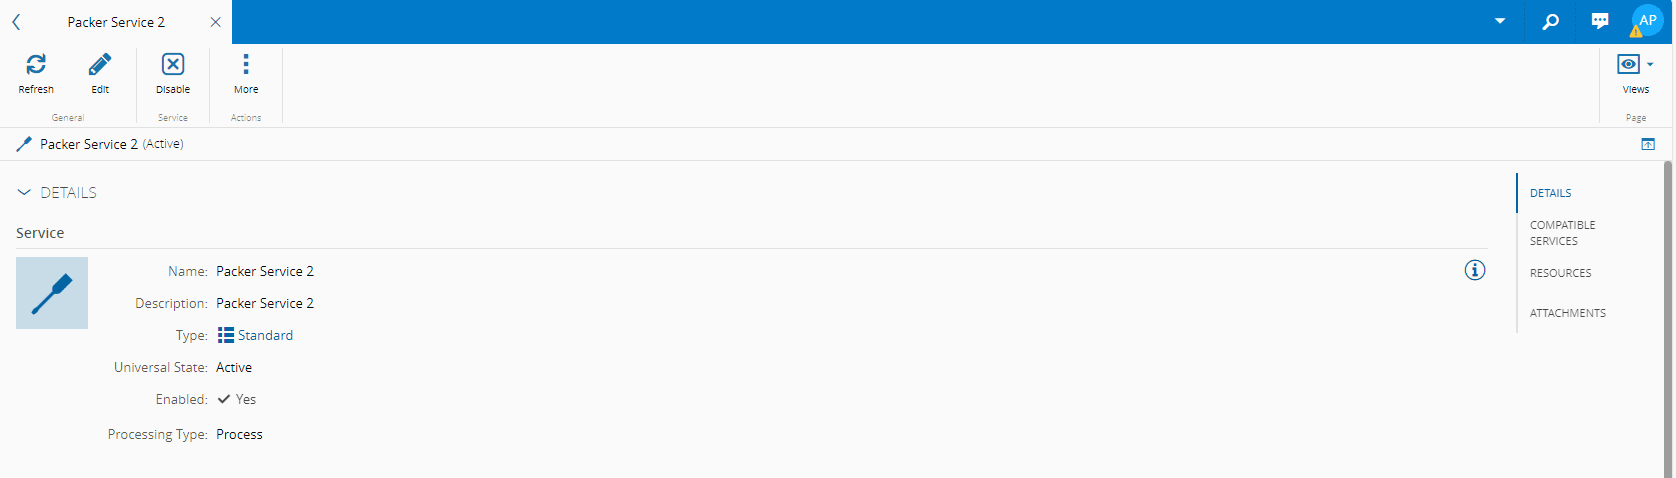
1. Create a **Service** of Processing Type **Process**:
2. Create a **Service** of Processing Type **Consumable Feed**:

### Step 3: Resource
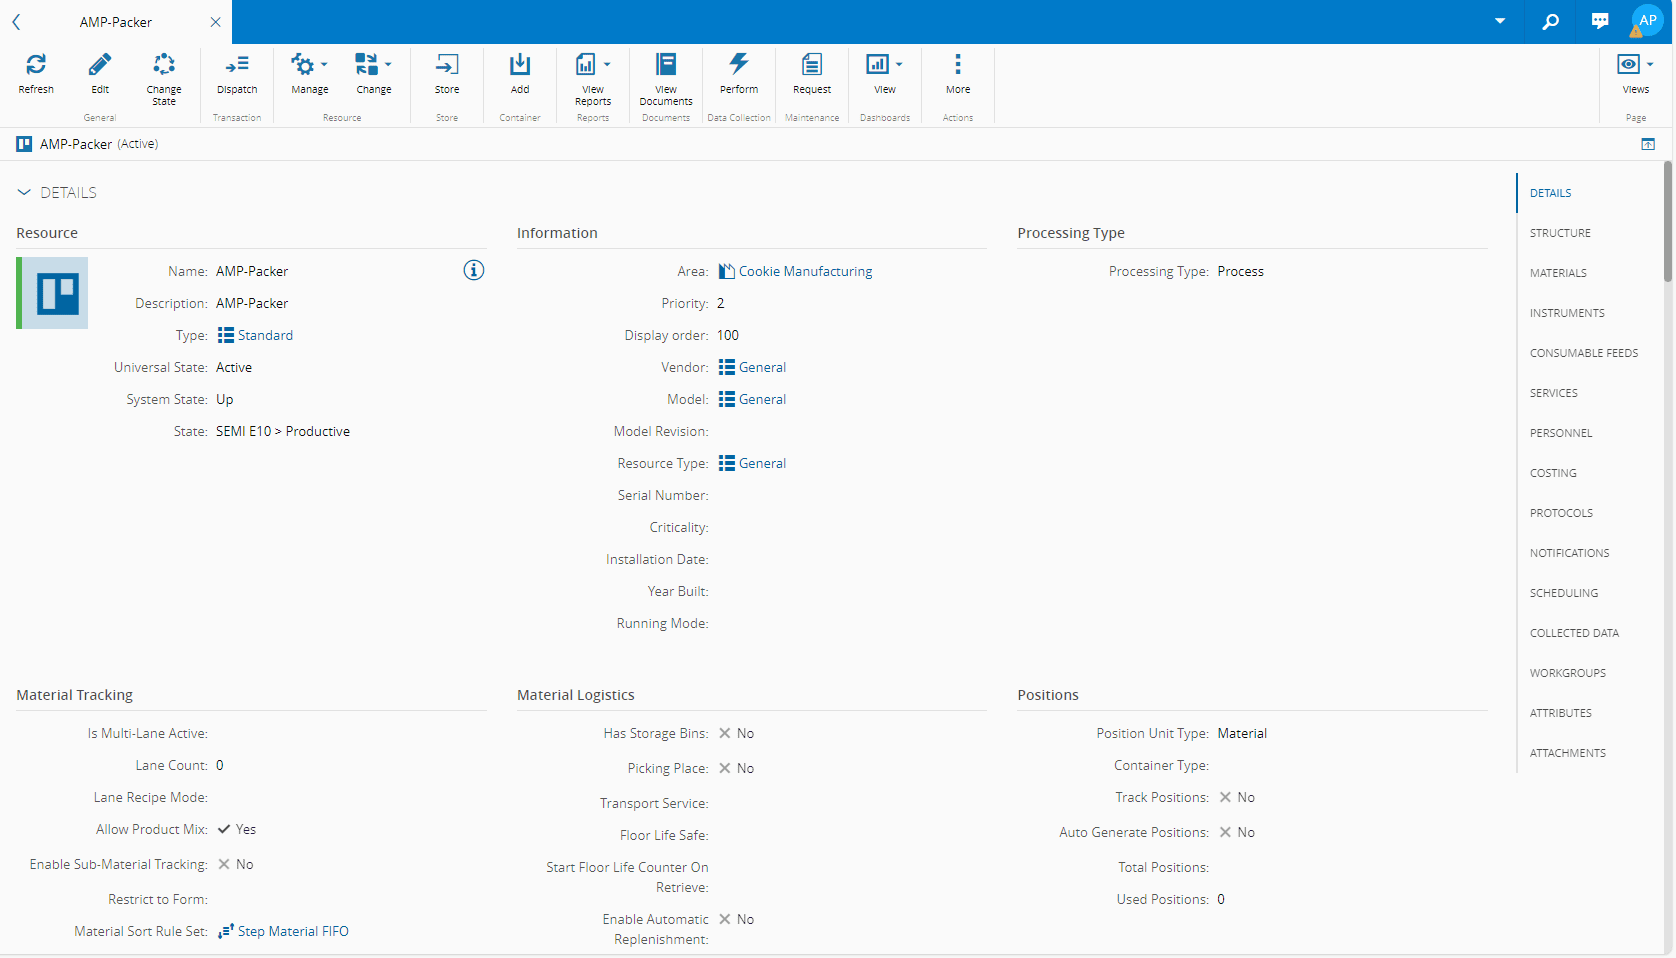
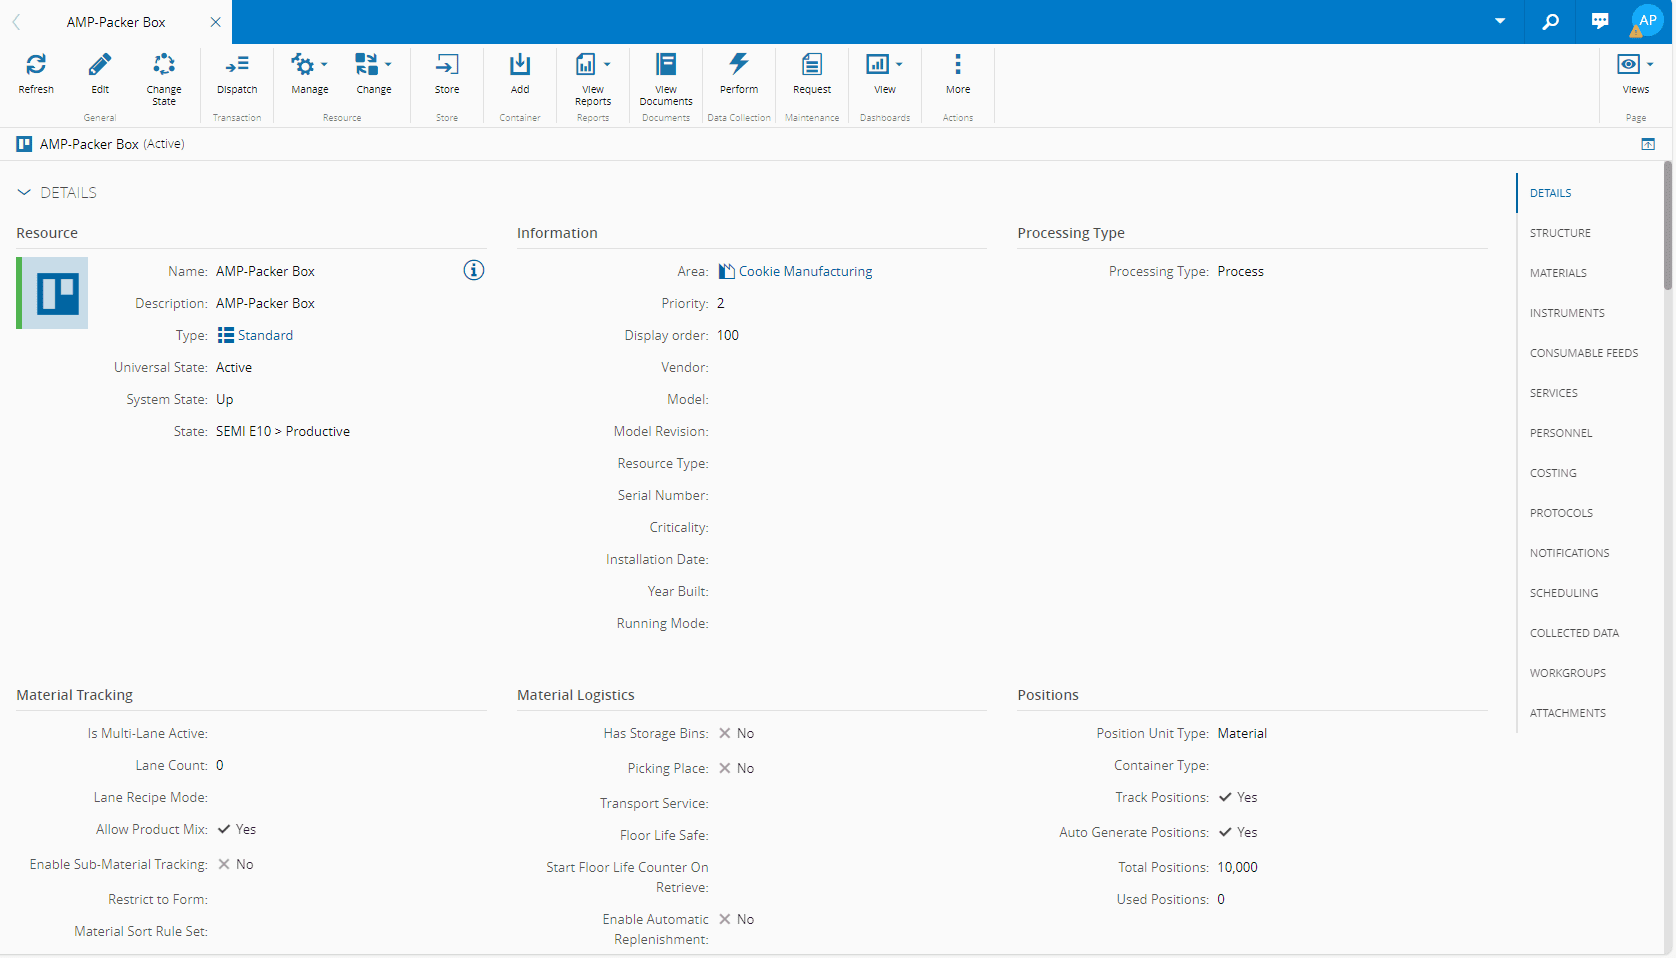
1. Create a **Resource** of Processing Type **Process**. This is your main **Resource**, and you will configure it to have **Number of Consumable Feeds Positions** equal to 1:
!!! note
A **Resource** must have the same Number of Consumable Feeds Positions as **Products** in the **BOM**. For this tutorial you only need one.
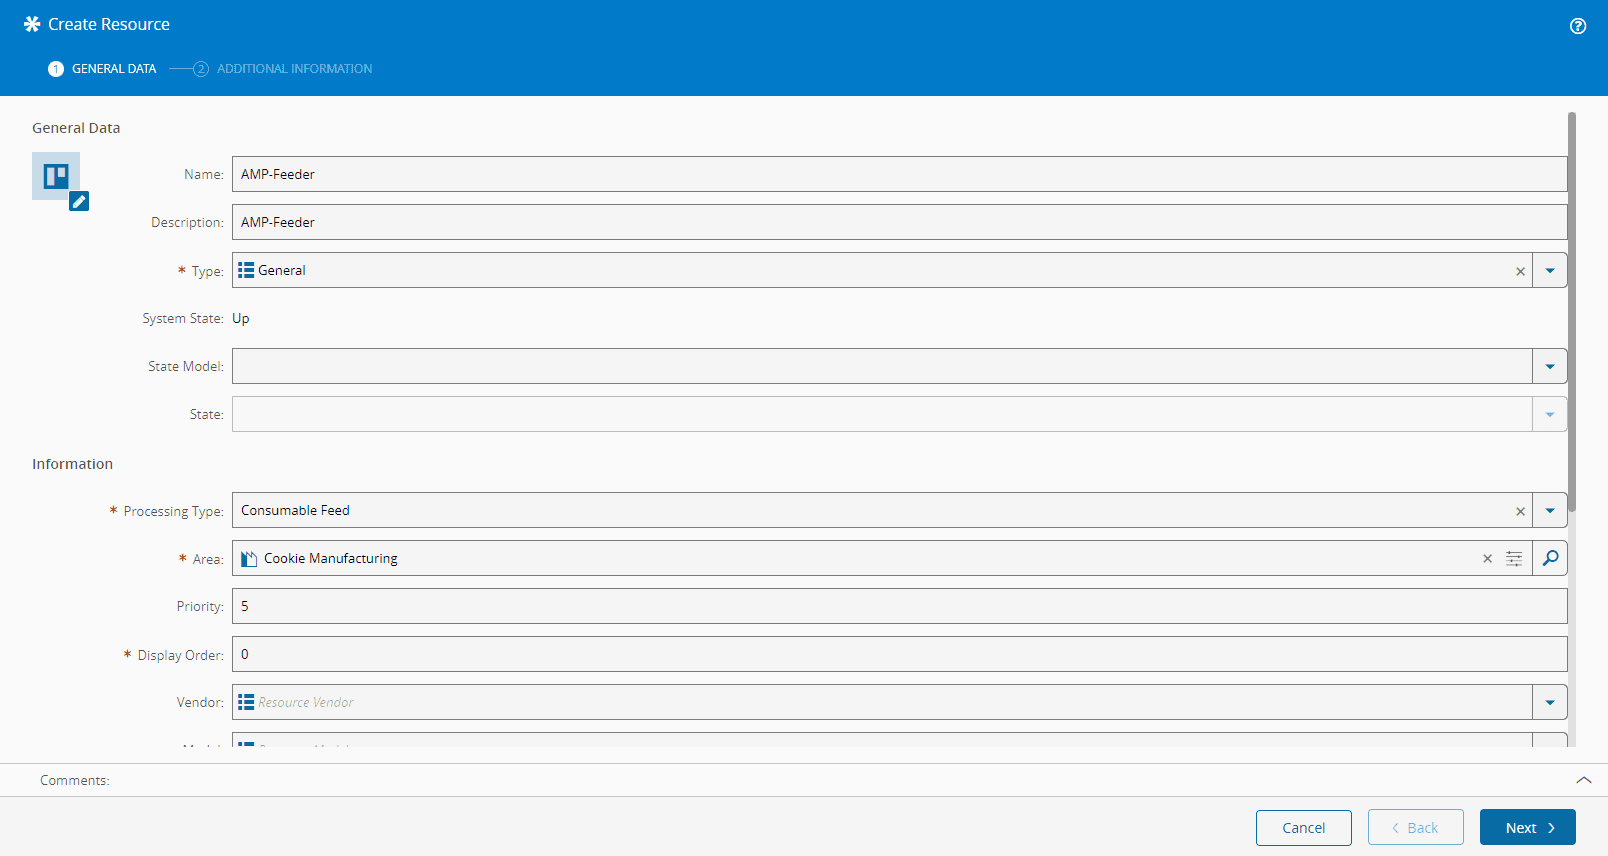
2. Create a **Resource** of Processing Type **Consumable Feed**:
3. Manage Consumable Feeds of **Resource** of Processing Type **Process** to attach the **Resource** of Processing Type **Consumable Feed**:
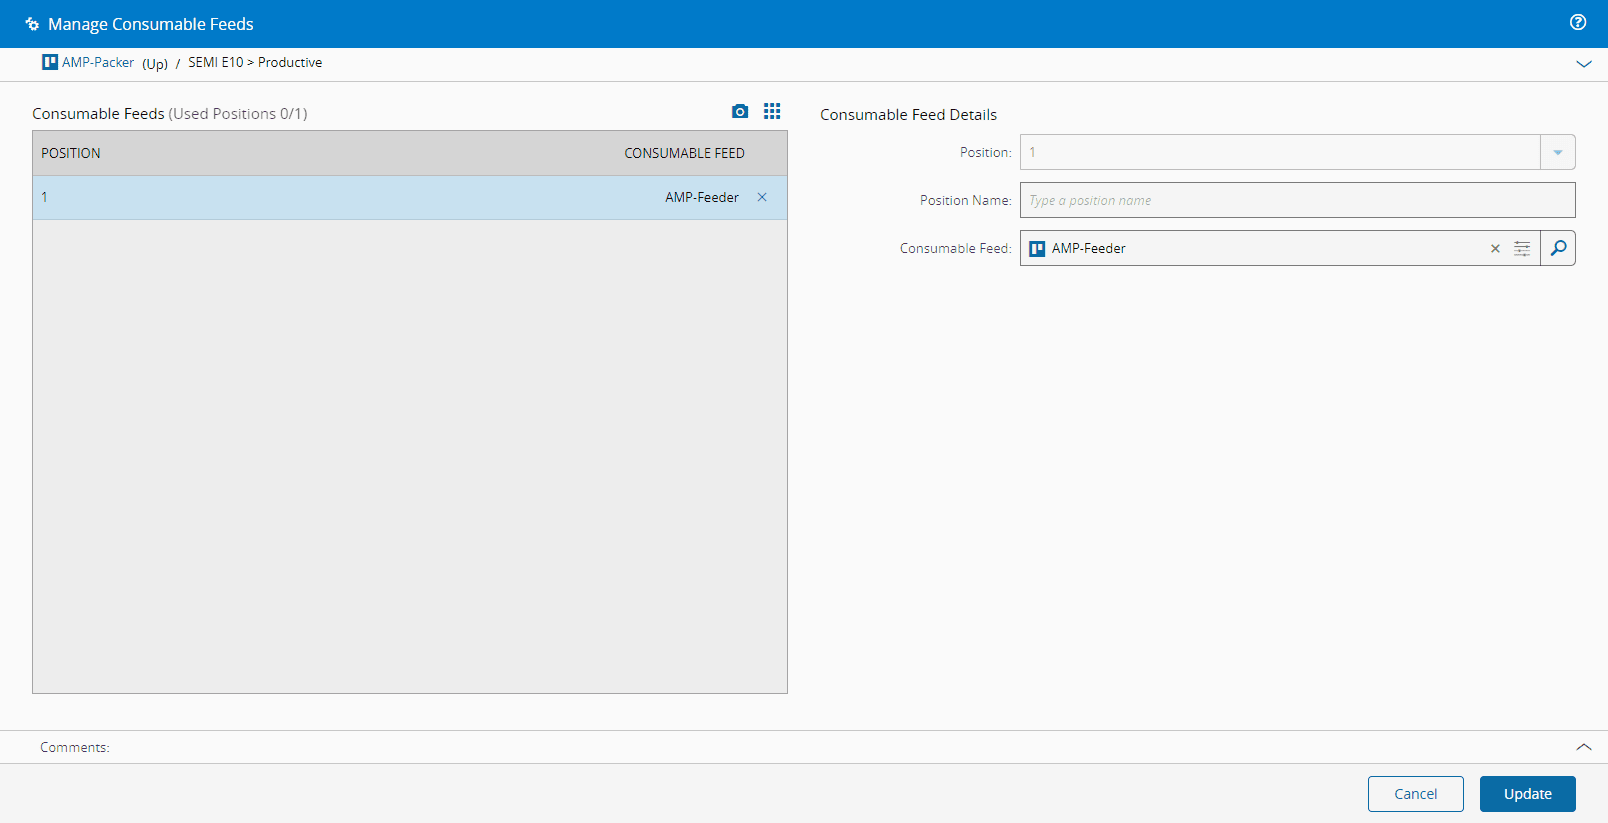
!!! note
Remember that **Resources** of Processing Type **Consumable Feed** are needed for the consumption of raw materials according to the **BOM**. Therefore, they need to be attached to the packing station where you are doing the packing.
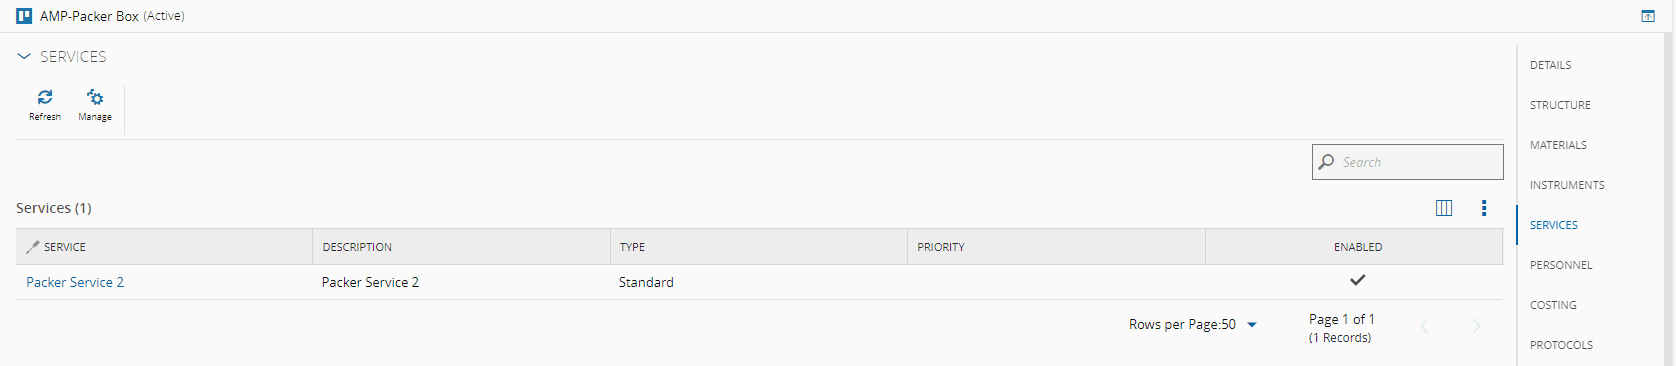
4. Manage Services of **Resource** of Processing Type **Process** to add the previously created **Service** (Step 2 above):

5. Manage Services of **Resource** of Processing Type **Consumable Feed** to add the previously created **Service** (Step 2 above):

### Step 4: Step
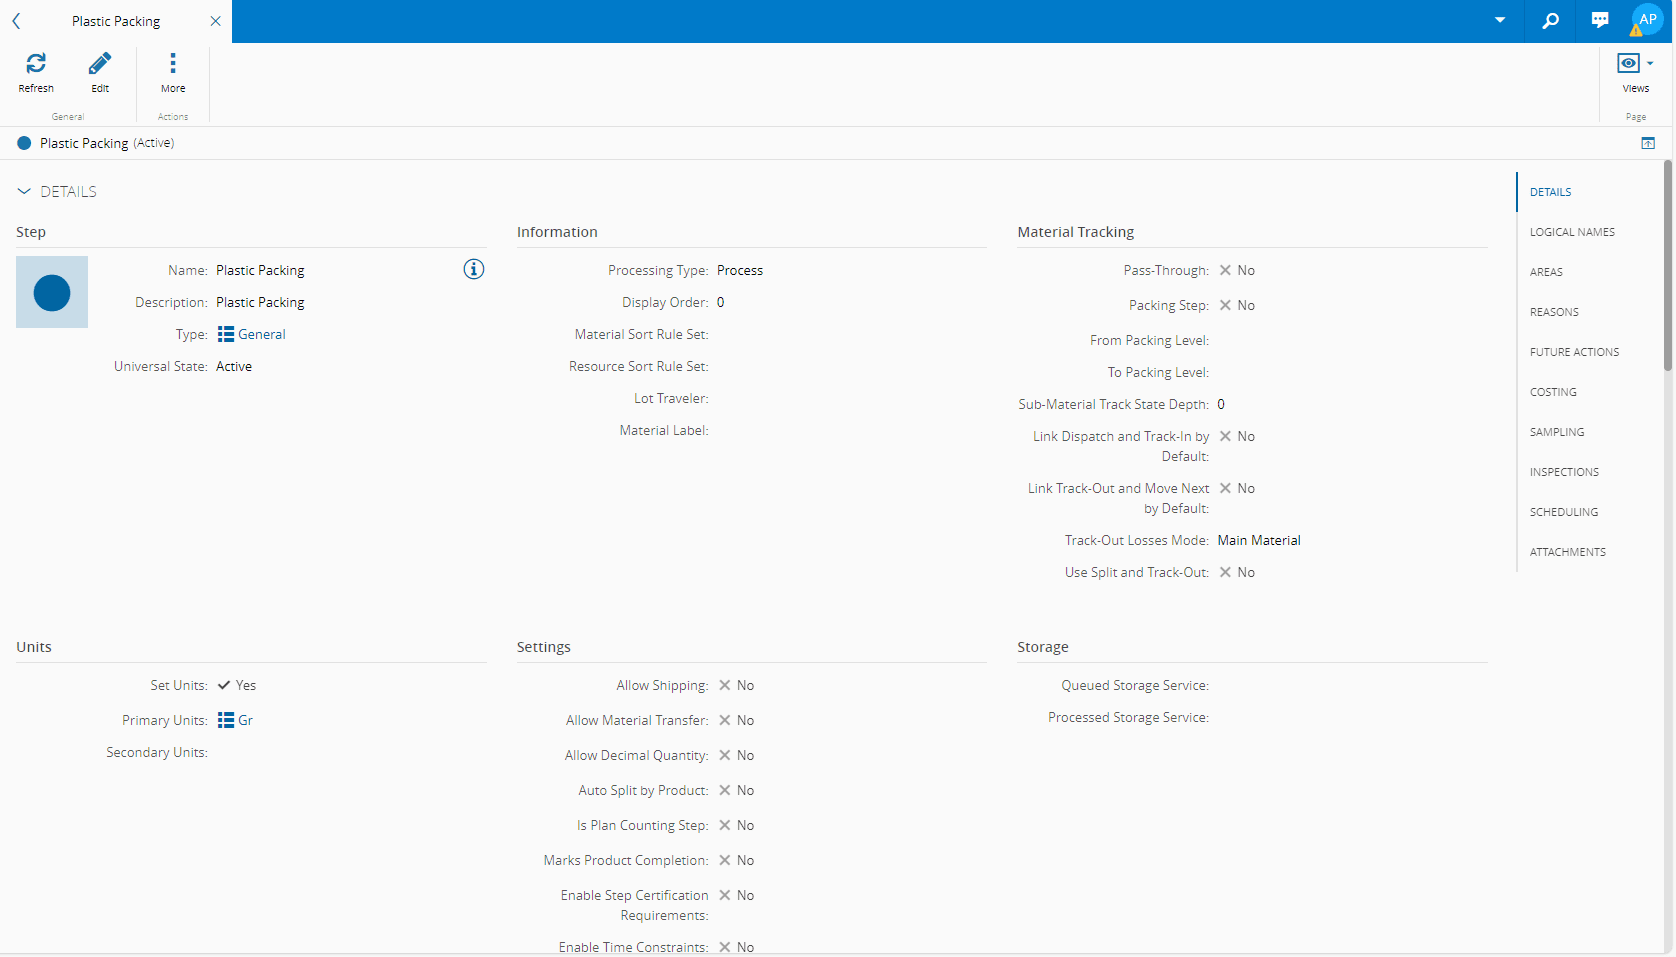
1. Create a **Step** of Processing Type **Process**. Use **Grams** as the Primary Units, and **Cookie Manufacturing** for the Area:
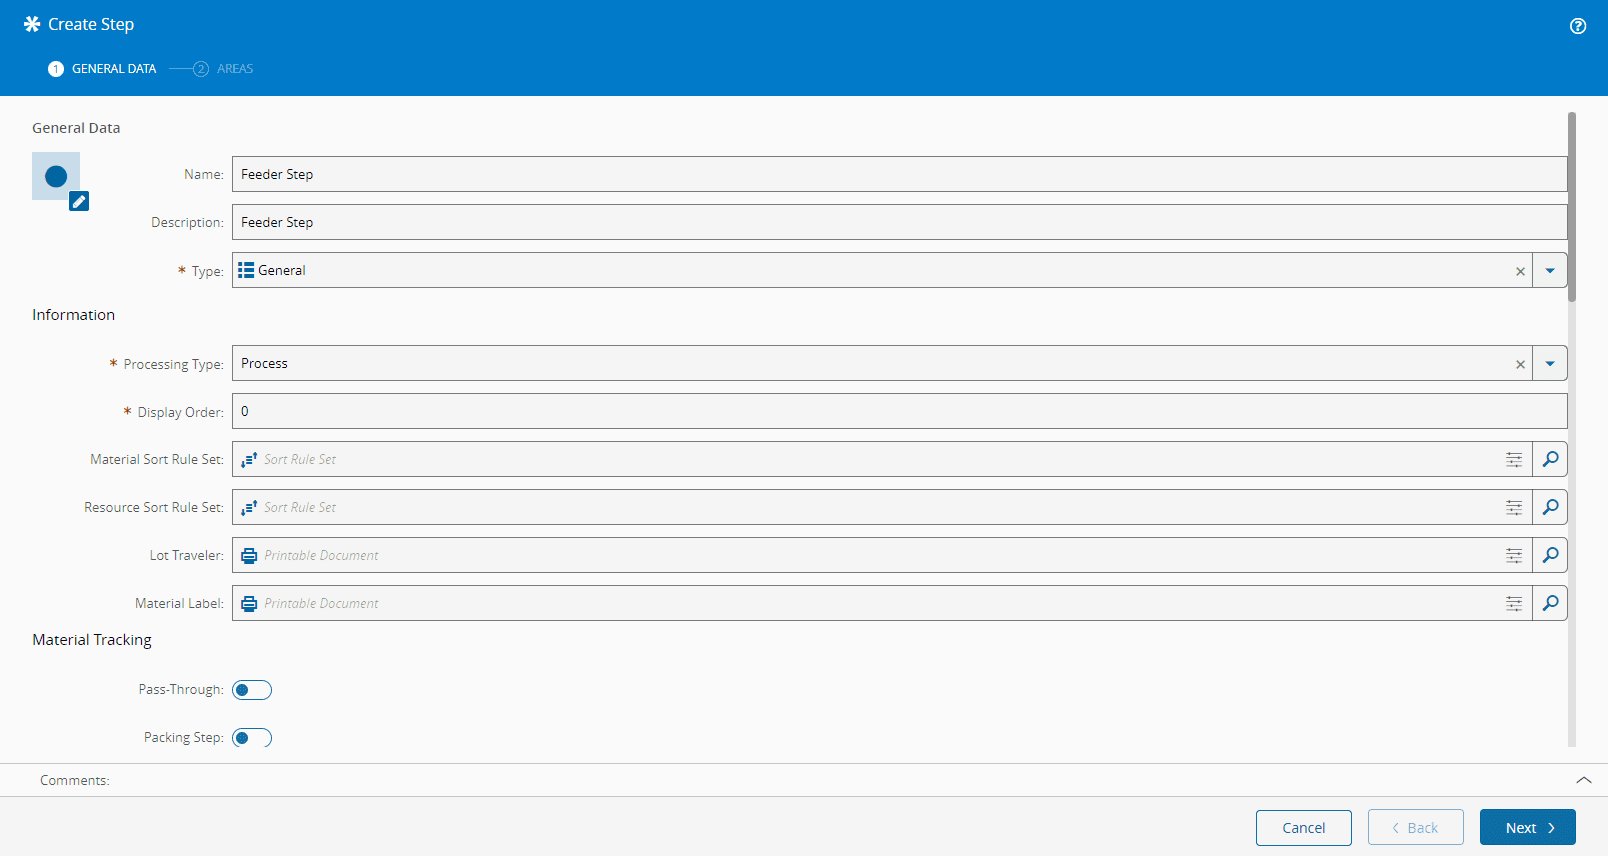
2. Create another **Step** with the same configurations as above but with a different name:
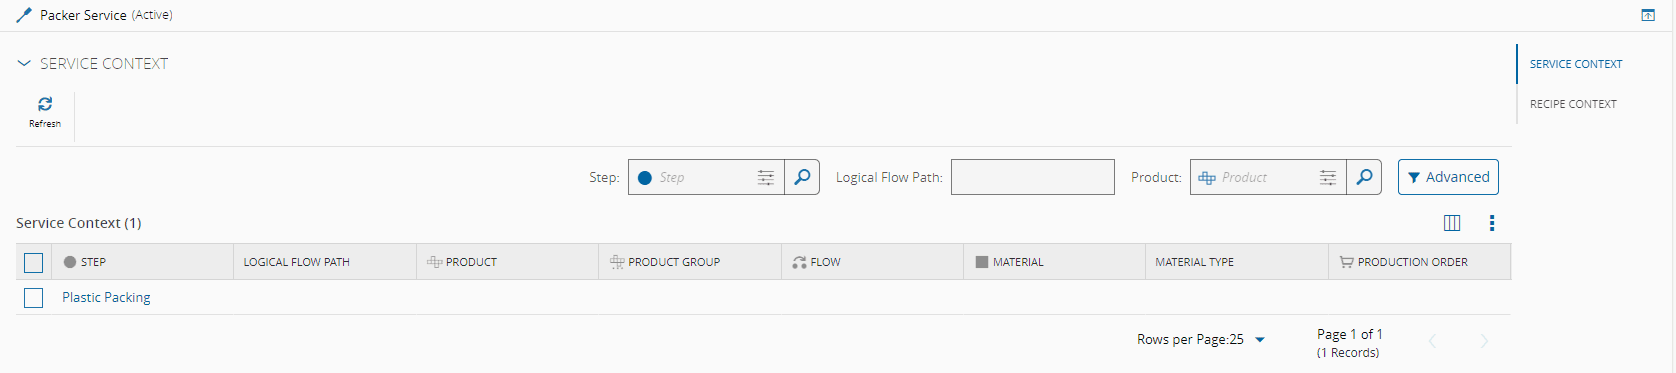
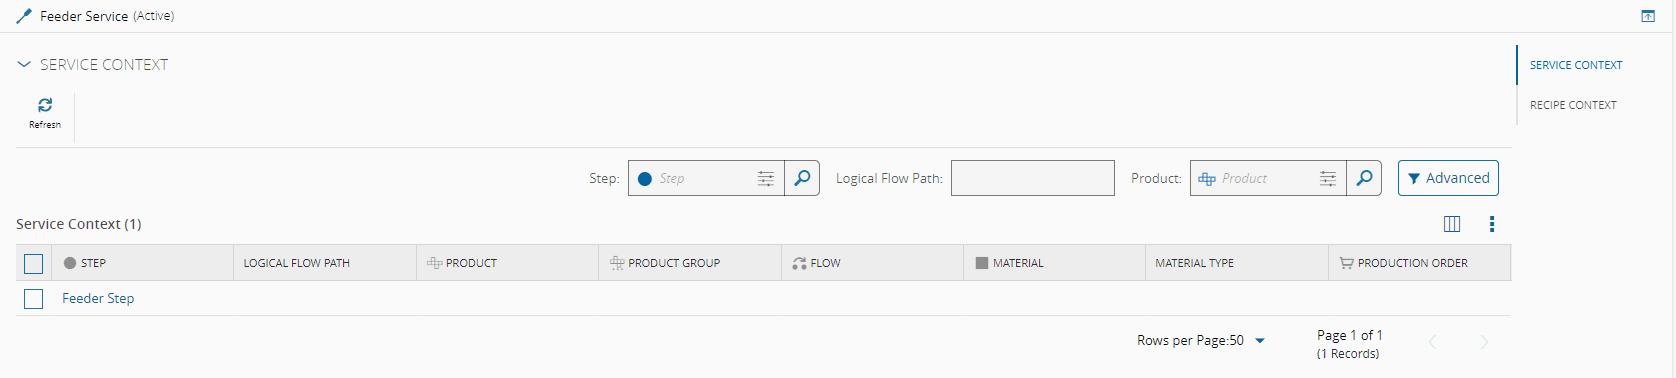
3. In the **Service Context** view of the **Steps** you just created, add the previously created **Services** (Step 2 above):


4. If you now **Refresh** the Service Context of the created **Services**, the corresponding **Steps** will be available:
### Step 5: Flow
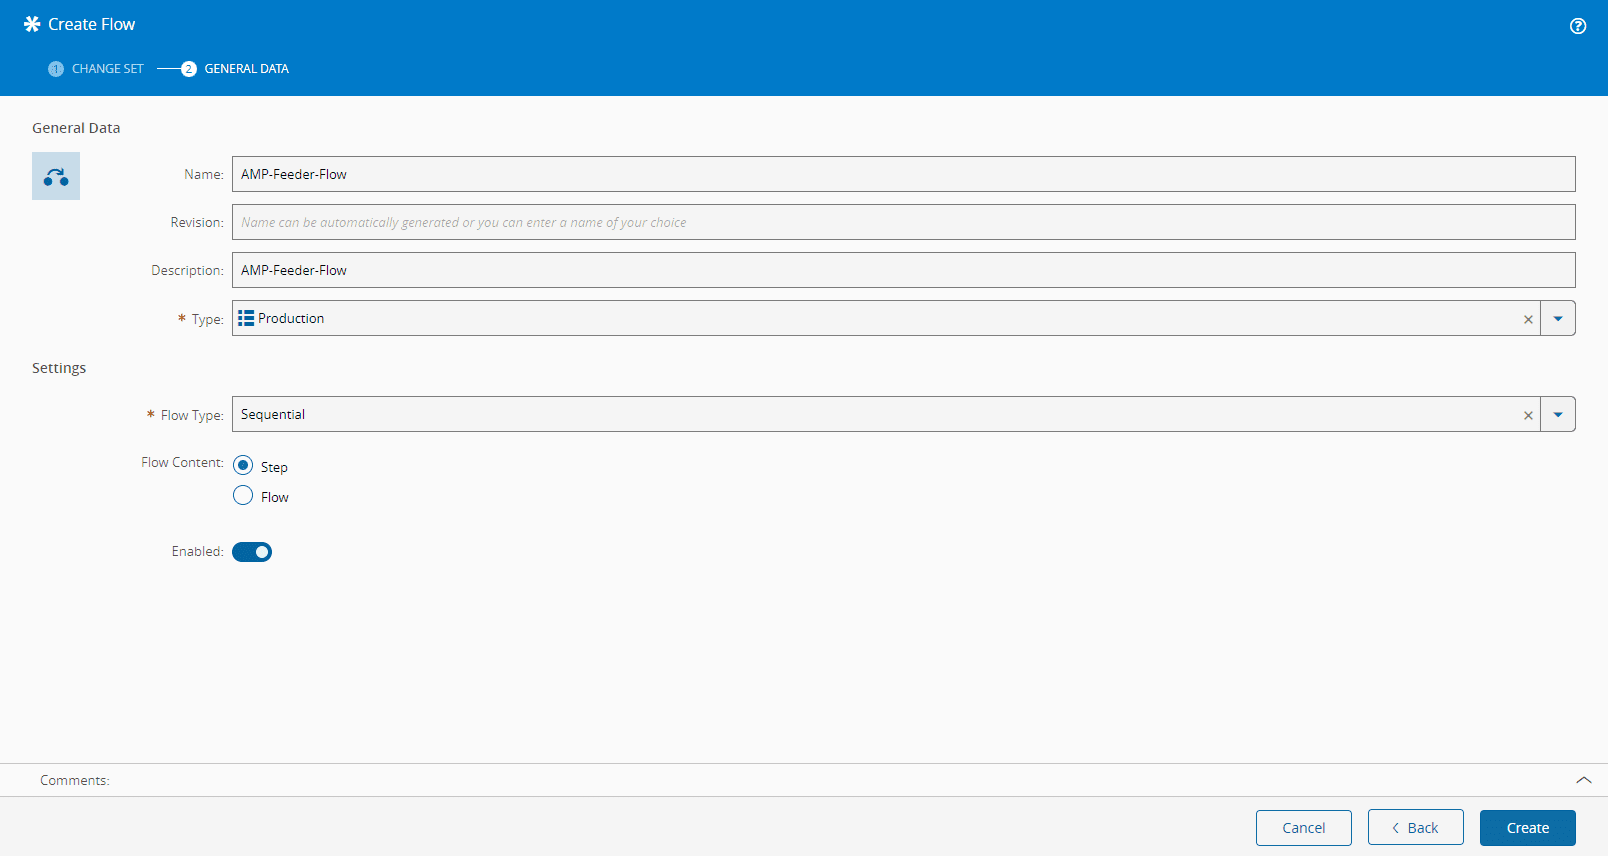
1. Create a **Flow**. For this tutorial, use **Production** for the Type and **Sequential** for the Flow Type:

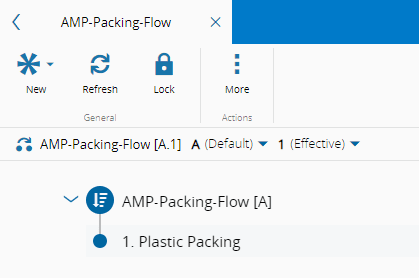
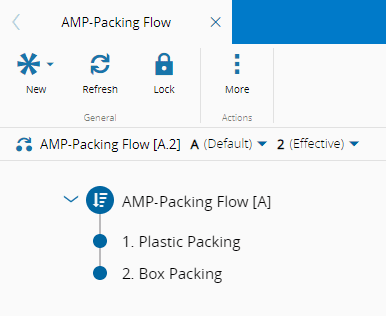
2. Edit the **Flow**, add the **Step** Plastic Packing, **Save**, and set Effective:
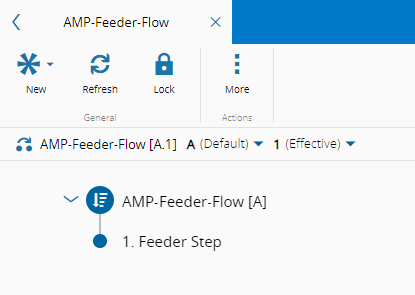
3. Create another **Flow** with the same configurations as above but with a different name:
4. Edit the **Flow**, add the **Step** Feeder Step, **Save**, and set Effective:
### Step 6: Product
1. Create a **Product** that must have **Packaging** as its **Product Type**, and remember that this is the **Product** you will use to pack your cookies - the one that will be in your **BOM**. The **Default Units** is Grams ([Units](../../../userguide/administration/tables/lookup-tables/units.md) Lookup Table):
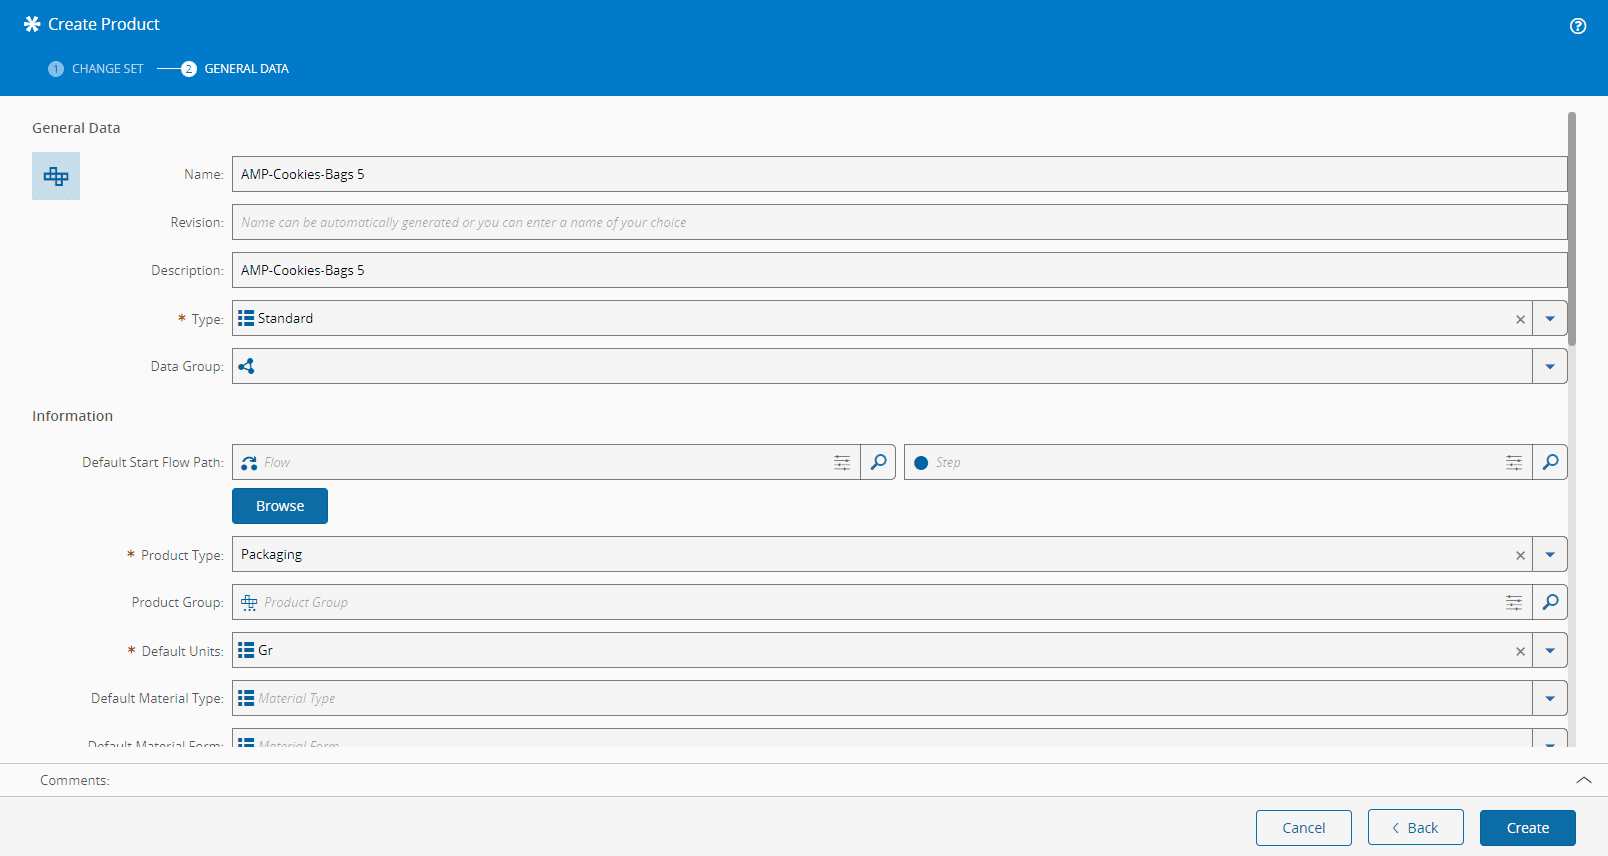
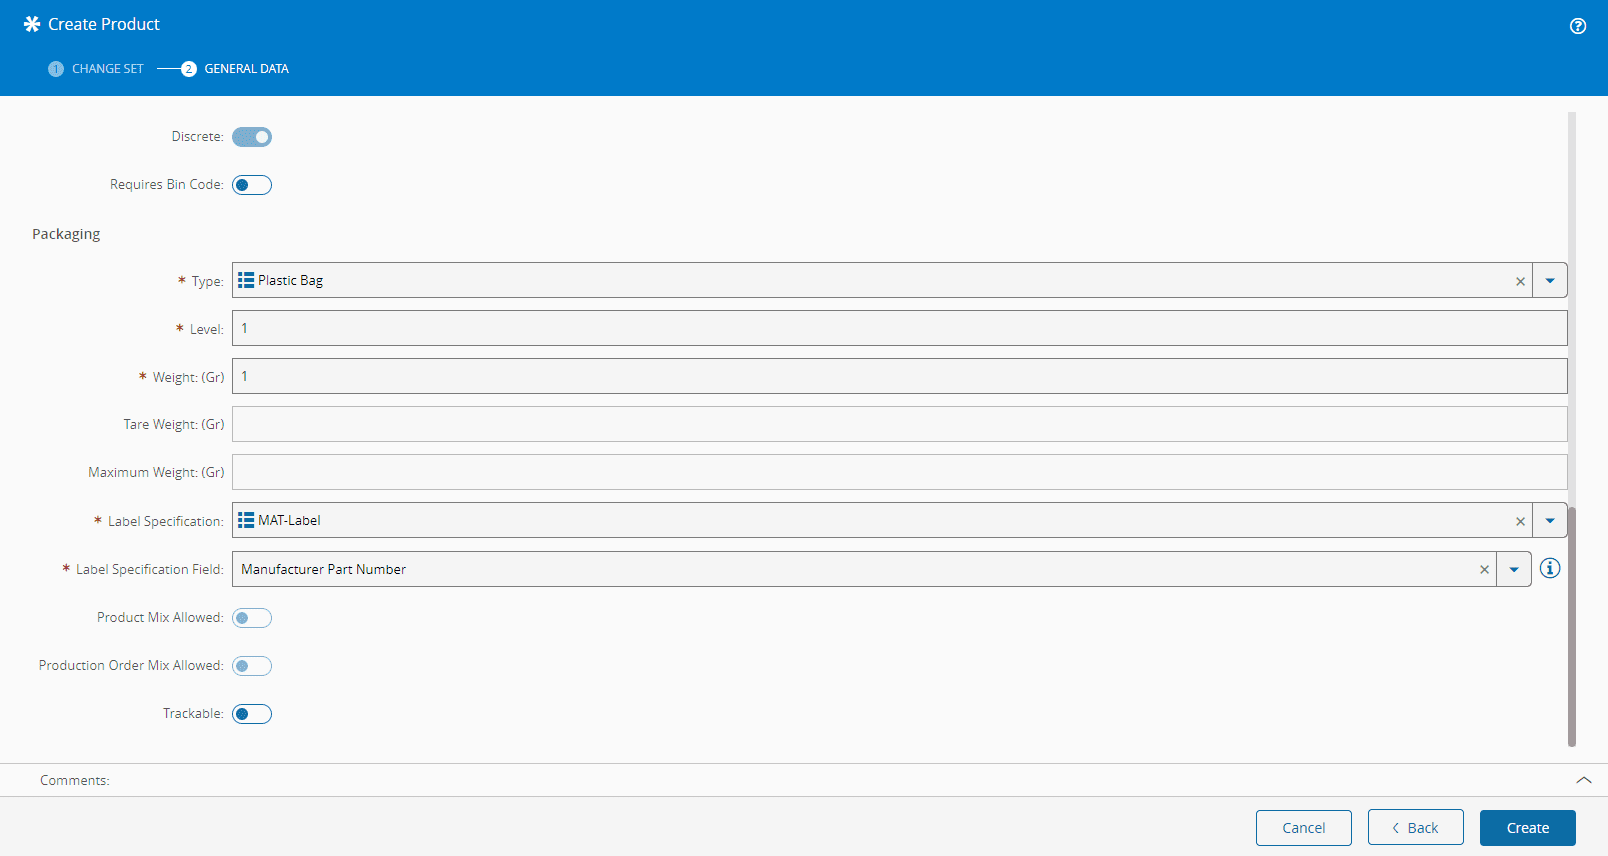
In the **Packing** section of this wizard remember to enter the **Type** as previously defined in the [PackageType](../../../userguide/administration/tables/lookup-tables/packagetype.md) Lookup Table, the **Level**, and the **Weight** (this weight refers to the plastic bag).
You also have to enter **Label Specification** ([LabelSpecification](../../../userguide/administration/tables/generic-tables/labelspecification.md) Generic Table) and **Label Specification Field** ([LabelSpecificationField](../../../userguide/administration/tables/generic-tables/labelspecificationfield.md) Generic Table) information. You need these fields because the packing process frequently uses barcode scanning, and you need to be able to read the package when, for example, you are adding a package of Level 1 into a package of Level 2.
!!! note
Remember that because you are not tracking Level 1 packages, the **Label Specification** defined here will then also be used for Level 2.
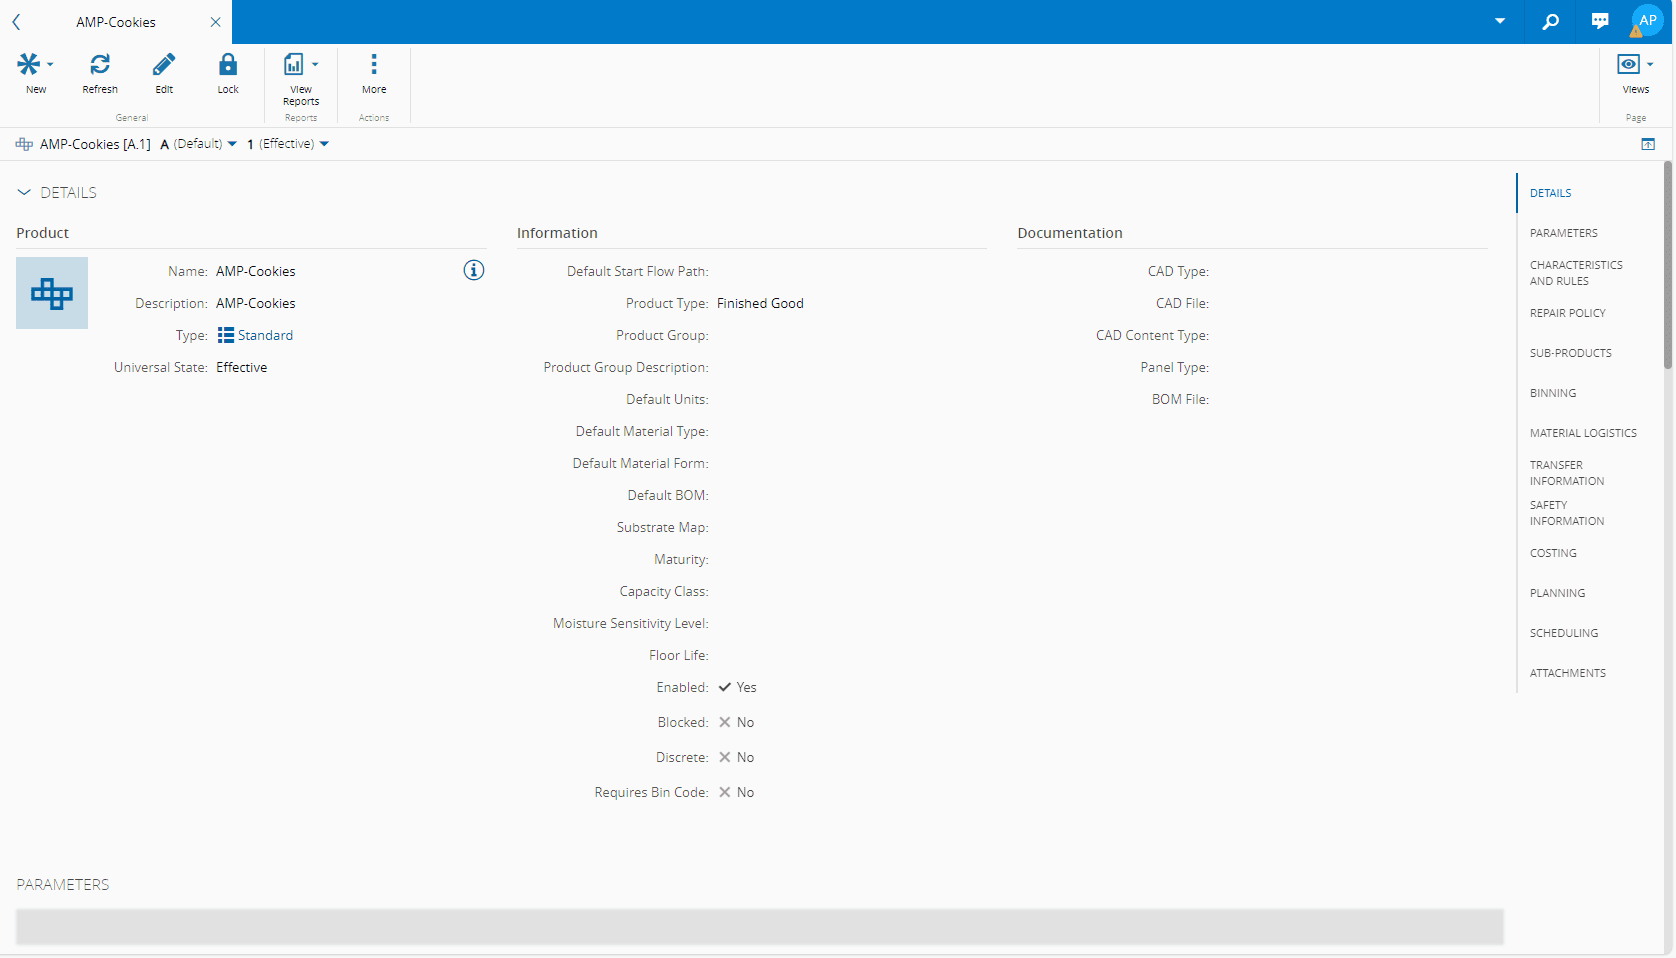
2. Create a **Product** of Type **Finished Good**. This will be part of your **Material** to pack:
### Step 7: BOM
1. Create a **BOM** that must have **Packing** as its **Scope**, and the **Units** are as before:
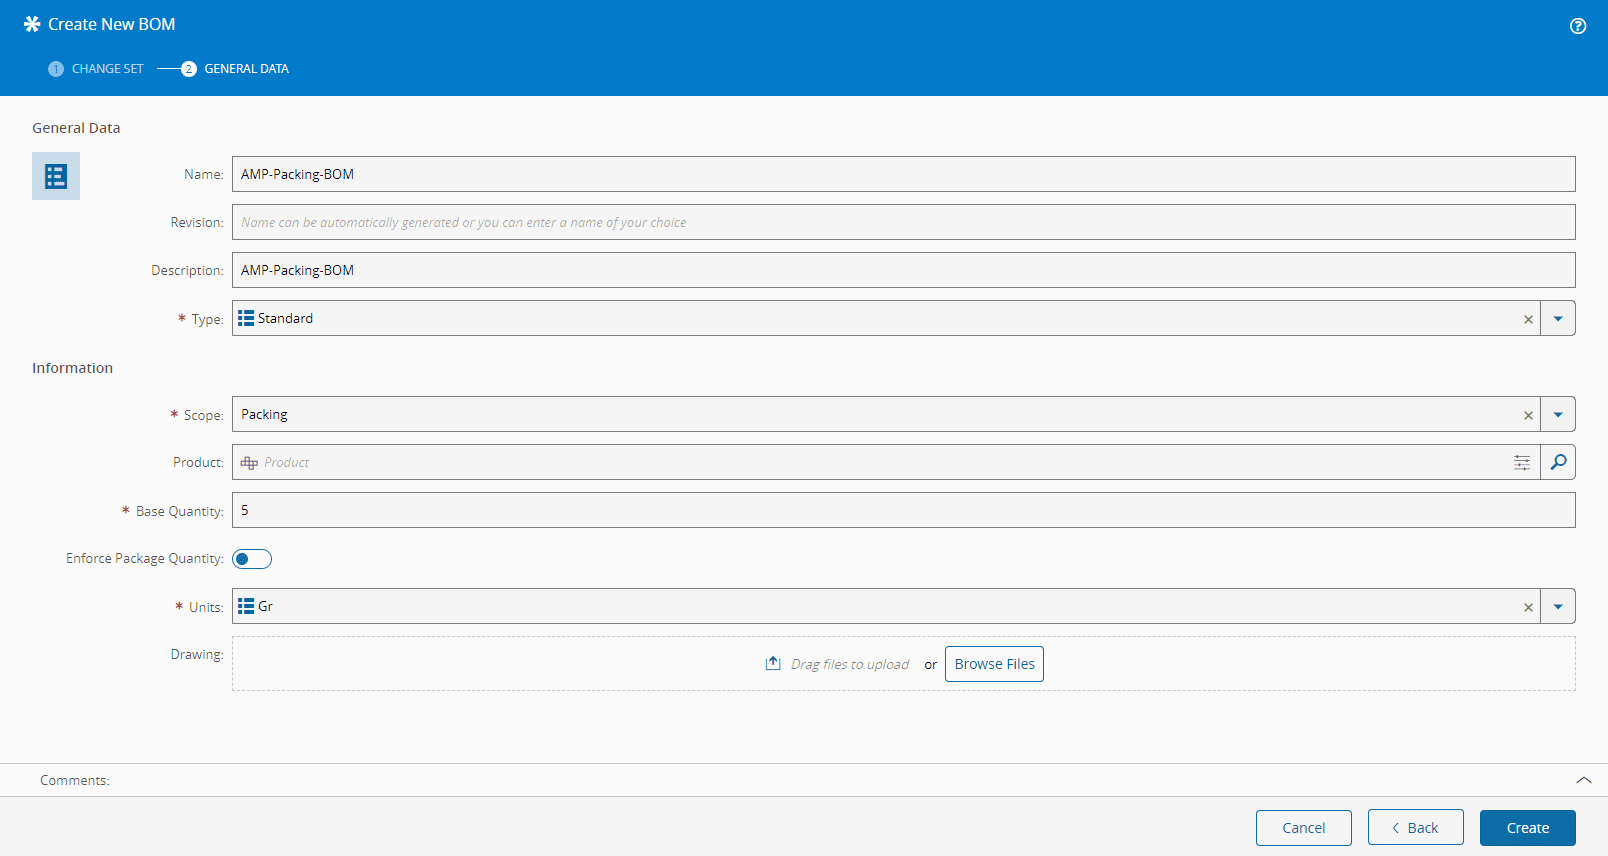
A **BOM** of this scope must only contain one **Product** of **Packaging** type, which is used as the reference to calculate the contents of the plastic bags. You could have other **Products** as **BOM Items** in this **BOM**, such as stickers for the outside of the bags (informative or fun) or small gifts to go with the cookies in the bags, but their **Product Type** would have to be other than **Packaging**.
For the purpose of this tutorial your **BOM** will contain only the one necessary **Packaging** type **Product**.
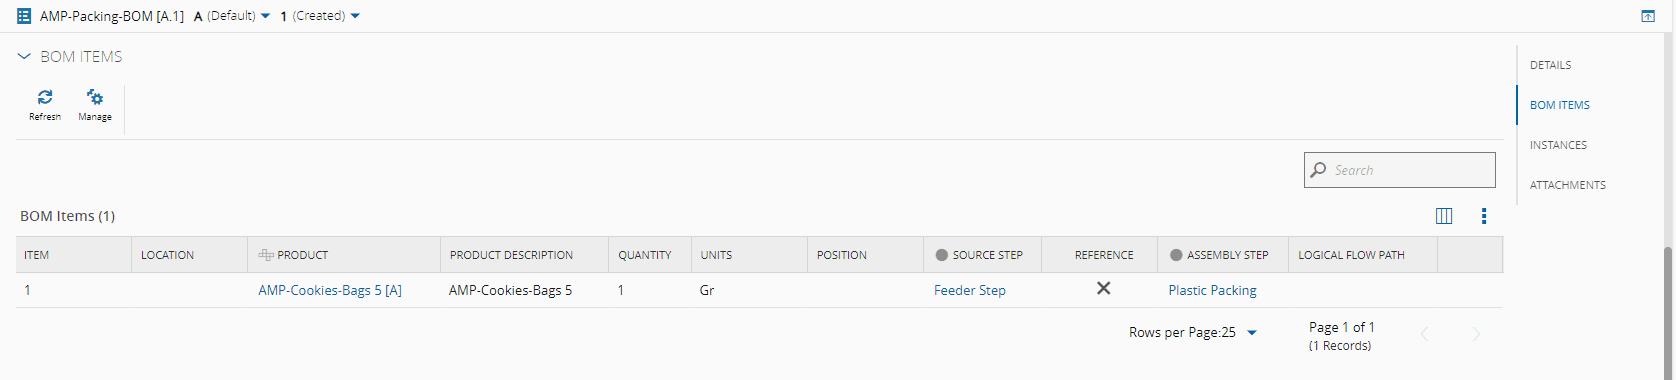
2. Manage **BOM Items** and add the previously created **Product**:
### Step 8: BOM Context
1. Configure the **BOM Context** in the packing step, which for this example is **Plastic Packing**:
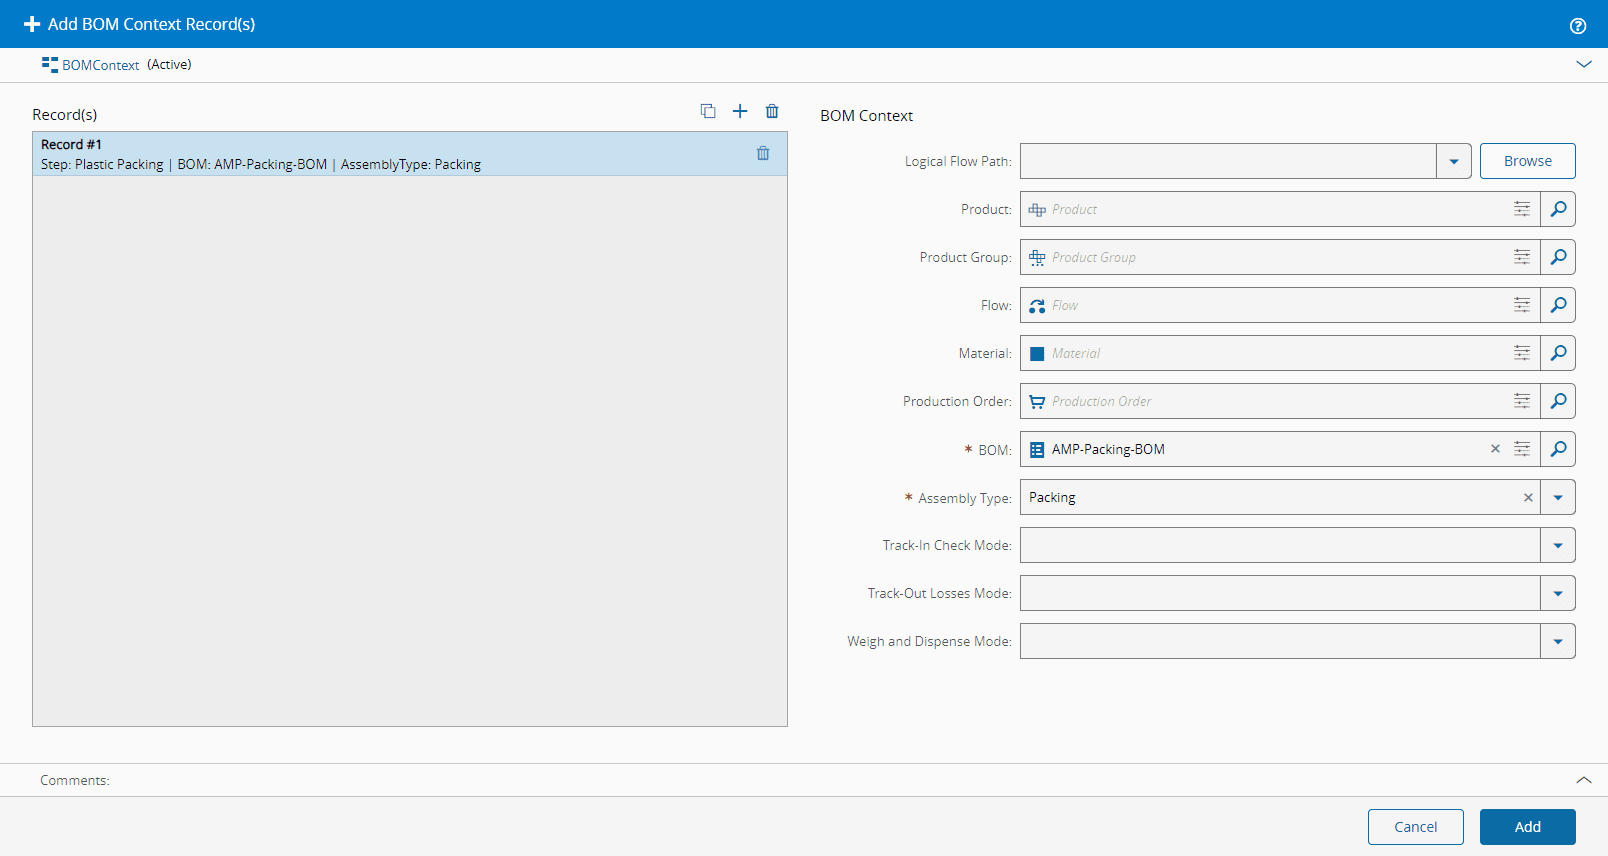
2. You can also configure the **BOM Context** by using the [BOMContext](../../../userguide/administration/tables/smart-tables/bomcontext.md) Smart Table. In this case, **Step** information has to be entered:

## Level 1 Packing Test
To test that Level 1 packing is working you should create a **Material** with the cookies **Product**, you need to make sure you have created a **Material** containing the cookies bag **Product**, and it is attached to the feeder **Resource**, or you can attach this consumable **Material** inside the packing wizard using the Insert Barcode function. Then Dispatch and Track-In your cookie **Material**. At this point the **Pack** button should be available in the top ribbon:
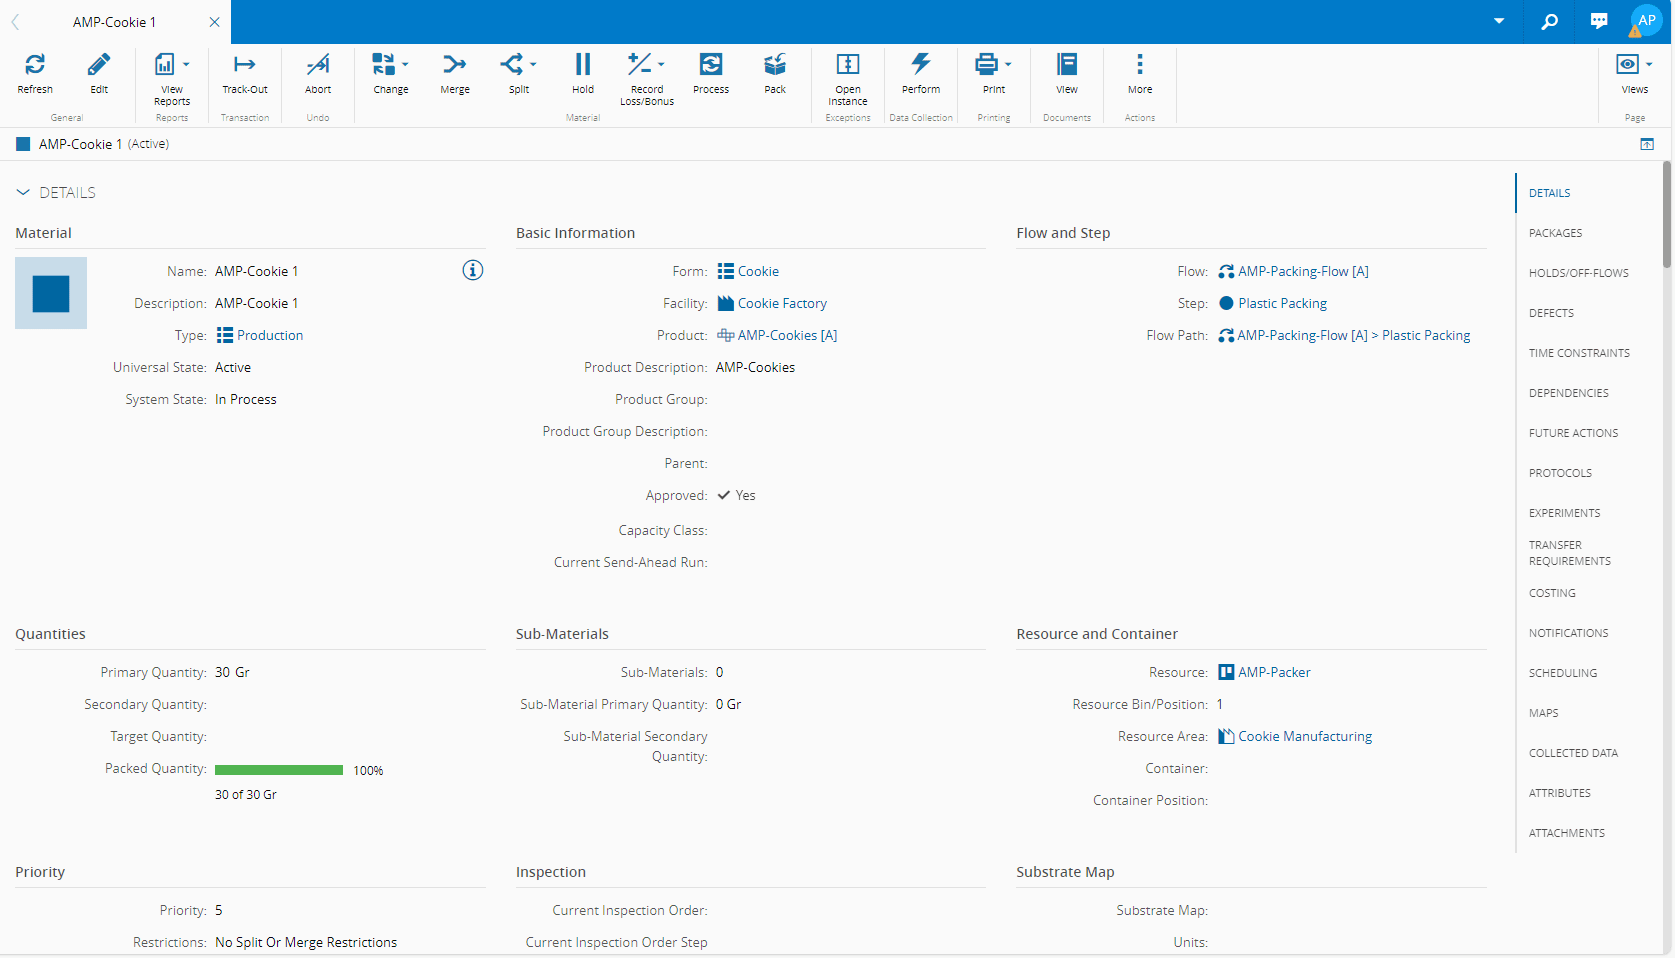
You are now ready to pack your cookie **Material** following the instructions provided in [[pack-material]].
!!! note
In the image above the cookie **Material** at Level 1 is already packed. This is, the **Packed Quantity** is 100%, and you can see its details by selecting the **Packages** section of this page.
## Packing Material - Level 2
Level 2 is also called logistics packing, and it relates to multiple levels of packing that is required for transportation and distribution. Fundamentally, it consists of packing packages into a package of the level immediately above. Remember that the packages of Level 2 are always trackable, and that the contents of packages at this level are always other packages. Moreover, for the purpose of this tutorial, you will be packing your plastic bags, into a Level 2 box package:

## Setting up Packing Level 2
To have a functioning **Packing** module, you have to set up Critical Manufacturing MES entities as shown in the following table:
| **Step Number** | **Step** | **Description** |
| --------------- | --------------------------------------------------- | ------------------------------------------------------- |
| **1** | **Lookup Table** | Edit the [PackageType](../../../userguide/administration/tables/lookup-tables/packagetype.md) Lookup Table to create the needed package type. |
| **2** | **Service** | Create a **Service**. |
| **3** | **Resource** | Create a **Resource**. |
| **4** | **Step** | Create a **Step**.|
| **5** | **Flow** | Create version of previous **Flow**. |
| **6** | **Product** | Create a **Product**. |
| **7** | **Smart Table** | Edit the [MaterialPackingContext](../../../userguide/administration/tables/smart-tables/materialpackingcontext.md) Smart Table to create the needed package type. |
Table: Steps to set up Level 2 Packing
The next sub-sections will cover the required configuration steps in more detail.
### Step 1: Lookup Table
1. Edit the [PackageType](../../../userguide/administration/tables/lookup-tables/packagetype.md) Lookup Table to add the package type you will need. For Level 2 packing you will be using boxes:

### Step 2: Service
1. Create a **Service** of Processing Type **Process**:
### Step 3: Resource
1. Create a **Resource** of Processing Type **Process**:
2. Associate the **Service** you just created (Step 2 above) to this **Resource**.
### Step 4: Step
1. Create a **Step** of Processing Type **Process**. At this level we have to mark the **Packing Step** field as `True` and define the **From Packing Level** and **To Packing Level**:
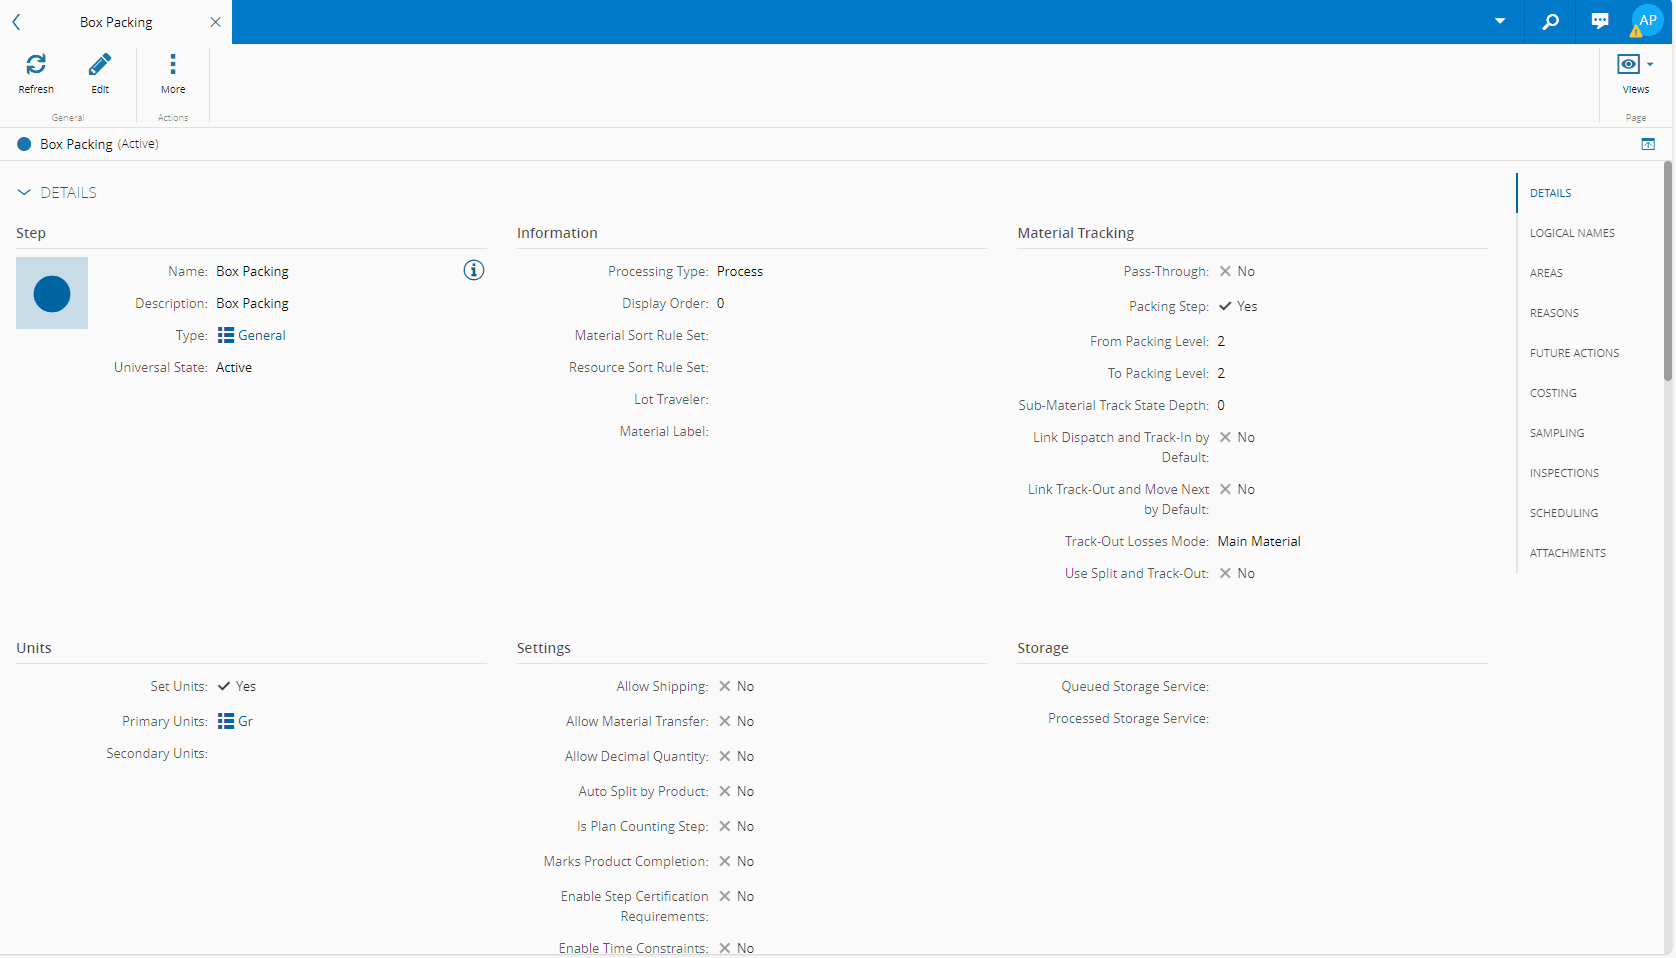
!!! note
The **From Packing Level** and the **To Packing Level** must be defined with a value greater than 1. The **To Packing Level** must be greater or equal to the **From Packing Level**. For the purpose of this tutorial these values will be the same.
### Step 5: Flow
1. Use the **Flow** created for Level 1, create a new **Version**, add the Box Packing **Step**, **Save**, and set Effective:
### Step 6: Product
1. Create a **Product** that must have **Packaging** as its **Product Type**, and remember that this is the **Product** you will use to pack your cookie packs:
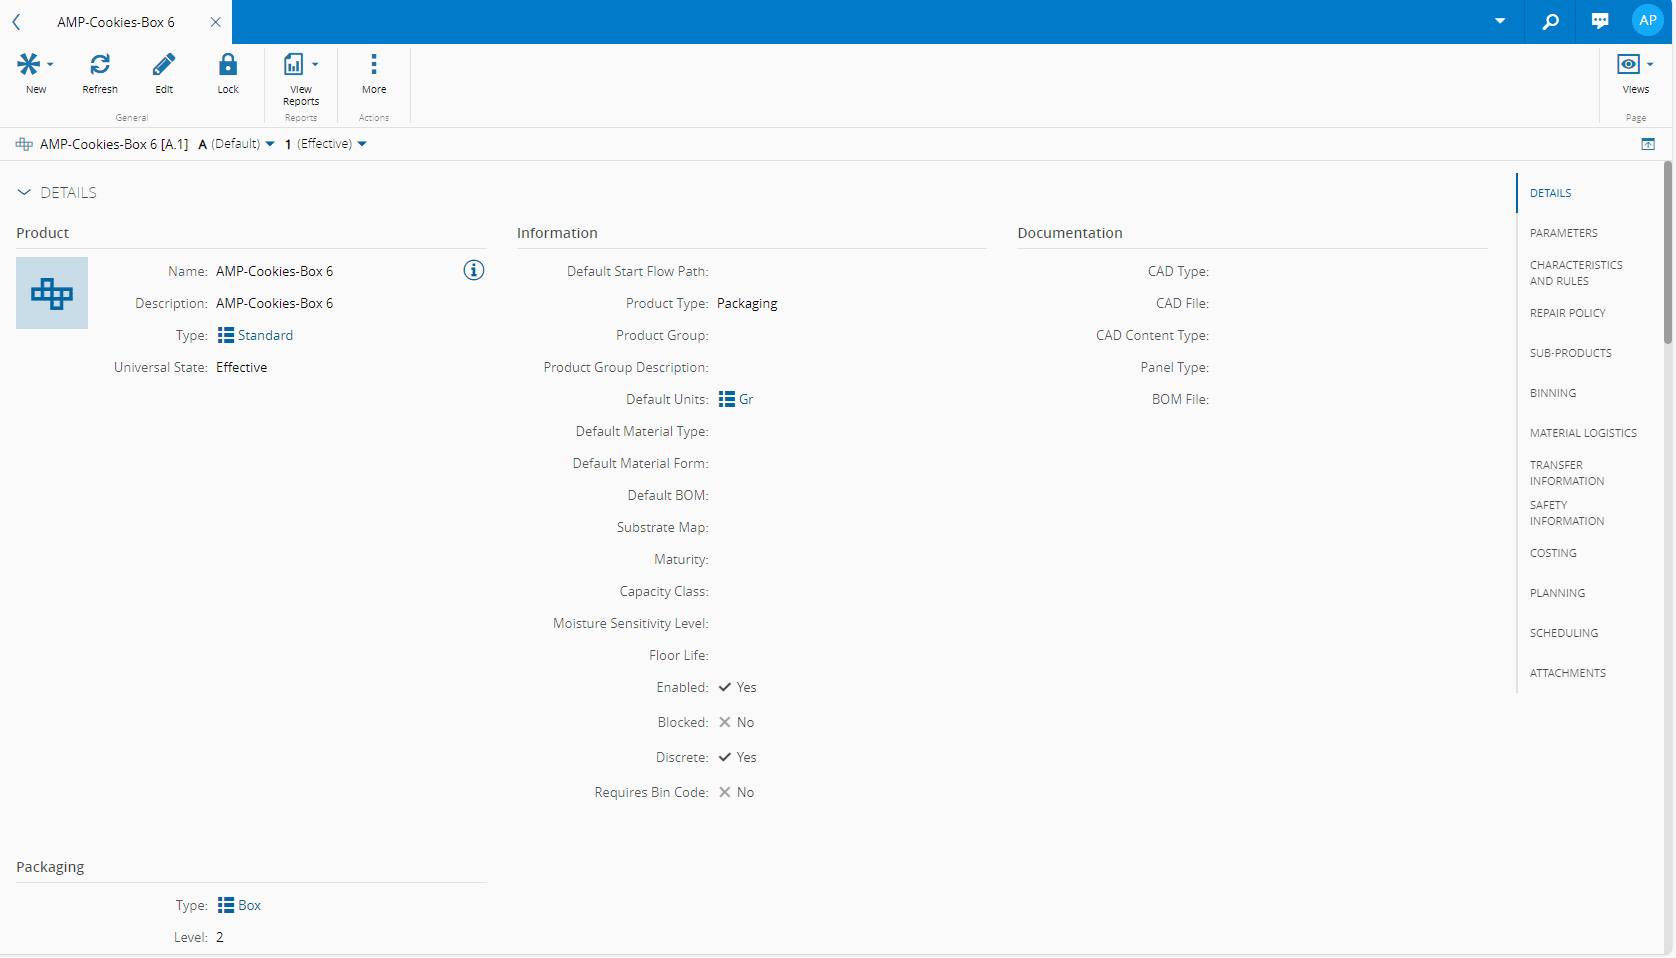
!!! note
You can already see that Level 2 is a hierarchy of packages (multiple level packing) where you pack smaller packages into larger packages, and you can do this at various levels, whereas Level 1 is a simple packing operation.
### Step 7: Smart Table
1. Level 2 uses a Step Level Configuration (Step 4 above).
2. Configure the [MaterialPackingContext](../../../userguide/administration/tables/smart-tables/materialpackingcontext.md) Smart Table to establish the **Package Product** that will tell you for a certain material context and packing level what is the specific box/package product to be used:
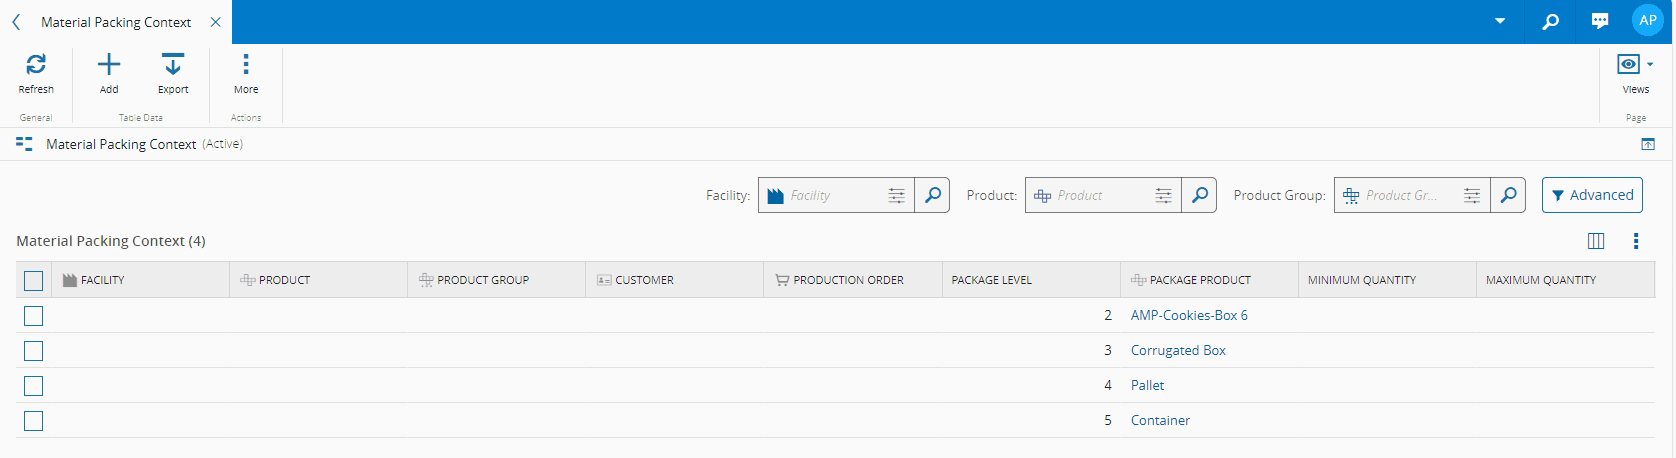
!!! note
For this tutorial you will only use **Package Level 2**, but the image above provides examples of other possible levels. Moreover, in Level 1, you know what package to use because it is part of the **BOM**. For Level 2 and above you resolve the package to use by configuring the [MaterialPackingContext](../../../userguide/administration/tables/smart-tables/materialpackingcontext.md) Smart Table.
## Level 2 Packing Test
To test that Level 2 packing is working, you can use the **Material** you packed in Level 1. Track out the Level 1 **Material** and Move-Next to the Box Packing **Step**:
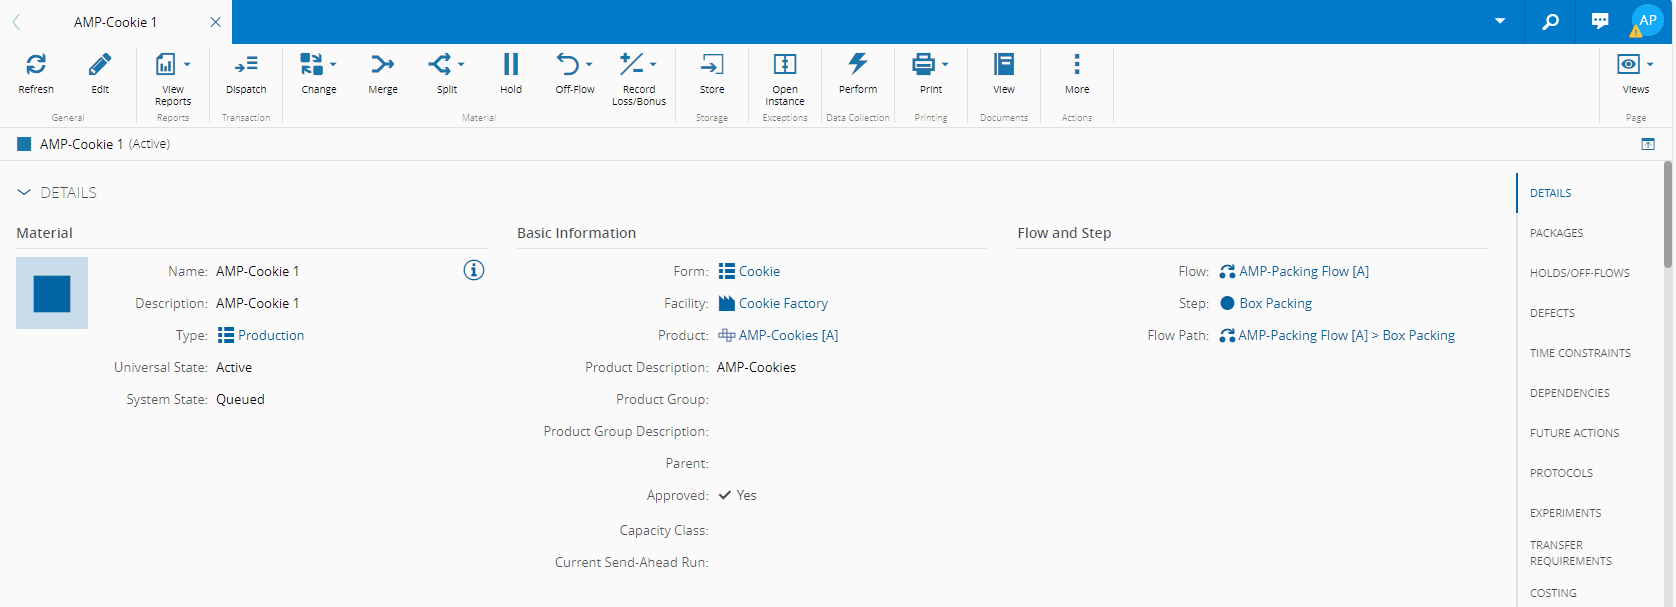
Then Dispatch and Track-In the **Material** at which point the **Pack** button is available in the top ribbon:

You are now ready to pack your cookie **Material** following the instructions provided in [[pack-material-packages]].
!!! note
When adding a package to a package, a coalesce might be performed if certain conditions are met, such as having the same: Level, Type, Product, Content Product, Parent Package (can be `Null`), Packed Unit Quantity, and Content Production Order (can be `Null`).
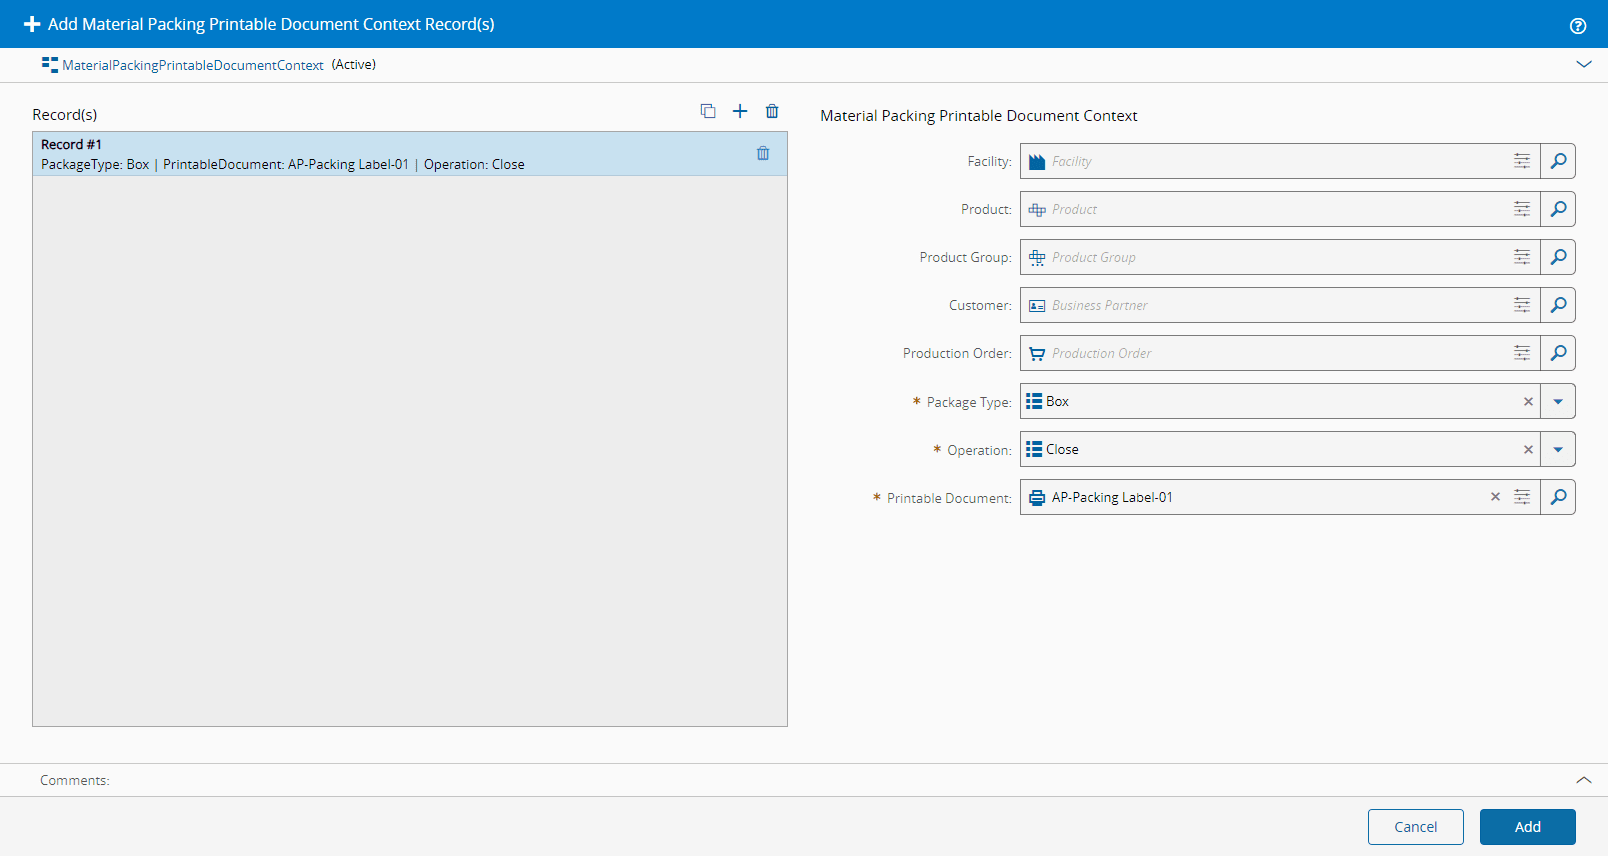
!!! info
To automatically print the Package labels when opening or closing a package, you have to configure the [[materialpackingprintabledocumentcontext-st]] smart table. For each entry, you must define if the Printable Document is to be used with the Open or Close Operation.
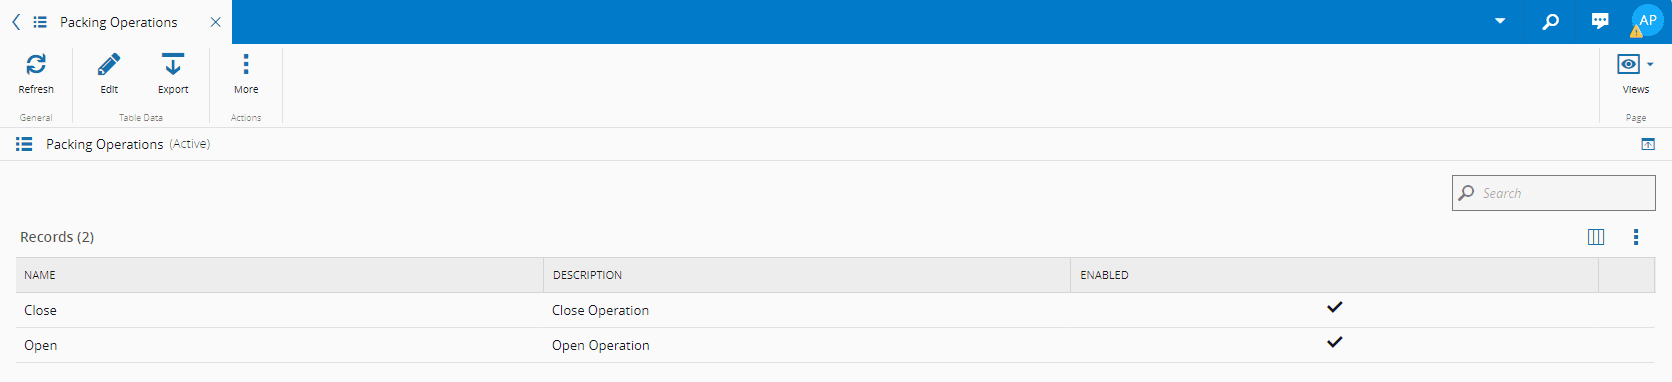
Remember that the Open and Close Operations are configured in the [[packingoperations-lt]] lookup table:
!!! info
For more information, see [Packing](../../../../tags#packing).