Defect Reason#
A Defect Reason tracks quality issues or anomalies found on Materials during production. Unlike a Loss Reason, a Defect Reason does not reduce Material quantity automatically.
Defect Reasons help you:
- Track specific quality issues on Materials.
- Record defect location and severity.
- Support detailed quality analysis.
- Improve traceability of quality problems.
- Enable process improvement initiatives.
| Aspect | Defect Reason | Loss Reason |
|---|---|---|
| Purpose | Track specific quality issues | Record quantity reduction |
| Quantity impact | Does not change quantity automatically | Reduces Material quantity |
| Location tracking | Can record an exact location | Does not track location |
| Multiple records | Supports multiple defects per Material | Supports multiple losses per Material |
| Main use case | Quality analysis and traceability | Yield calculation and scrap tracking |
Recording a defect does not reduce Material quantity automatically. If the Material must be scrapped because of the defect, mark it as Not Fixable.
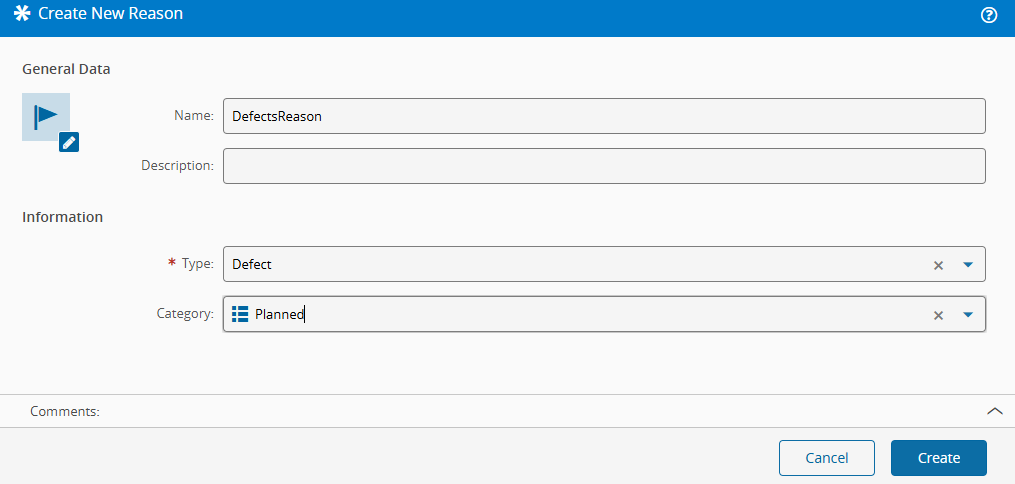
Configure a Defect Reason#
- Open the Reason module and create a new Reason.
- Select the Defect type.
- Optionally select a category from ReasonCategory.
-
Select Create.
-
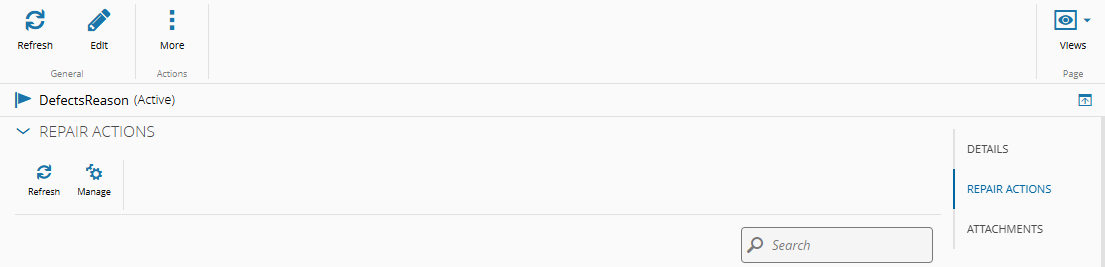
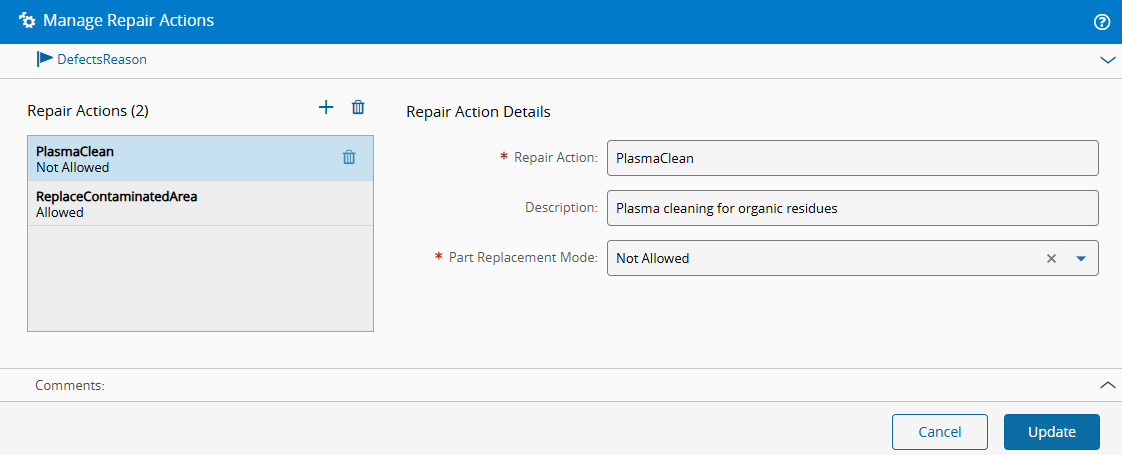
Define the repair actions by selecting Manage Repair Actions.
-
Configure the repair actions:
- Enter a name for the repair action.
- Optionally enter a description.
- Set the replacement mode to
Allowed,Not Allowed, orRequired. - Select Update.
-
Assign the Defect Reason to the
CoatingStep and confirm that the repair actions are visible.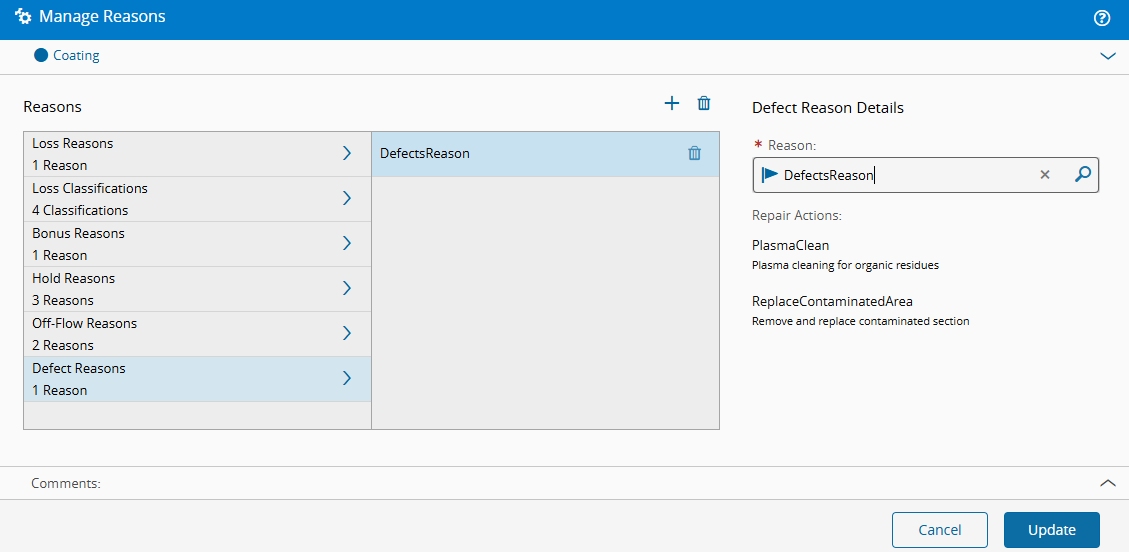
-
If the part replacement mode is Required, define the default BOM at the Product level.
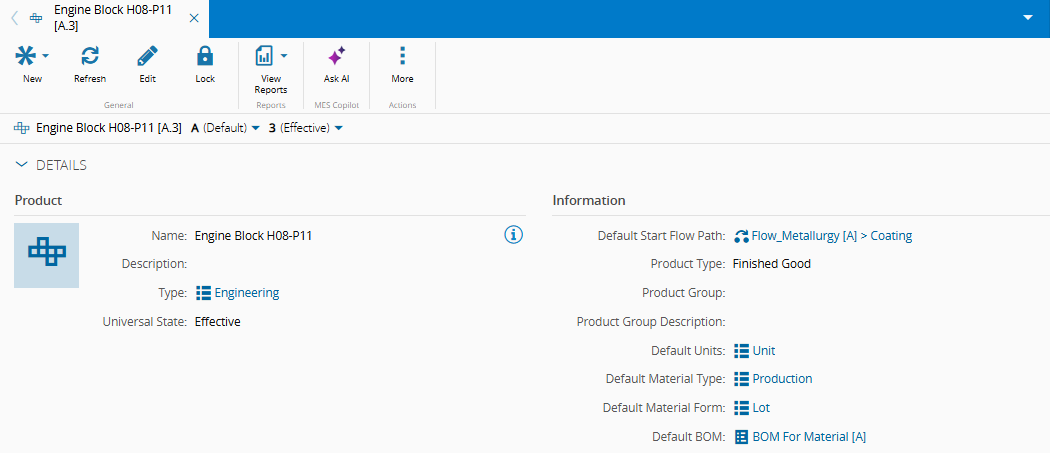
-
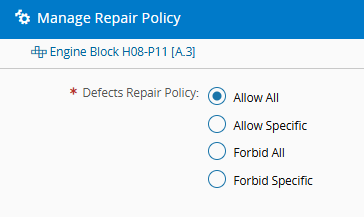
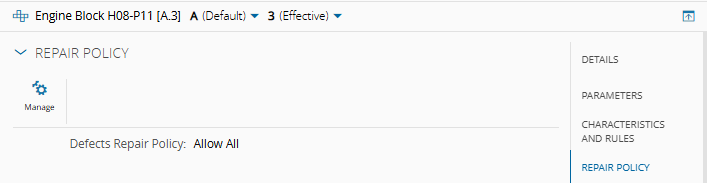
Define the Defect Repair Policy at the Product level.
Scenario: Record and Manage Defects#
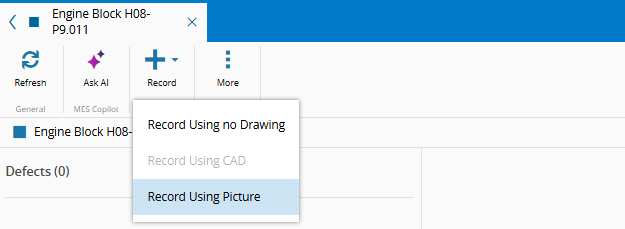
- Open the
Engine Block H08-P9.011Material details page. - Go to Views > Defects.
-
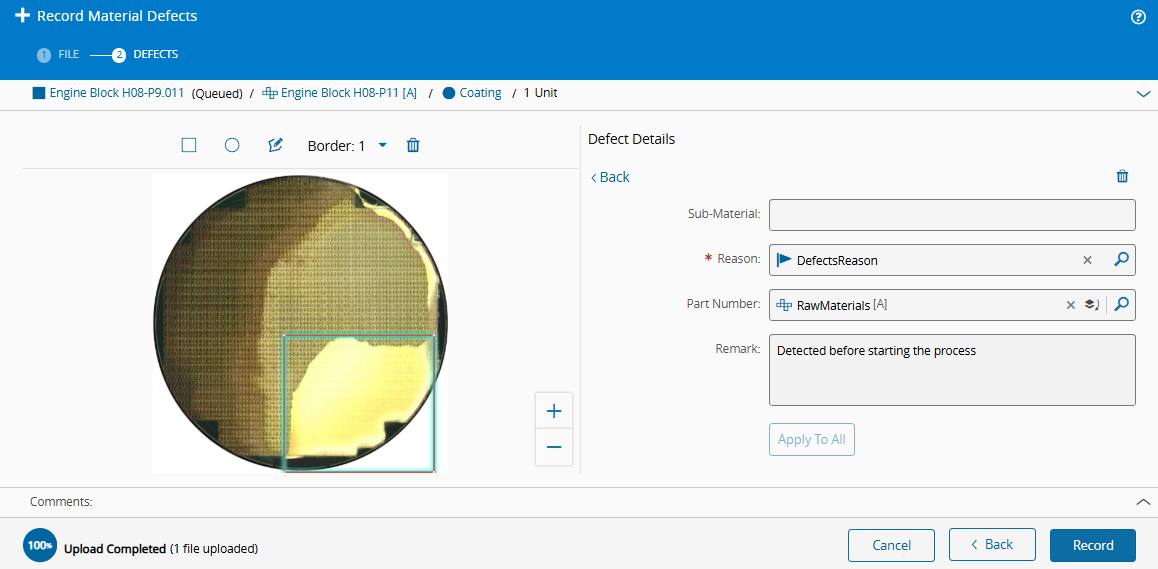
Select Record Using Picture.
-
Upload a picture and select Next.
- Select the Defect Reason. The list shows only Reasons of the Defect type.
- Optionally select a part number if the replacement was planned in the part replacement mode.
-
Optionally add a remark and select Record.
-
Review the available actions in the ribbon:
- Mark the defect as
Accepted - Mark the defect as
False - Mark the defect as
Scrap - Apply the repair action
ReplaceContaminatedArea - Mark the defect as
Not Fixable
- Mark the defect as