---
alias: user-guide-create-material
description: "Create a Material object by defining its properties, selecting associated products and flows, and specifying quantities, adhering to system constraints"
---
# Create Material
:lock: Material.**Create**
:lock: Material.**CreateTemplate**
:lock: Material.**CreateFromTemplate**
## Overview
The operation is used to create a **Material**. A template can also be created using a similar procedure and there is also the possibility of using a template to create the new object as well. This selection can be done in the main entity menu.
!!! smart-barcode "Supports Smart Barcodes"
You can use [[smart-barcode-scanning]] to perform this operation.
## Preconditions
* The **Material** name is unique within the system.
* The **Product** and **Flow** associated with the **Material** exist, are Active, and are not disabled.
* The **Step** associated with the **Material** exists, is Active, and belongs to the same Facility where the Material is being created (through an Area relation).
* If defined, the Primary Quantity and the Secondary Quantity of the **Material** must always be equal or greater than `0`.
* The Primary and Secondary Quantities can only be decimal if the Is Decimal Quantity Allowed property of the **Step** is set to `true` and the Is Discrete property of the **Product** is set to `false`.
!!! info
- The cost of the Material will be displayed if enough information is available to make the calculation.
- If the Product Type is Parts, the default Quantity is equal to `1`. If the Part Type is set to Repairable, the Quantity must be equal to `1`.
* If assigning a **Material** to **Production Order** with an Owner defined, the user must belong to that Role.
## Sequence of Steps
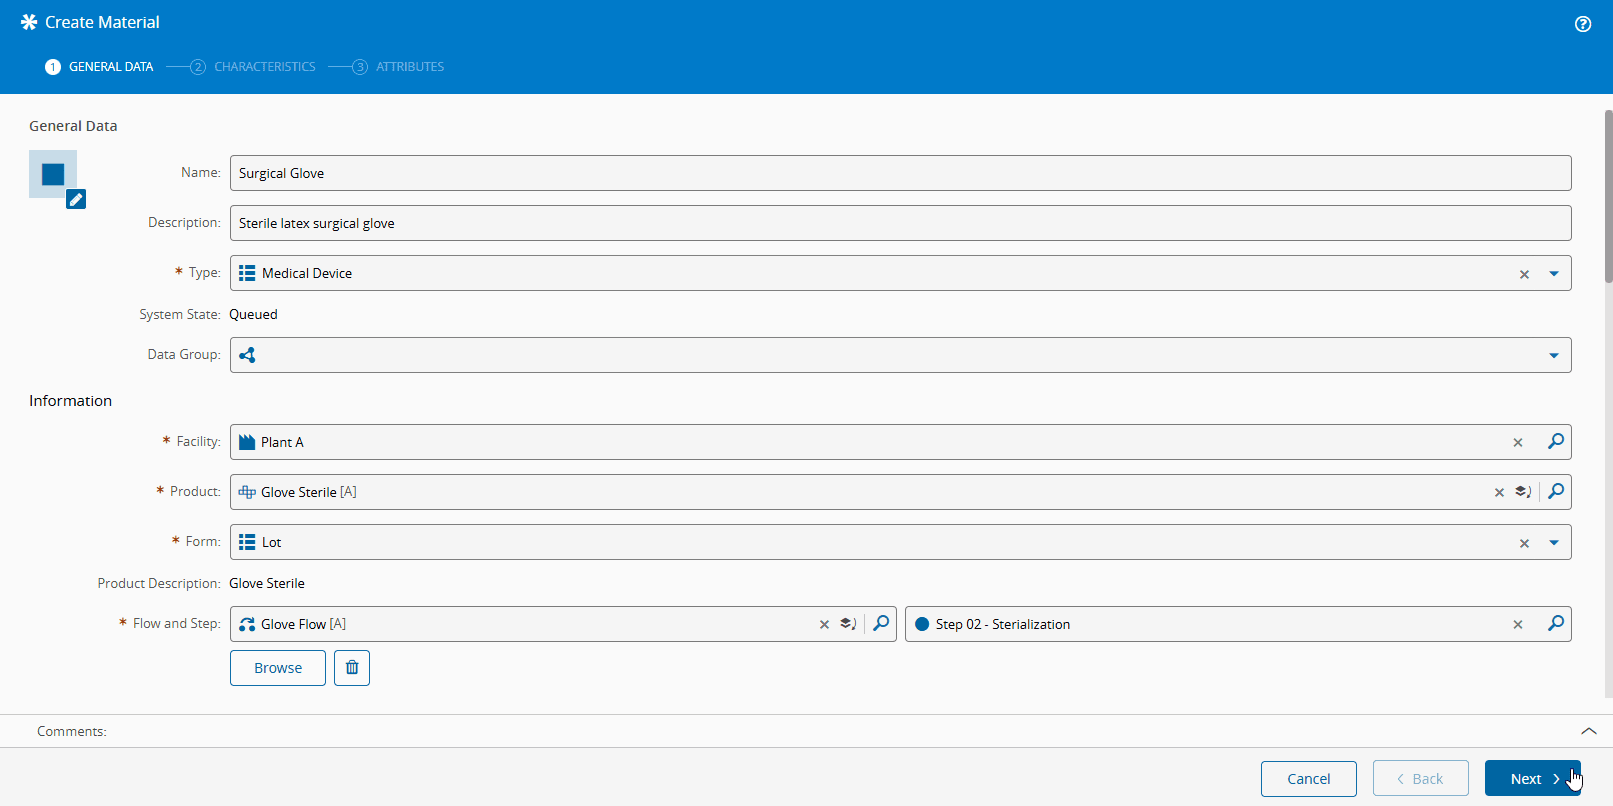
### Step 1: General
1. Enter the **Material** name. The name can be left blank if there is a name generator configured to provide unique **Material** names.
2. Optionally, enter a **Material** description.
3. Select the **Material** type. The list of possible values is taken from the [[materialtype-lt]] Lookup Table.
* If the user selects a **Product**, the default **Material** type is automatically pre-selected but it can be overridden by the user.
4. If available, select the State Model and the initial State Model state (by default the initial State Model state of the selected State Model is taken).
5. Select the **Material** **Facility**.
6. Select the **Material** **Product**:
* If there is a default Flow Path associated with the **Product** or its **Product Group**, the default Flow Path is automatically pre-selected for the **Material** but it can be overridden by the user.
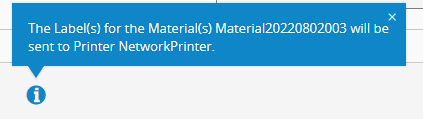
!!! info
If the Step where the Material will be created has the Print Material Labels Automatically property set to `true`, that information will be displayed on the bottom section of the wizard.
* If the selected **Material Product** has configured characteristics, a **Characteristics** step is enabled (see below).
7. Select the **Material** form. The list of possible values is taken from the [[materialform-lt]] Lookup Table.
* If the user selects a **Product**, the default **Material** form is automatically pre-selected but it can be overridden by the user.
8. Select the Bin Code for the **Material** (when the selected **Product** requires one).
9. Specify the quantities of the **Material**, following the rules in the diagram below:
```mermaid
graph LR
A{Set Units
in Step True?} -->|Yes| B(Primary and
Secondary Units
set automatically);
A -->|No| C(Primary and
Secondary Units
set manually);
E{Product has
Default Units?} -->|Yes| F(Primary Units
set automatically);
E -->|No| G{Product Group
has Default Units?};
G -->|Yes| F;
G -->|No| D(Primary Units
set manually);
classDef mermaid_title color:#000, fill:#fafafa, stroke:#fafafa, stroke-width:0x, font-size:100%, font-weight:200;
classDef mermaid_start color:#000, fill:#fafafa, stroke:#fafafa, color:#fafafa, stroke-width:0x, font-size:100%, visibility: hidden;
classDef mermaid_businessdata color:#000, fill:#65CDE8, stroke:#65CDE8, stroke-width:0px, font-size:100%;
classDef mermaid_nonbusinessdata color:#000, fill:#B7DEE8, stroke:#B7DEE8, stroke-width:0px, font-size:100%;
classDef mermaid_entity color:#000, fill:#FB9F53, stroke:#FB9F53, stroke-width:0px, font-size:100%;
classDef mermaid_entitylinked color:#000, fill:#FCD5B5, stroke:#FCD5B5, stroke-width:0px, font-size:100%;
classDef mermaid_context color:#000, fill:#B9CDE5, stroke:#B9CDE5, stroke-width:0px, font-size:100%;
classDef mermaid_optional color:#000, fill:#B7DEE8, stroke:#65CDE8, stroke-width:1px, font-size:100%, stroke-dasharray: 5 5;
classDef mermaid_state color:#000, fill:#d7e4bd, stroke:#000, stroke-width:1px, font-size:100%, font-weight:300;
class A1,A2,A3,A4,A5,A6,A7,A8,A9,A10,A11,A12 mermaid_entity
```
10. Optionally, specify the **Material** expiration date - an expired **Material** cannot be used as a consumable. The expiration date is checked in the following transactions: Assemble Material, Disassemble Material, Replace Assembled Material, Attach Material as Consumable, Combine Material, Compose Material, and Prepare Material Transfer.
11. If desired, enter information on the Manufacturer and Supplier, including Part and Lot Number, Date Code and Purchase Order Number.
12. If needed, set the Restriction of Hazardous Substances Directive (RoHS) compliance flag.
13. Define the Moisture Sensitivity Level for the **Material**. The list of possible values is taken from the [[moisturesensitivitylevel-lt]] Lookup Table.
14. Define the number of remaining hours of Floor Life of the **Material**.
15. Define the Floor Life Counter State:
* Running - if the **Material** is still within the defined Floor Life Time (Floor Life remaining time is higher than zero)
* Stopped - if the Floor Life time has already expired
16. Define the Floor Life Open Date.
17. Specify the priority of the **Material** (1 to 10).
18. Specify whether Splits are allowed for the **Material**.
19. Specify whether Merges are allowed for the **Material**.
20. Check the Hot checkbox to indicate that the **Material** is a hot lot. A hot lot is always placed at the top of the dispatch lists and has the highest priority when used in scheduling.
21. Check the Exclude From Scheduling checkbox to exclude the **Material** from Scheduling.
22. Optionally, specify the Production Order for the **Material**.
23. Optionally, define the Order number (free text) for the **Material**.
24. Optionally, specify the **Material** possible start date, used for scheduling purposes only.
25. Optionally specify the **Material** due date.
26. Specify the Target Material Quantity. Value must be higher than 0. If defined, the Target Quantity Units field also needs to be defined.
27. Optionally specify the Target Material Units for the **Material**.
28. Define the Capacity Class for the **Material**. The list of possible values is taken from the [[capacityclass-lt]] Lookup Table.
29. Select **Create** to complete the operation or **Next** to define Characteristics.
### Step 2: Characteristics
1. This step is displayed when the selected **Product** has Characteristics configured to `true`. For this operation, you must provide a value for each characteristic, either by entering manually as free text or by selecting a predefined value from the specified Source Lookup Table.
!!! note
For more information on how to configure Characteristics, see [[user-guide-manage-product-characteristics#step-1-general]].
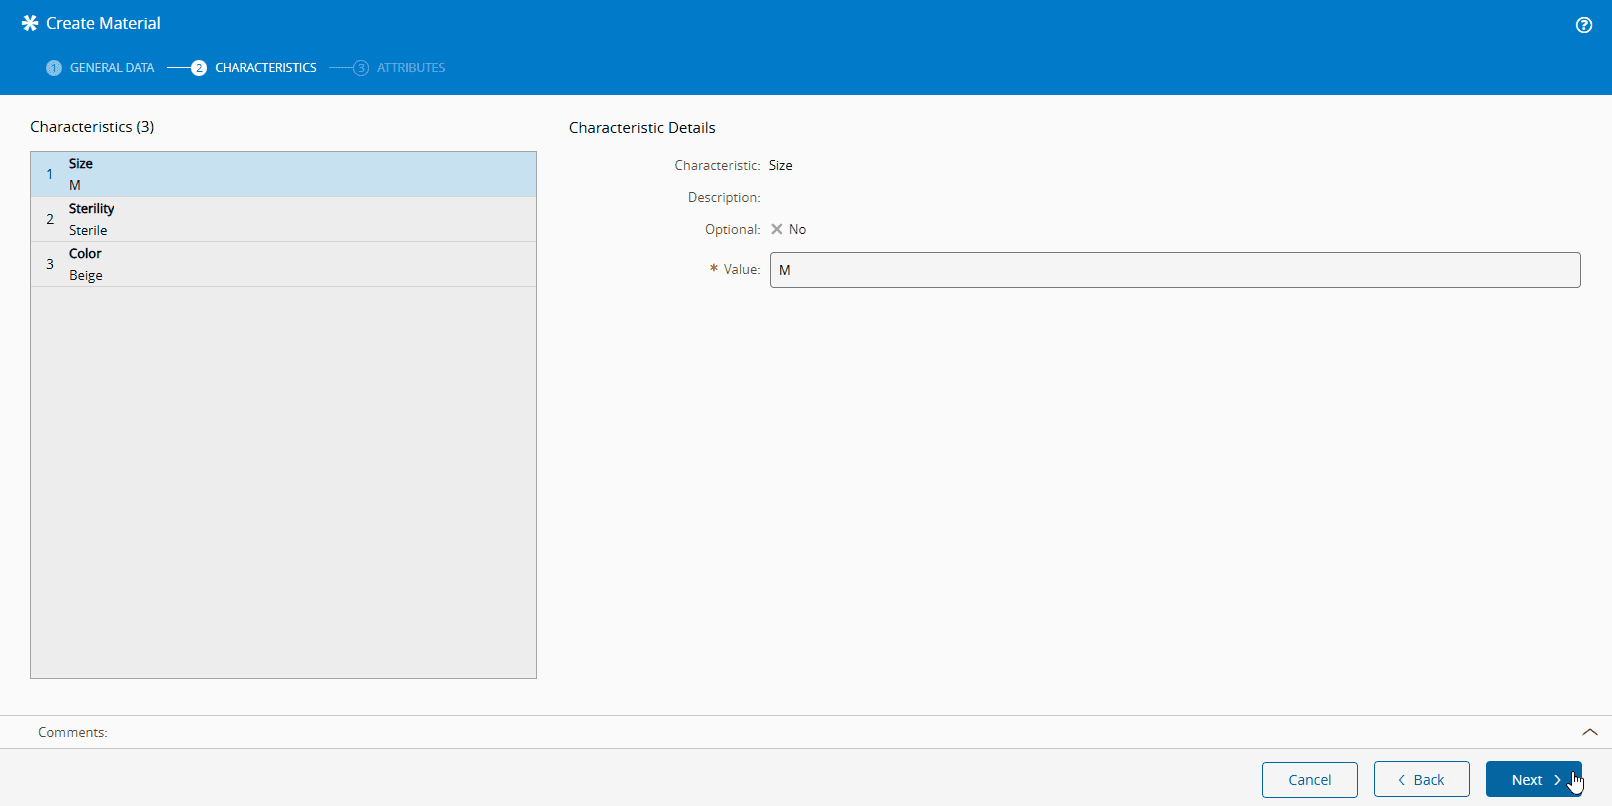
2. Select **Create** to complete the operation.